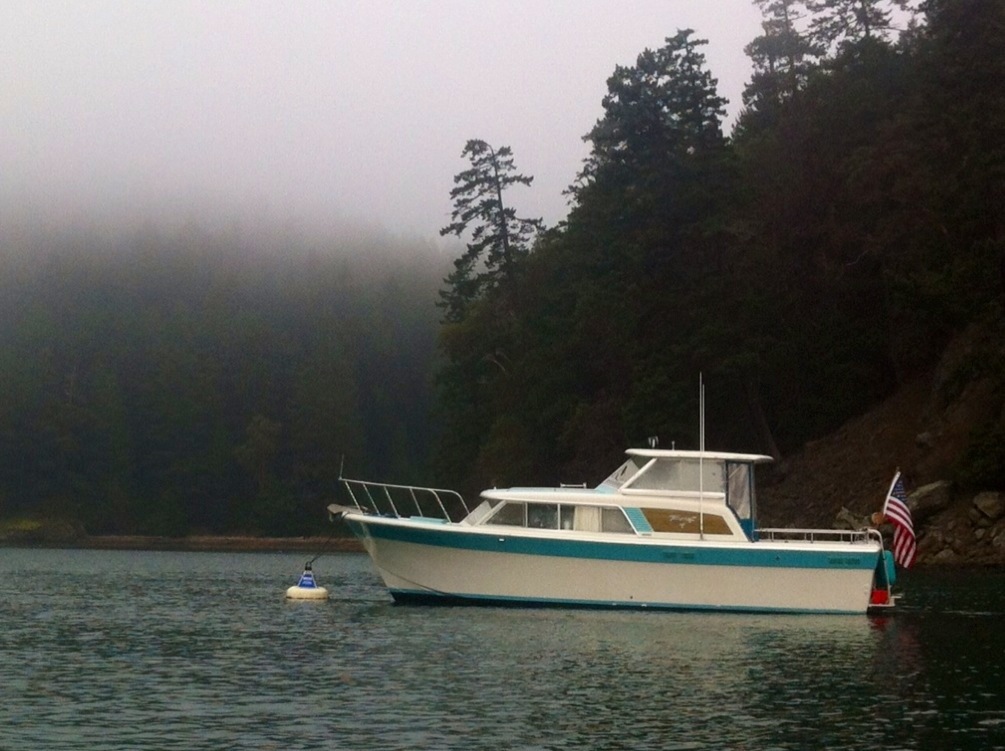
It never fails, time gets away from me. I always have a list of projects and maintenance I’d like to get done prior to the summer cruising season, and inevitably I’m not able to cross every item off the list. You know, only so much time or money.
This year I have, or rather had, a rather ambitious list, and managed to tackle several items, leaving a few for future lists.
One of the projects I’ve been wanting to do for a while is replace the boat’s vinyl headliner. As far as I know, it’s all original. The entire headliner needs replacement, but I’m starting with the cockpit hardtop , as the interior cabin headliner is still in pretty decent shape.
It took a while to work up the courage to begin pulling down the old headliner material, but finally after the first rrrrrrrriiiiiiiippp I was committed.
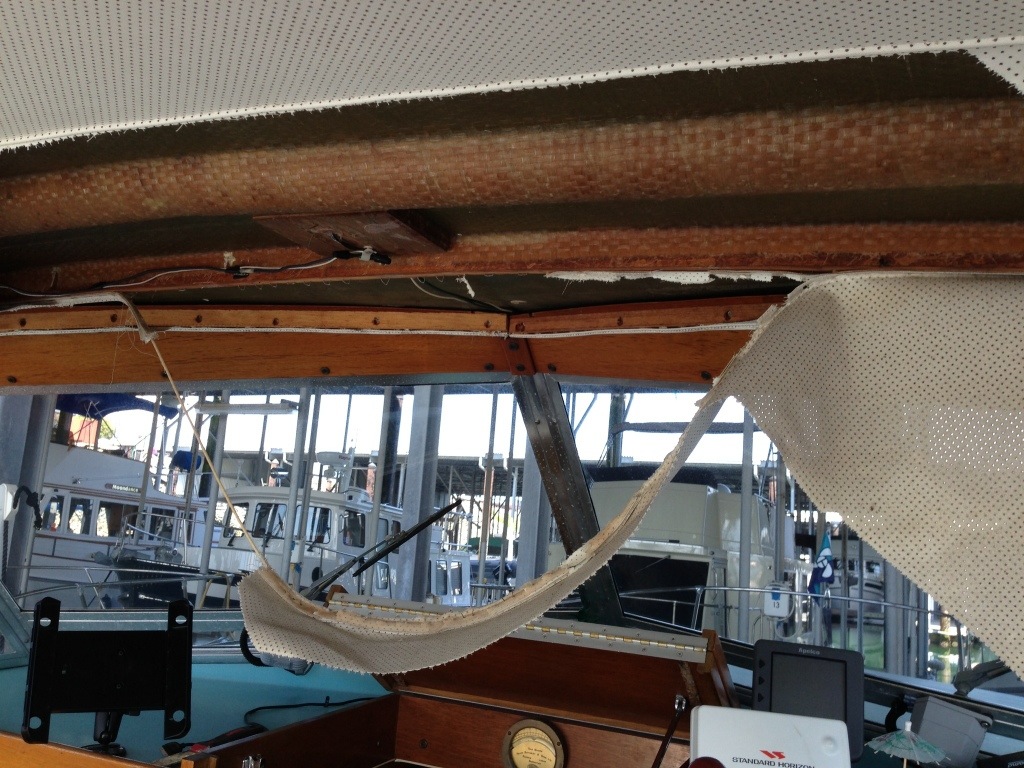
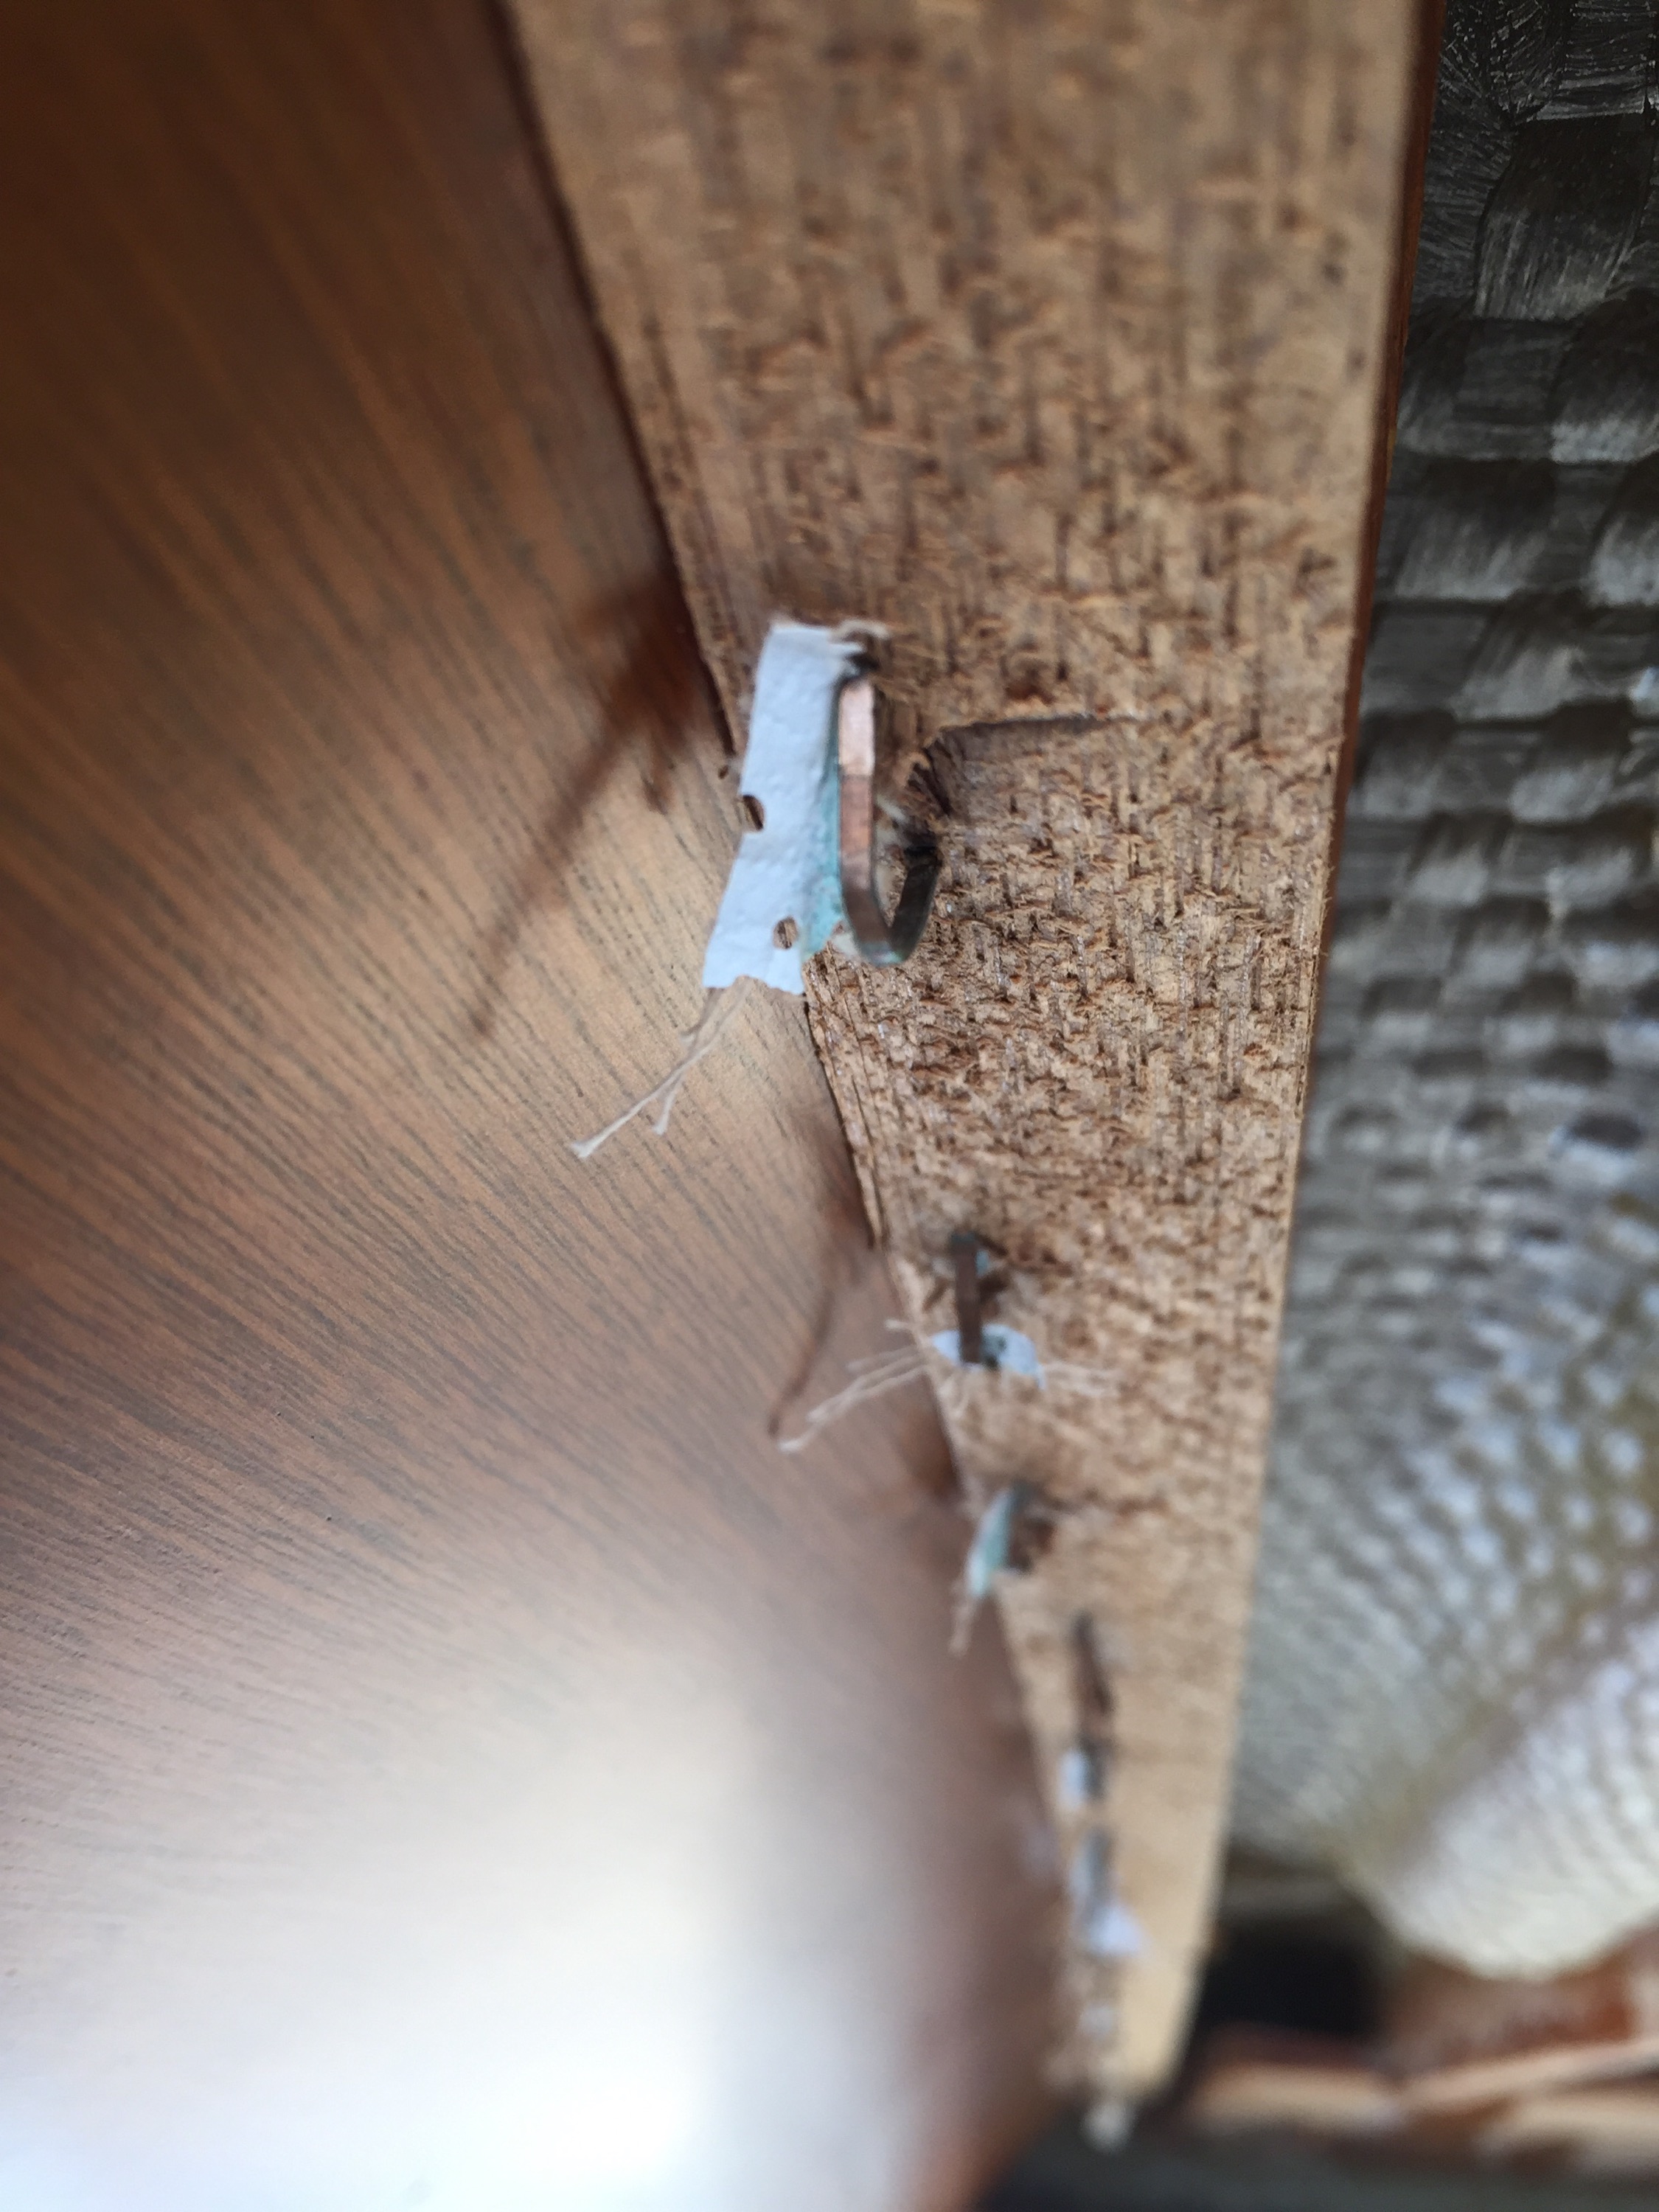
In short order the old headliner was out and in the dumpster along with the hundreds of staples that held it in place to the hardtop furring strips. Oh, and I forgot to mention I would be heading to the annual Tollycraft Rendezvous in a few weeks, so I am up against a bit of a timeline.
While everything was open, I had plans to install some handrails, relocate my antennas, and install a couple of stainless pad eyes for tying down kayaks. All hardware was installed with plywood backing and stainless fasteners.
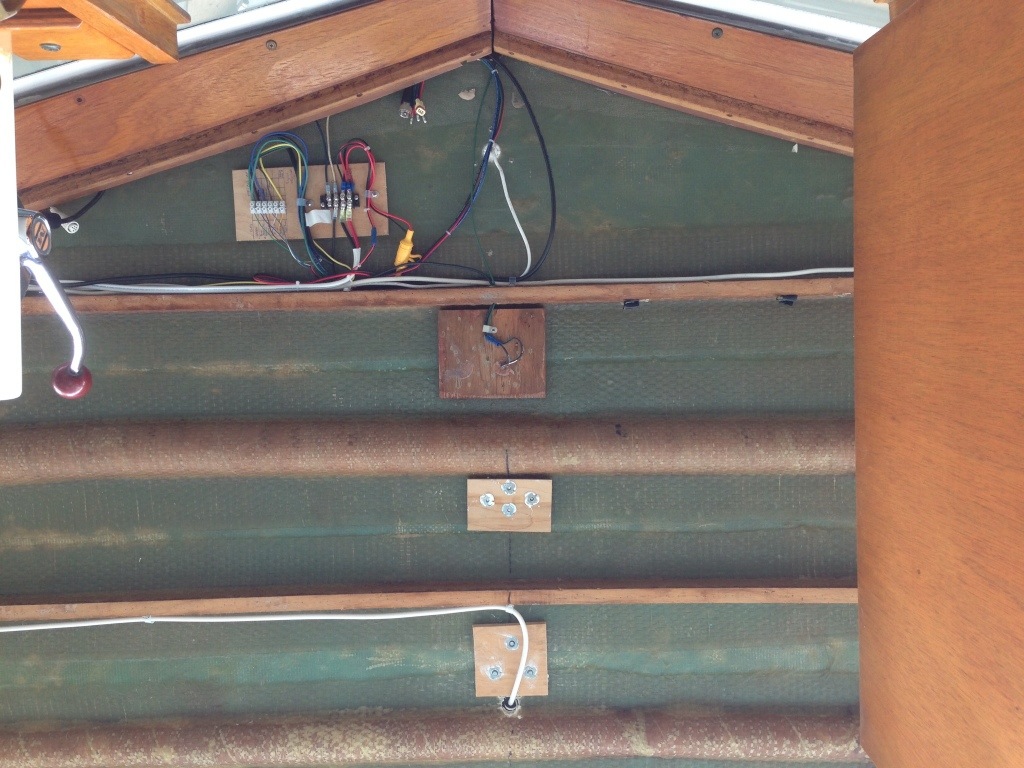

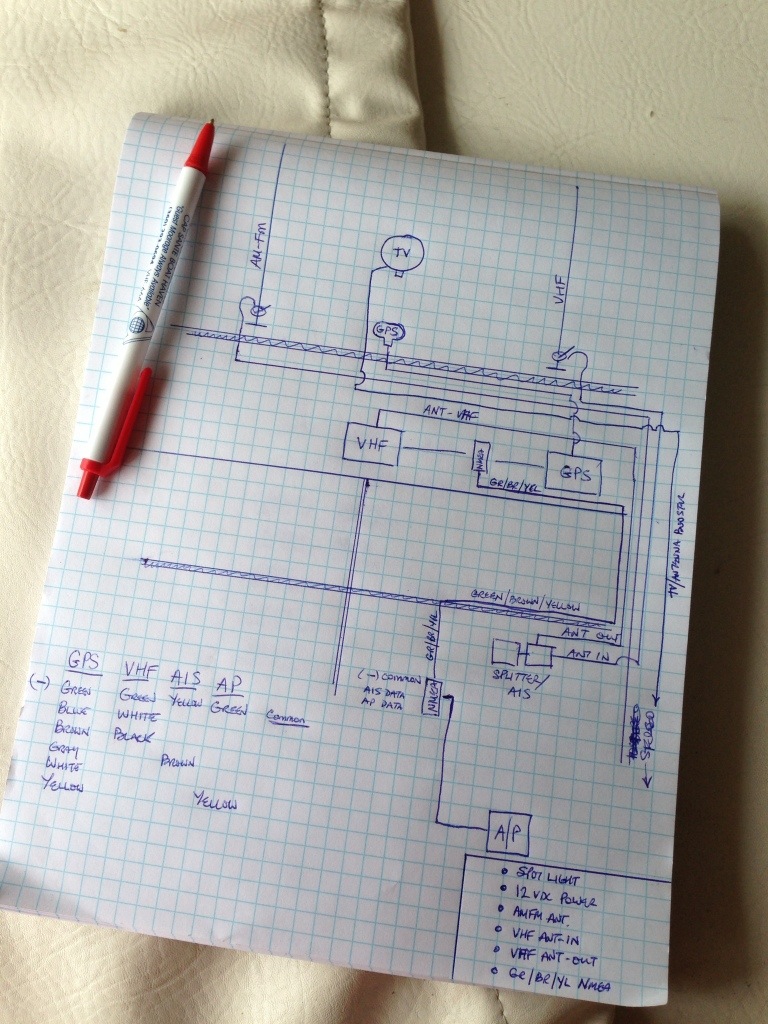
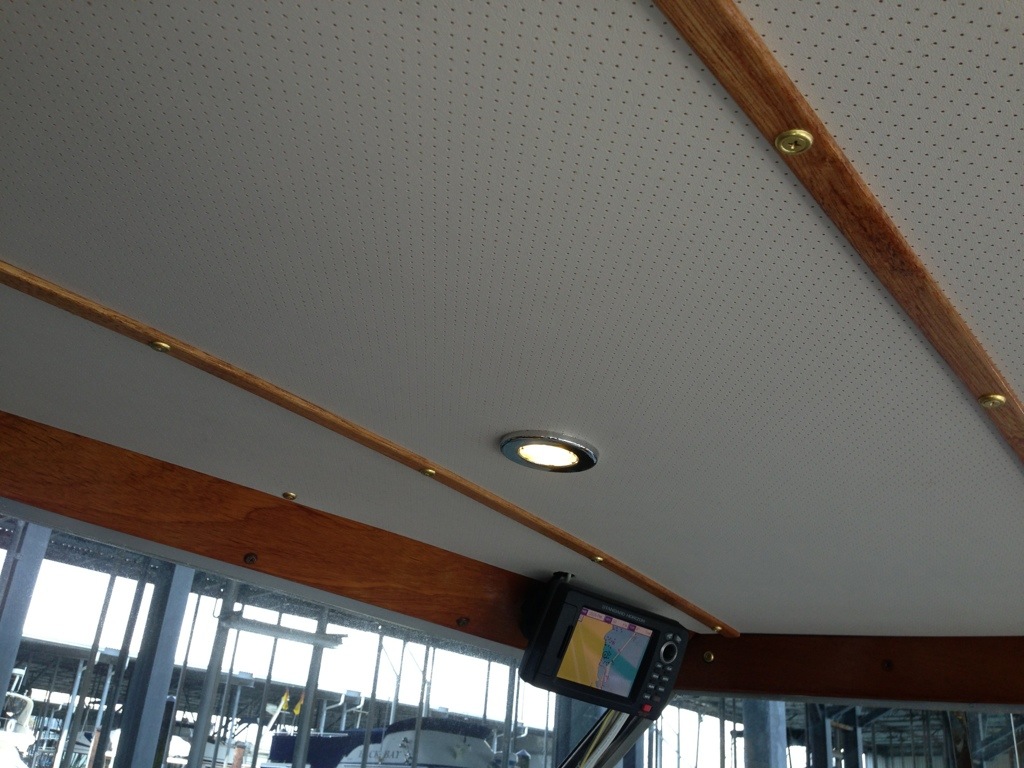
I also relocated some of my electronics from the dash to be mounted above the windshield. This involved some wire runs, which required some planning, and gave me an opportunity to clean up some old installations. I’m amazed at the time it can take for planning and layout, but I’m glad when I take that time. I’m learning the importance of such, hence the “clean up some old installations” remark…
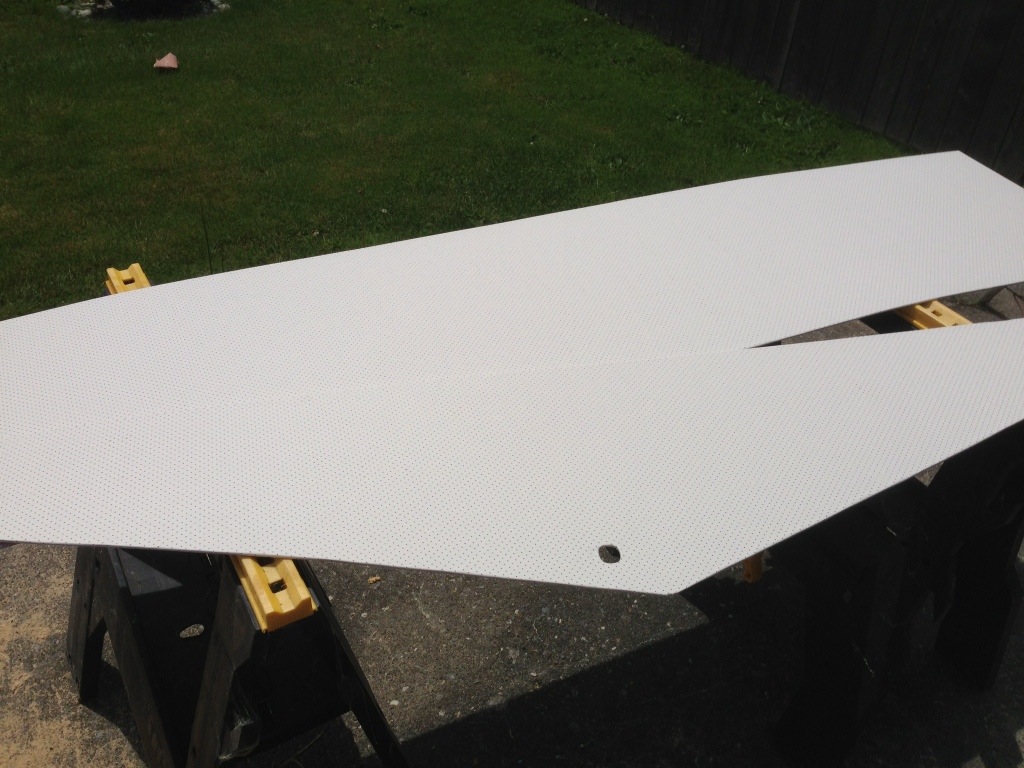
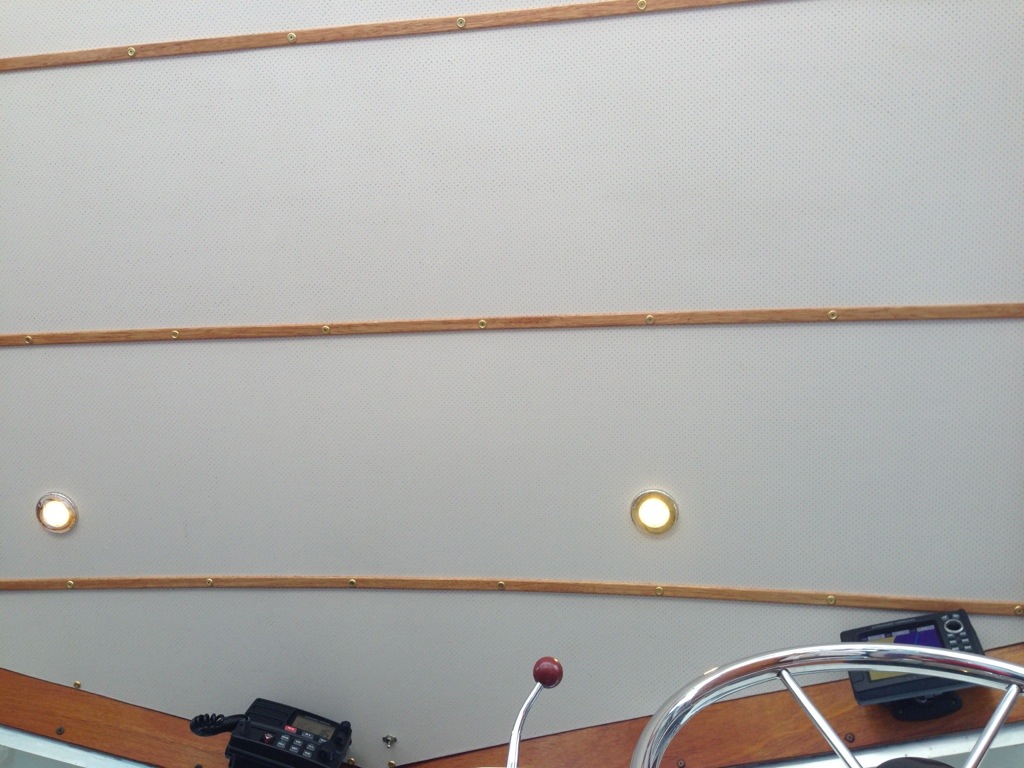
The new headliner will be white perforated vinyl material glued and wrapped on 1/8 inch mahogany ply. I cut and fit the panels, and was pleased that they fit pretty much perfectly. br />
The fabric was cut to size, and mounted to the panels using 3M Spray Adhesive. After spraying both the fabric and wood, they were left to dry for five minutes or so. I was surprised at just how easy this process was. I layed the fabric glue side up on a flat surface, and simply dropped the panel glue side down into position and pressed the two together. I allowed about an inch of fabric beyond the edges of the panels,, and after spraying the perimeter of the back of the panel, the material was stretched and glued around the edges and through openings for for cable runs and recessed lighting.<
The glued panels were left to set for a couple of days to allow the glue to cure and me to go to work.
Once at the boat, the panels were set in place and temporarily fastened with a few screws between the panels. Wiring of the recessed LED lights and electronics was completed.
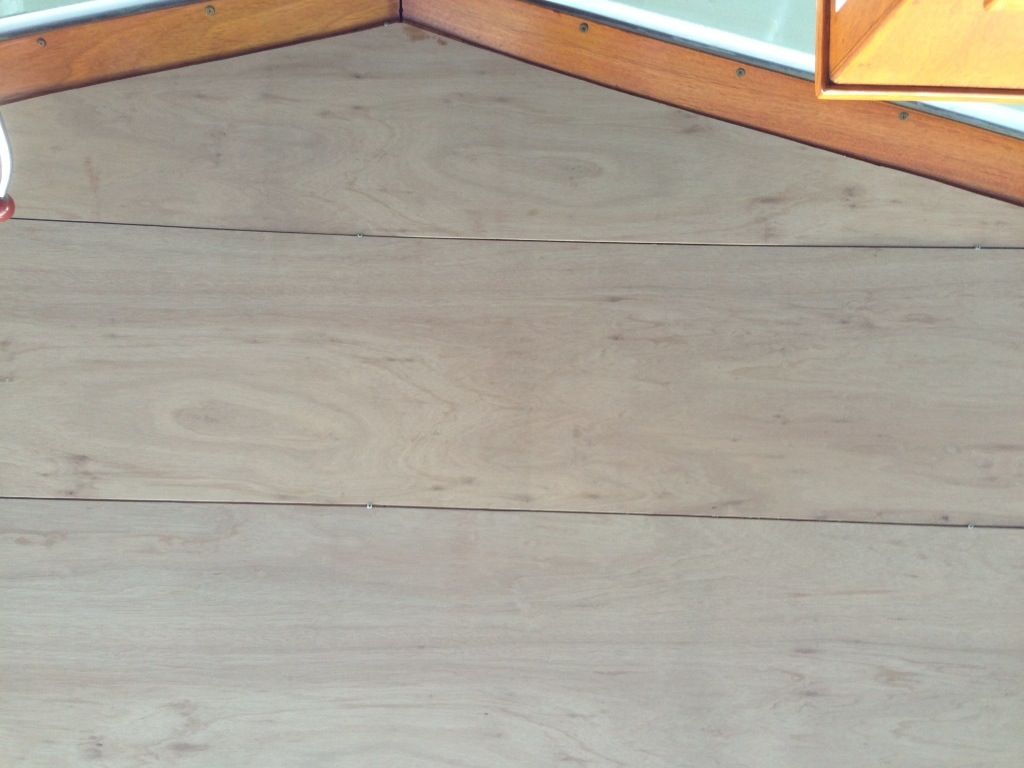
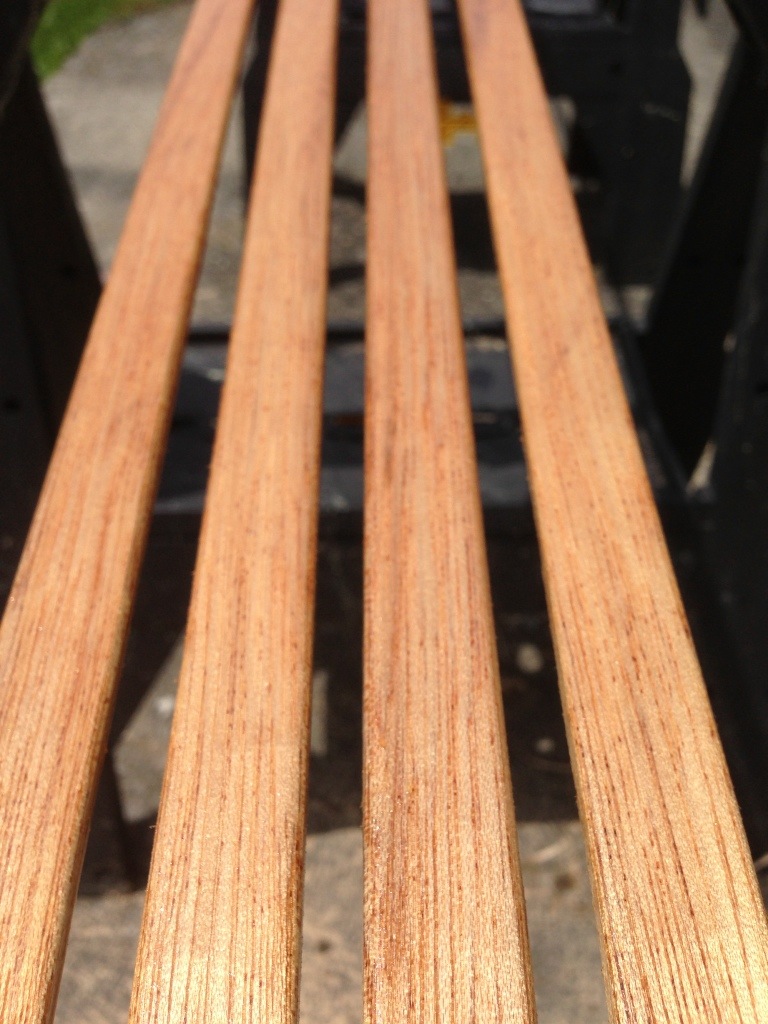
The installation was finished with mahogany battens set over the seam between the panels and secured with screws. I made the battens by ripping one by three mahogany with my table saw into a one quarter by three quarter inch strips.
I’m very happy with the finished project, and look forward to tackling the headliner in the cabin and vee berth area some day.
For now, it’s time to go boating.
 Continue reading “One Project Leads to Another”