While quite some time has passed since I finished my “big” project for this spring, I realized that I had failed to write an update showing the completion of the project.
If you had been reading before, you may recall I installed a windlass this spring, which turned into one of those projects where you might as well do this or that while the boat is torn apart, and was an opportunity to take care of some things that I’ve had my eye on for a while. I’ve used the boat several times since finishing, and I’m pretty happy with the way things turned out.
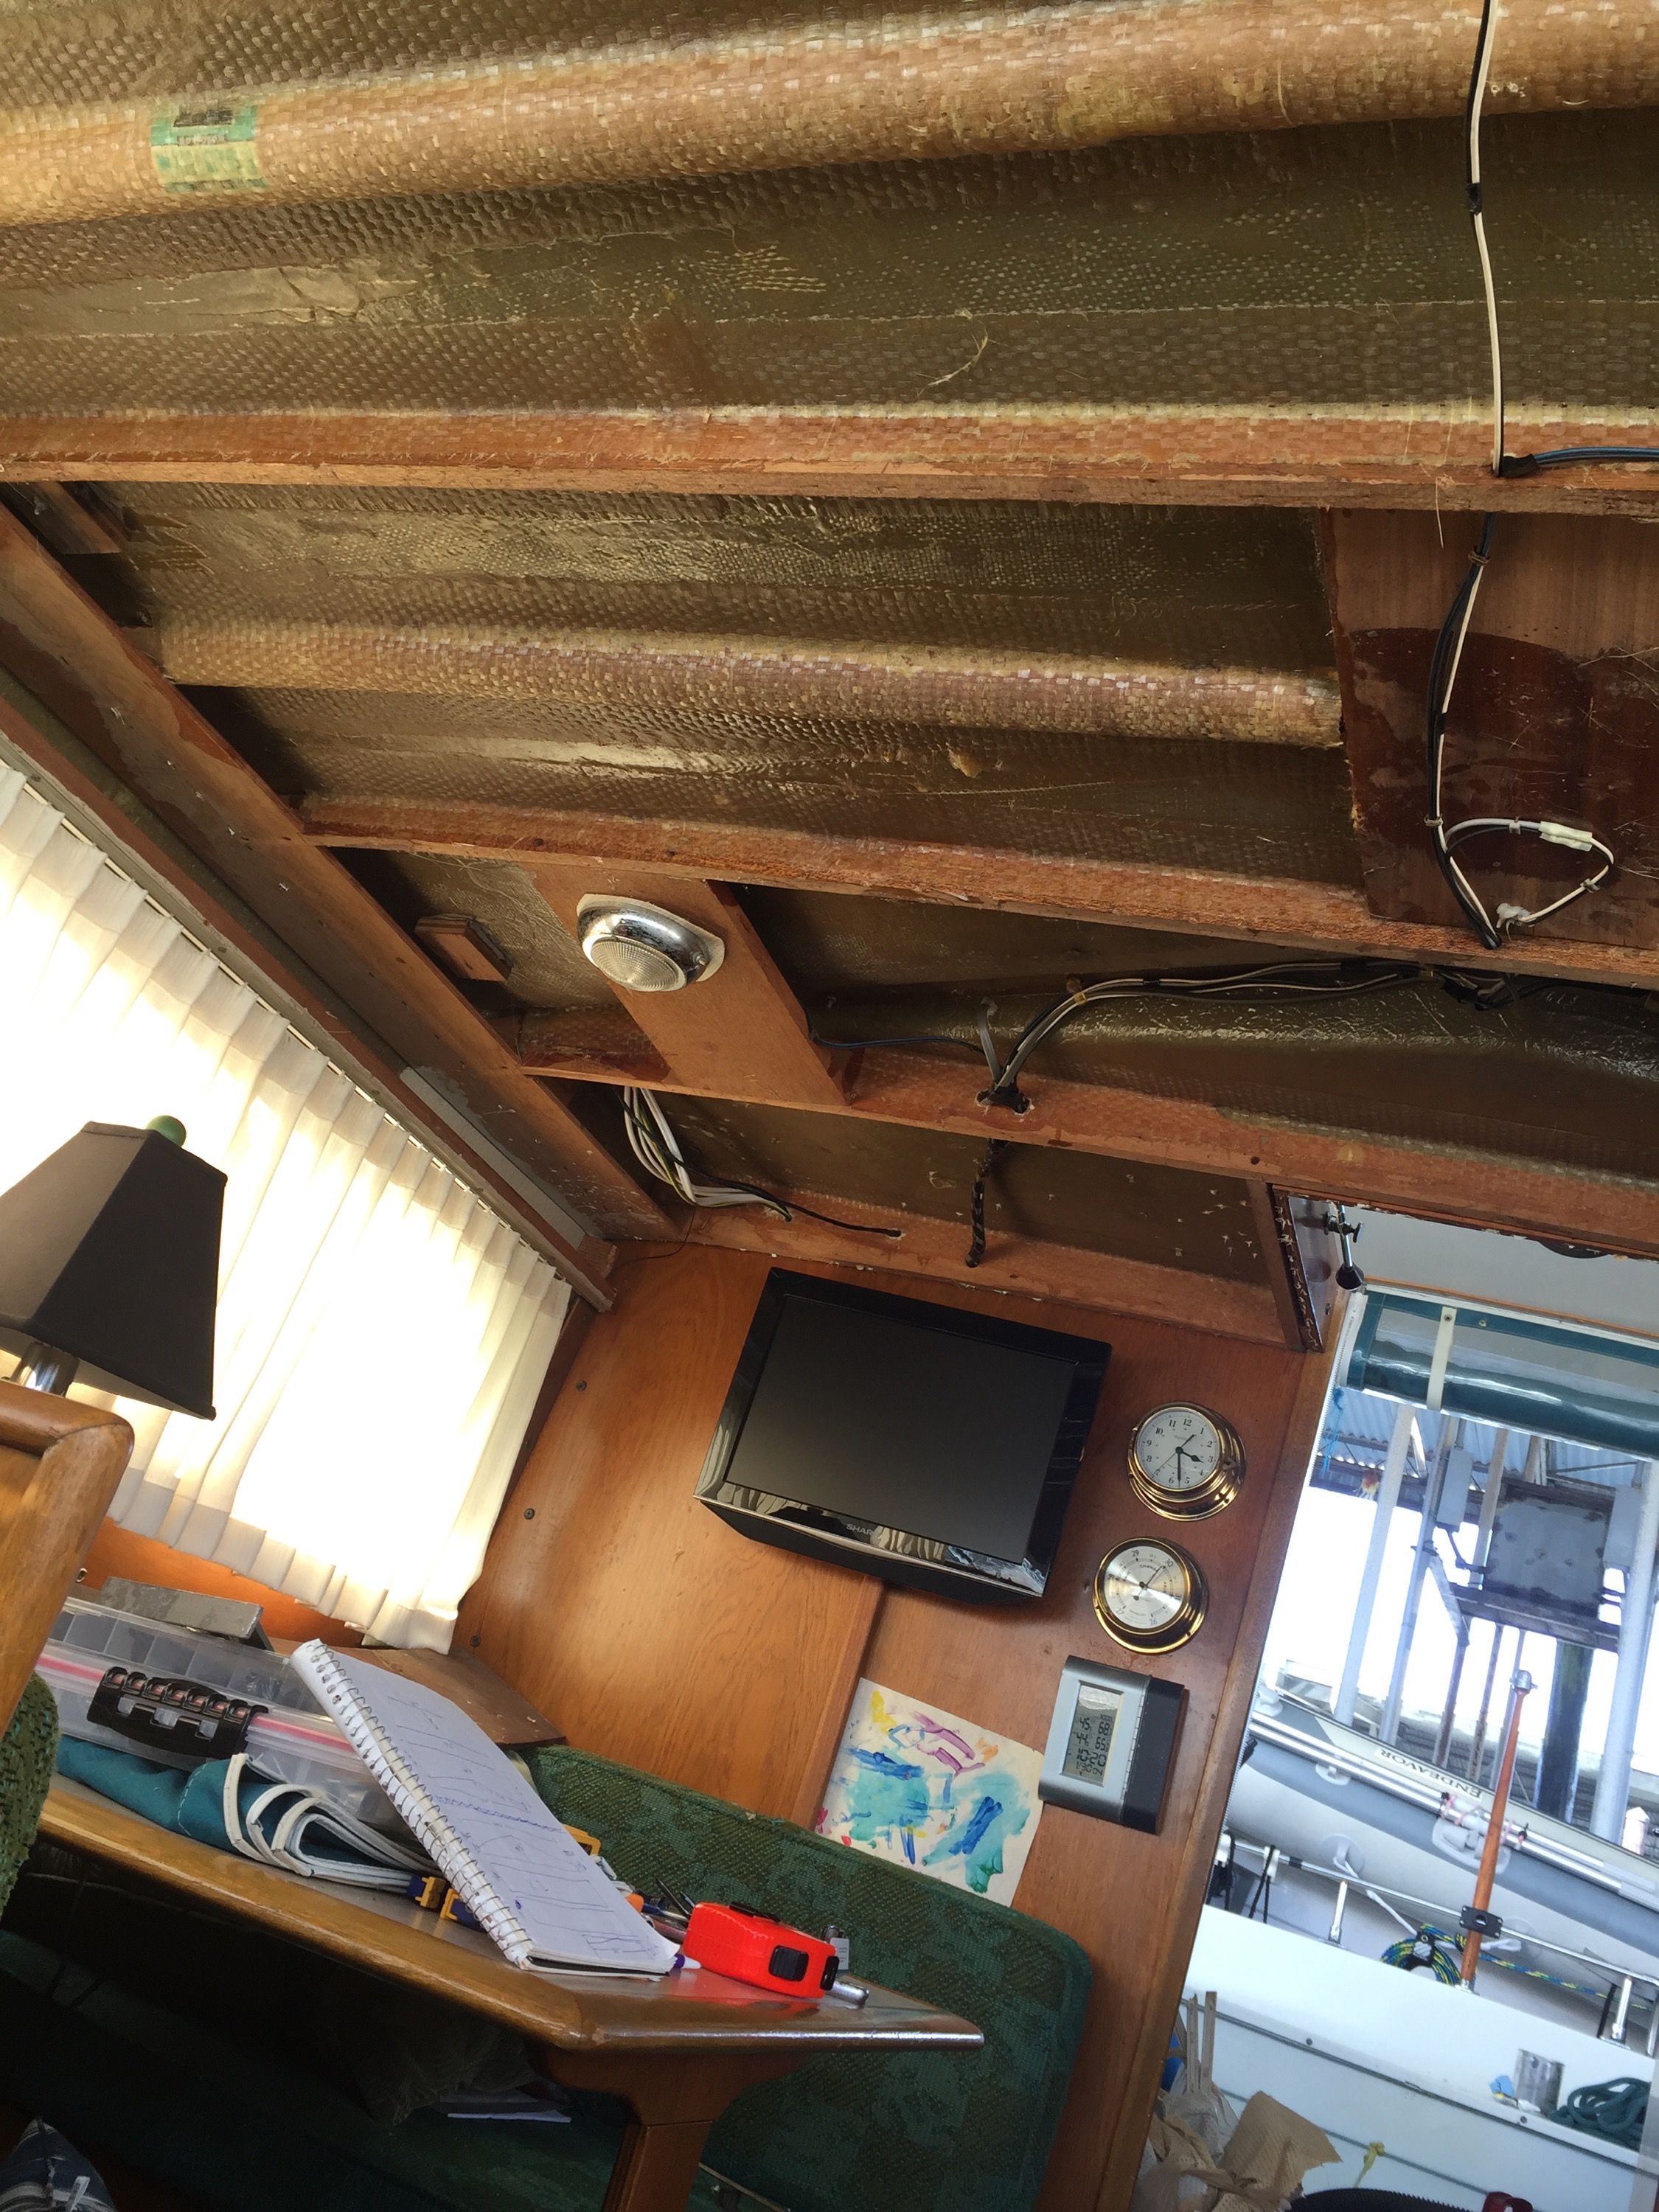
In the process of installing the windlass, I had to pull some hefty wire to the bow of the boat, which required removing some interior panels. This resulted in the headliner over the vee-berth being disrupted and was the perfect reason to replace it. While replacing that portion, might as well do the entire thing.
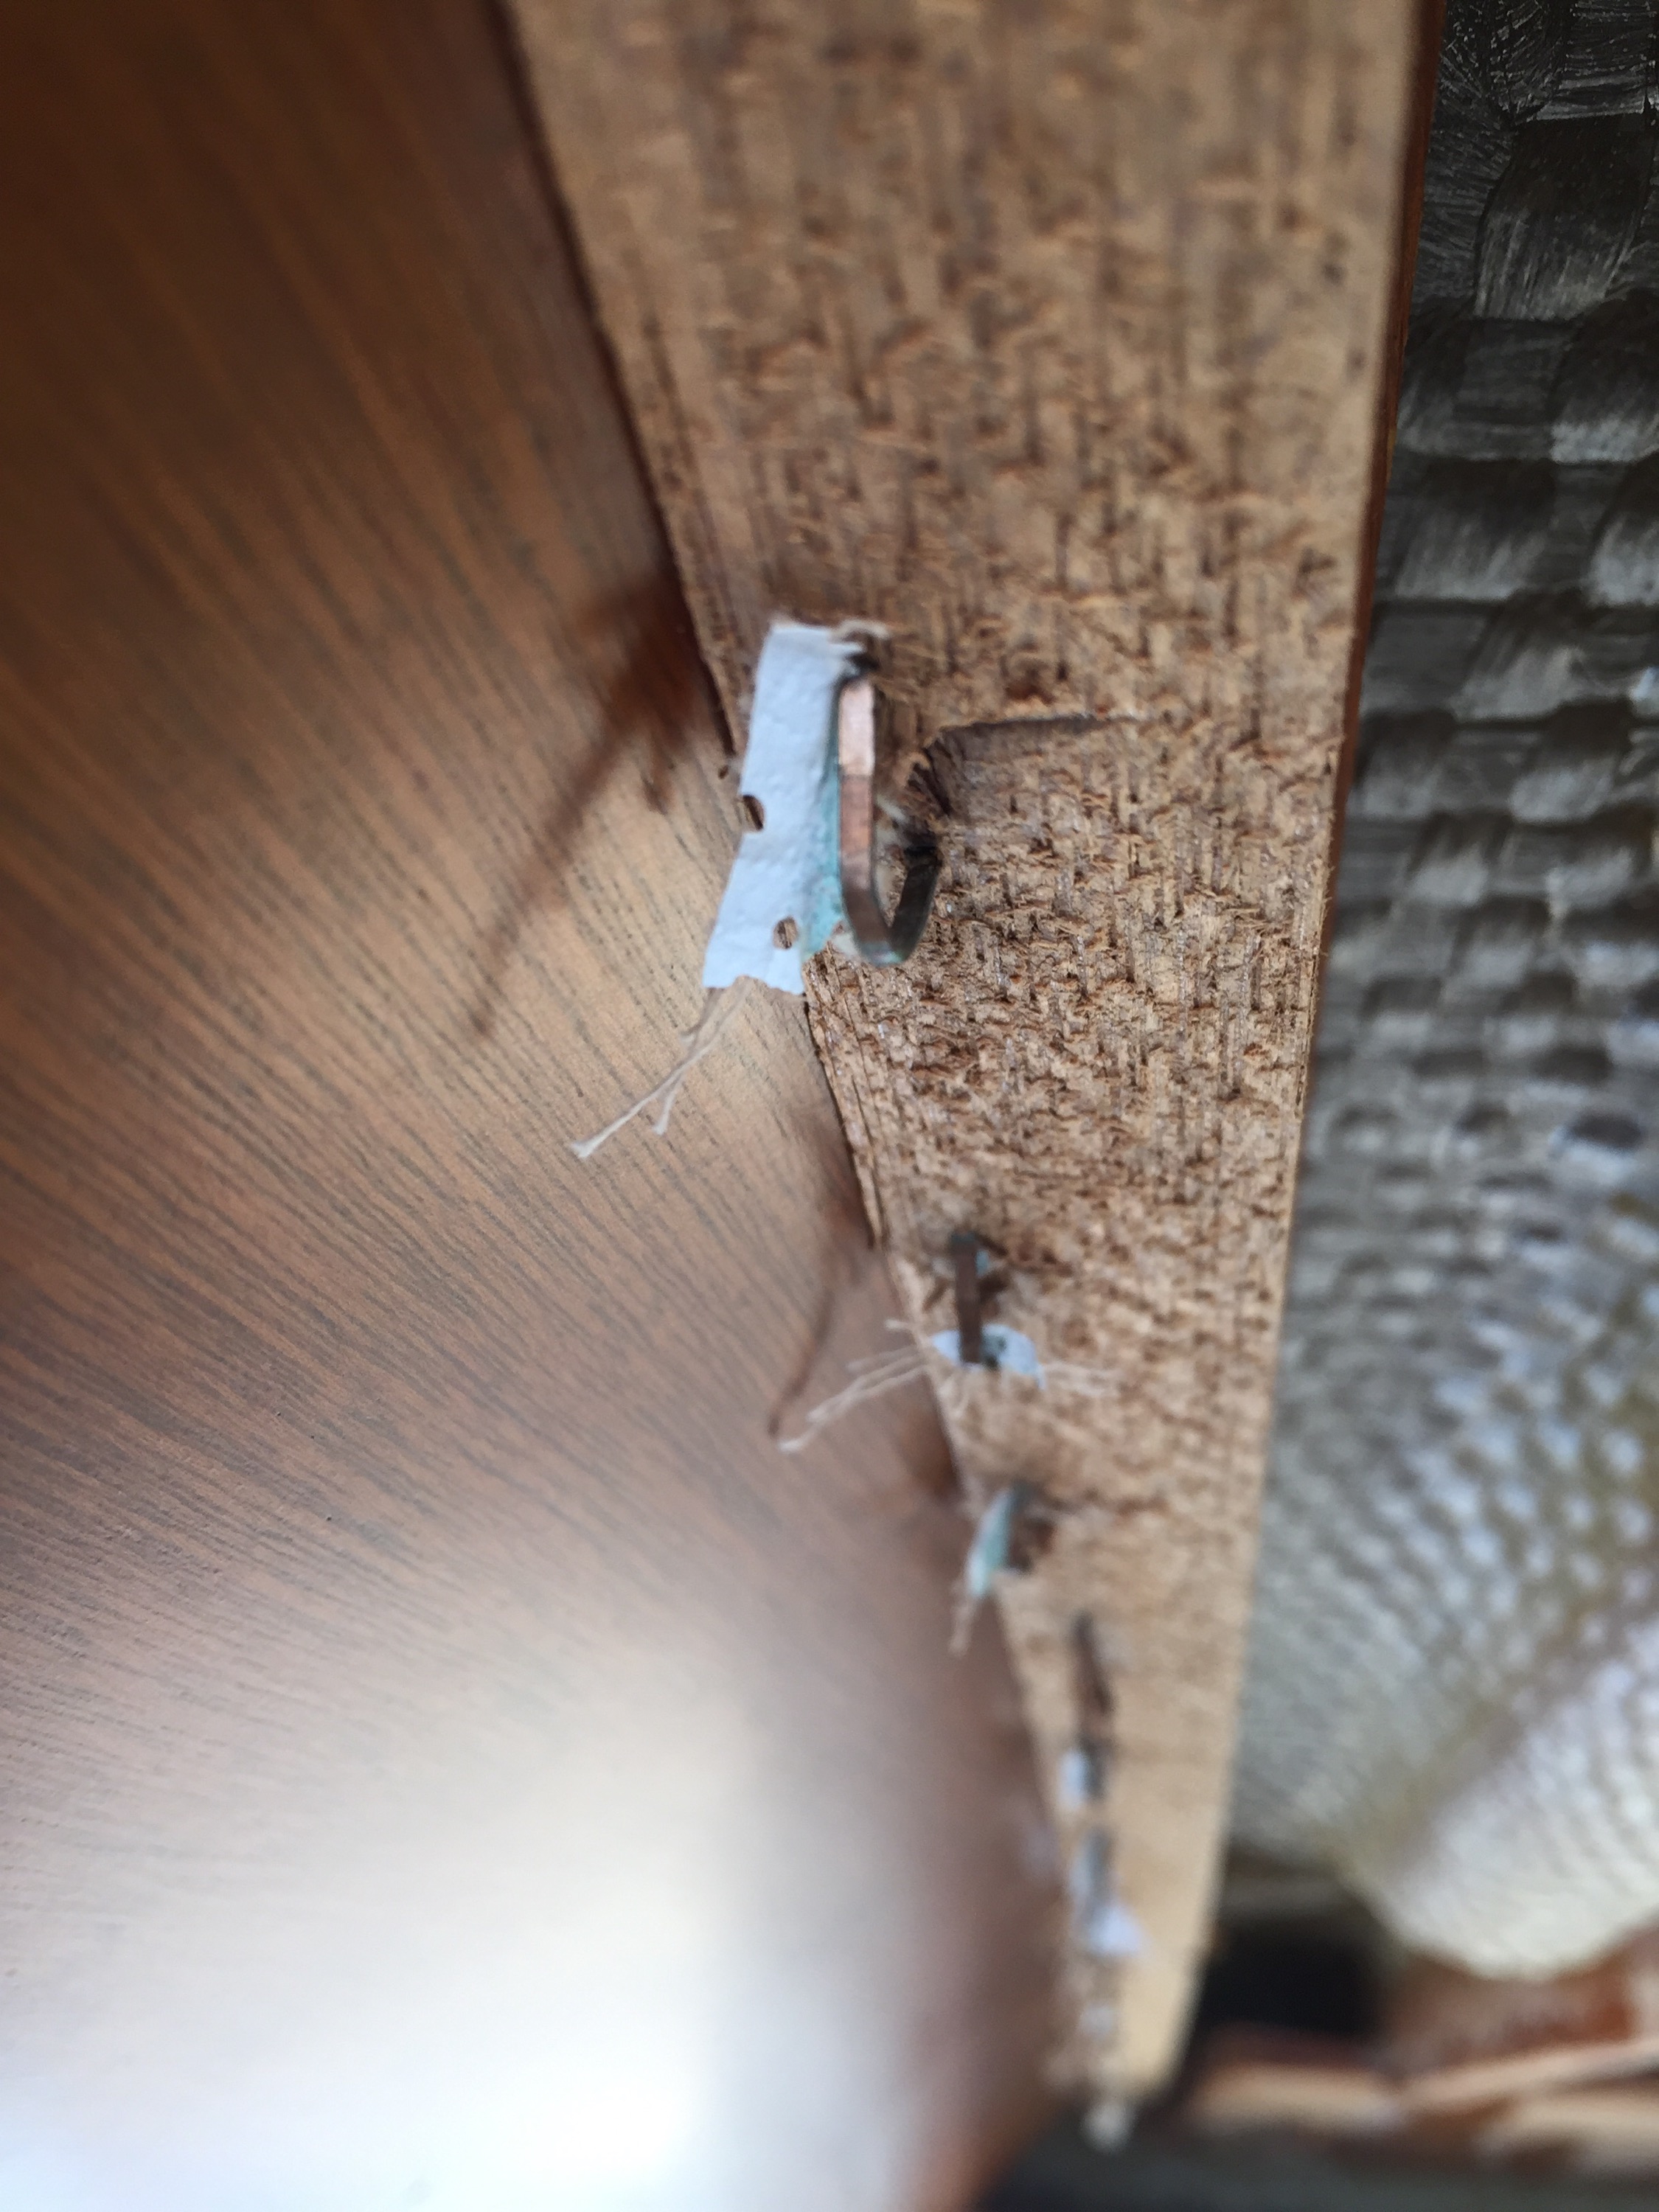
Replacement began with ripping out the old, original vinyl material. That part goes pretty quick, except for the thousand or so staples holding everything in place.
 A few years back, I replaced the headliner under my hardtop, so I was rather familiar with the project. It’s not rocket science, but is time consuming and taking one’s time and taking good measurements pays off. I followed pretty much the same process as I did for the hardtop; cut headliner panels from 1/8″ mahogany door skin, which I wrapped with perforated vinyl headliner material. One thing I did differently this time was to paint the panels with primer to give the spray adhesive something to stick to, as there are portions of the other headliner where the adhesive has failed.
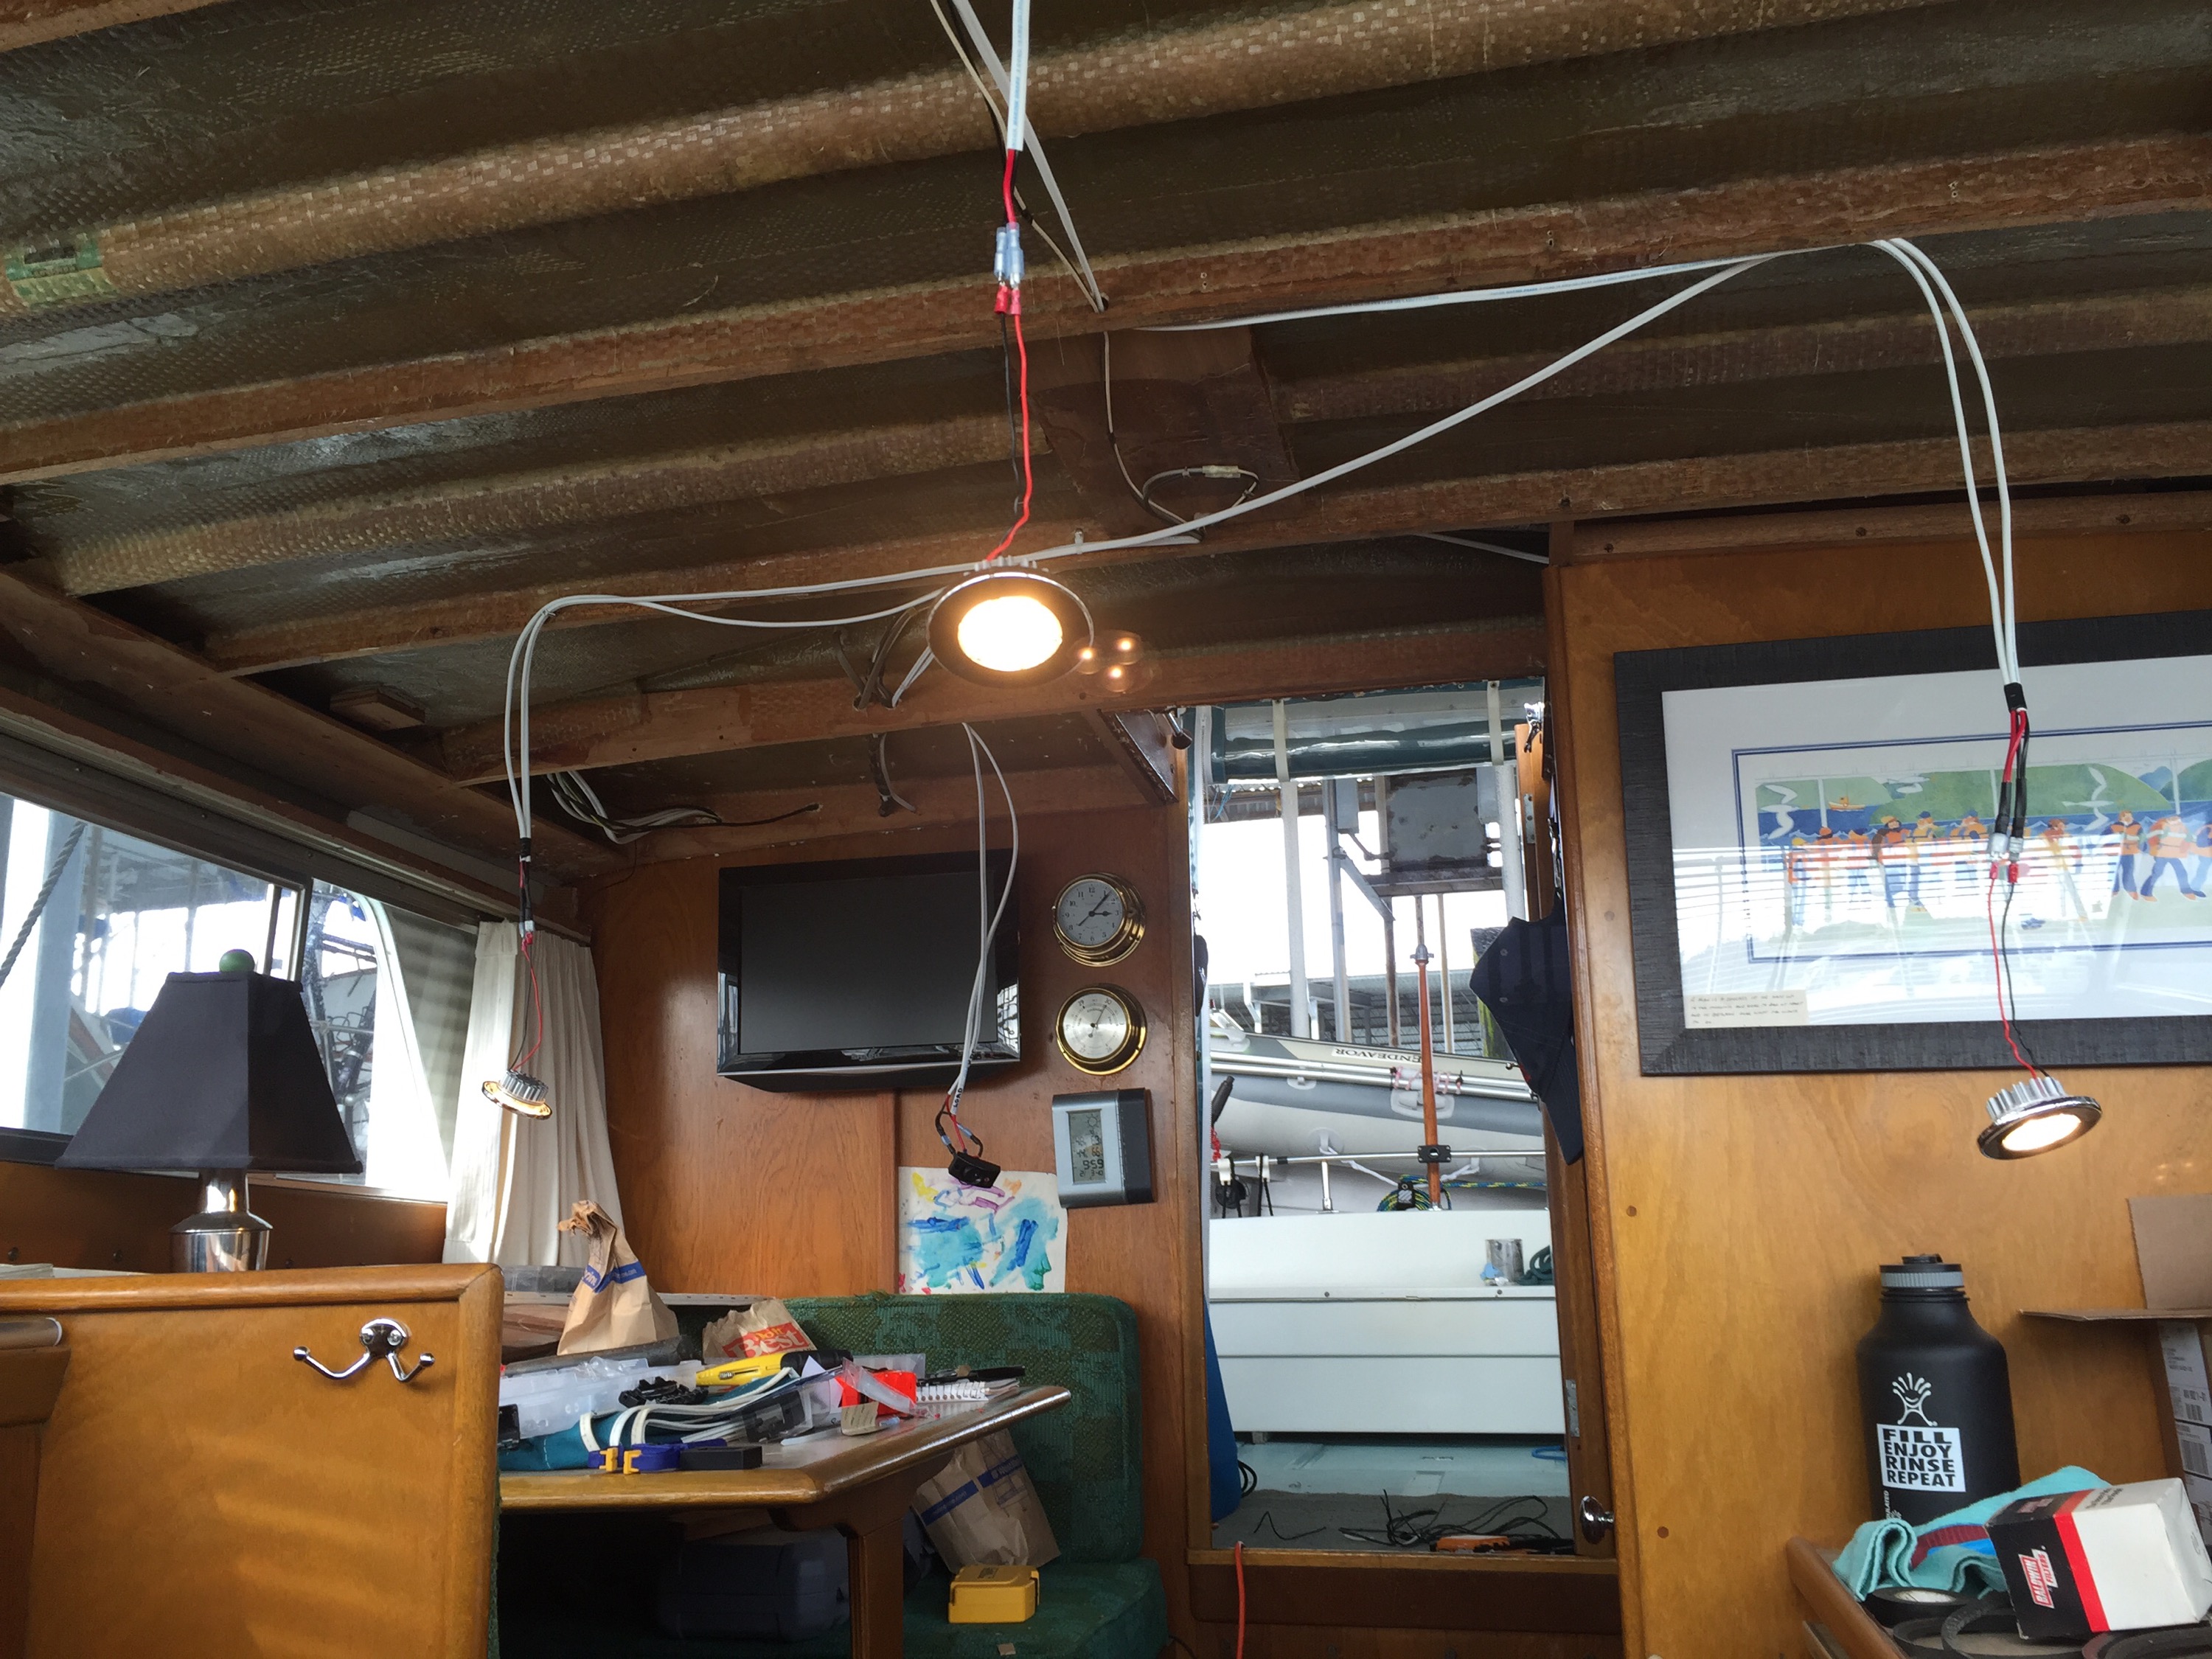
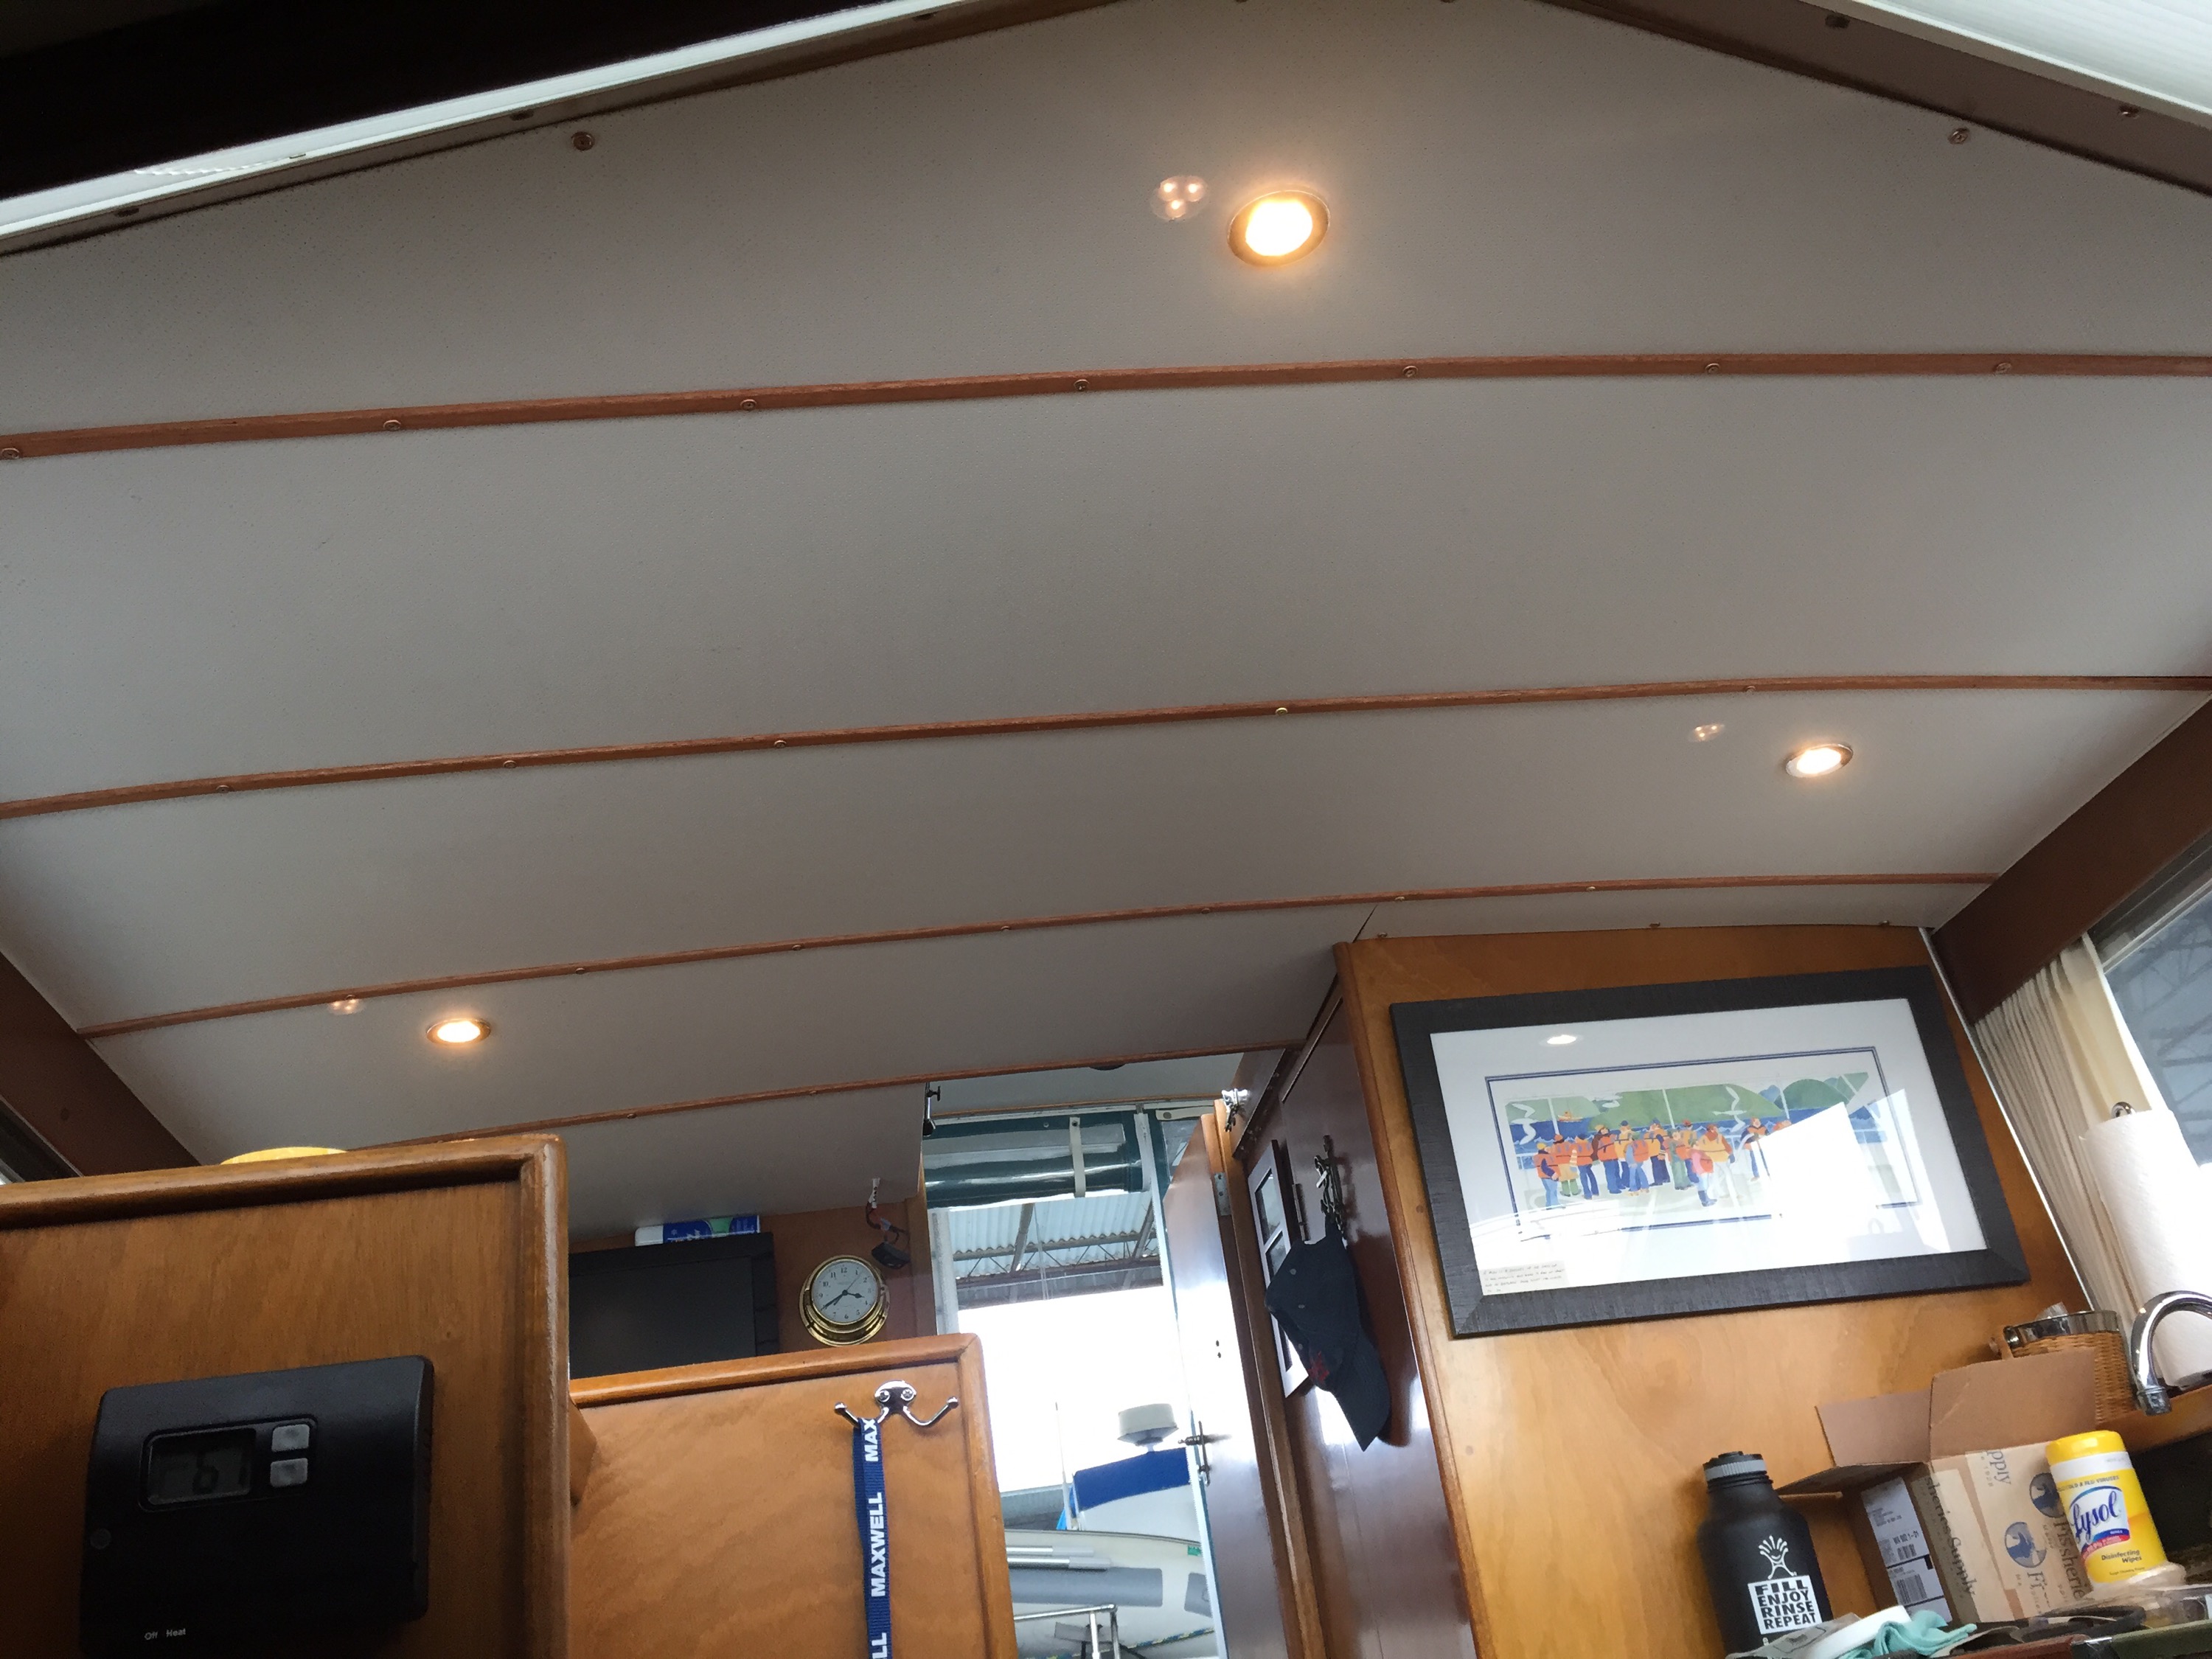
Before installing the panels, I ran wiring and installed switches for recessed LED lighting. I installed three lights in the main cabin area, one in the head, and one in the vee-berth, which is plenty of light, using a fraction of the 12 volt power the old lights did.
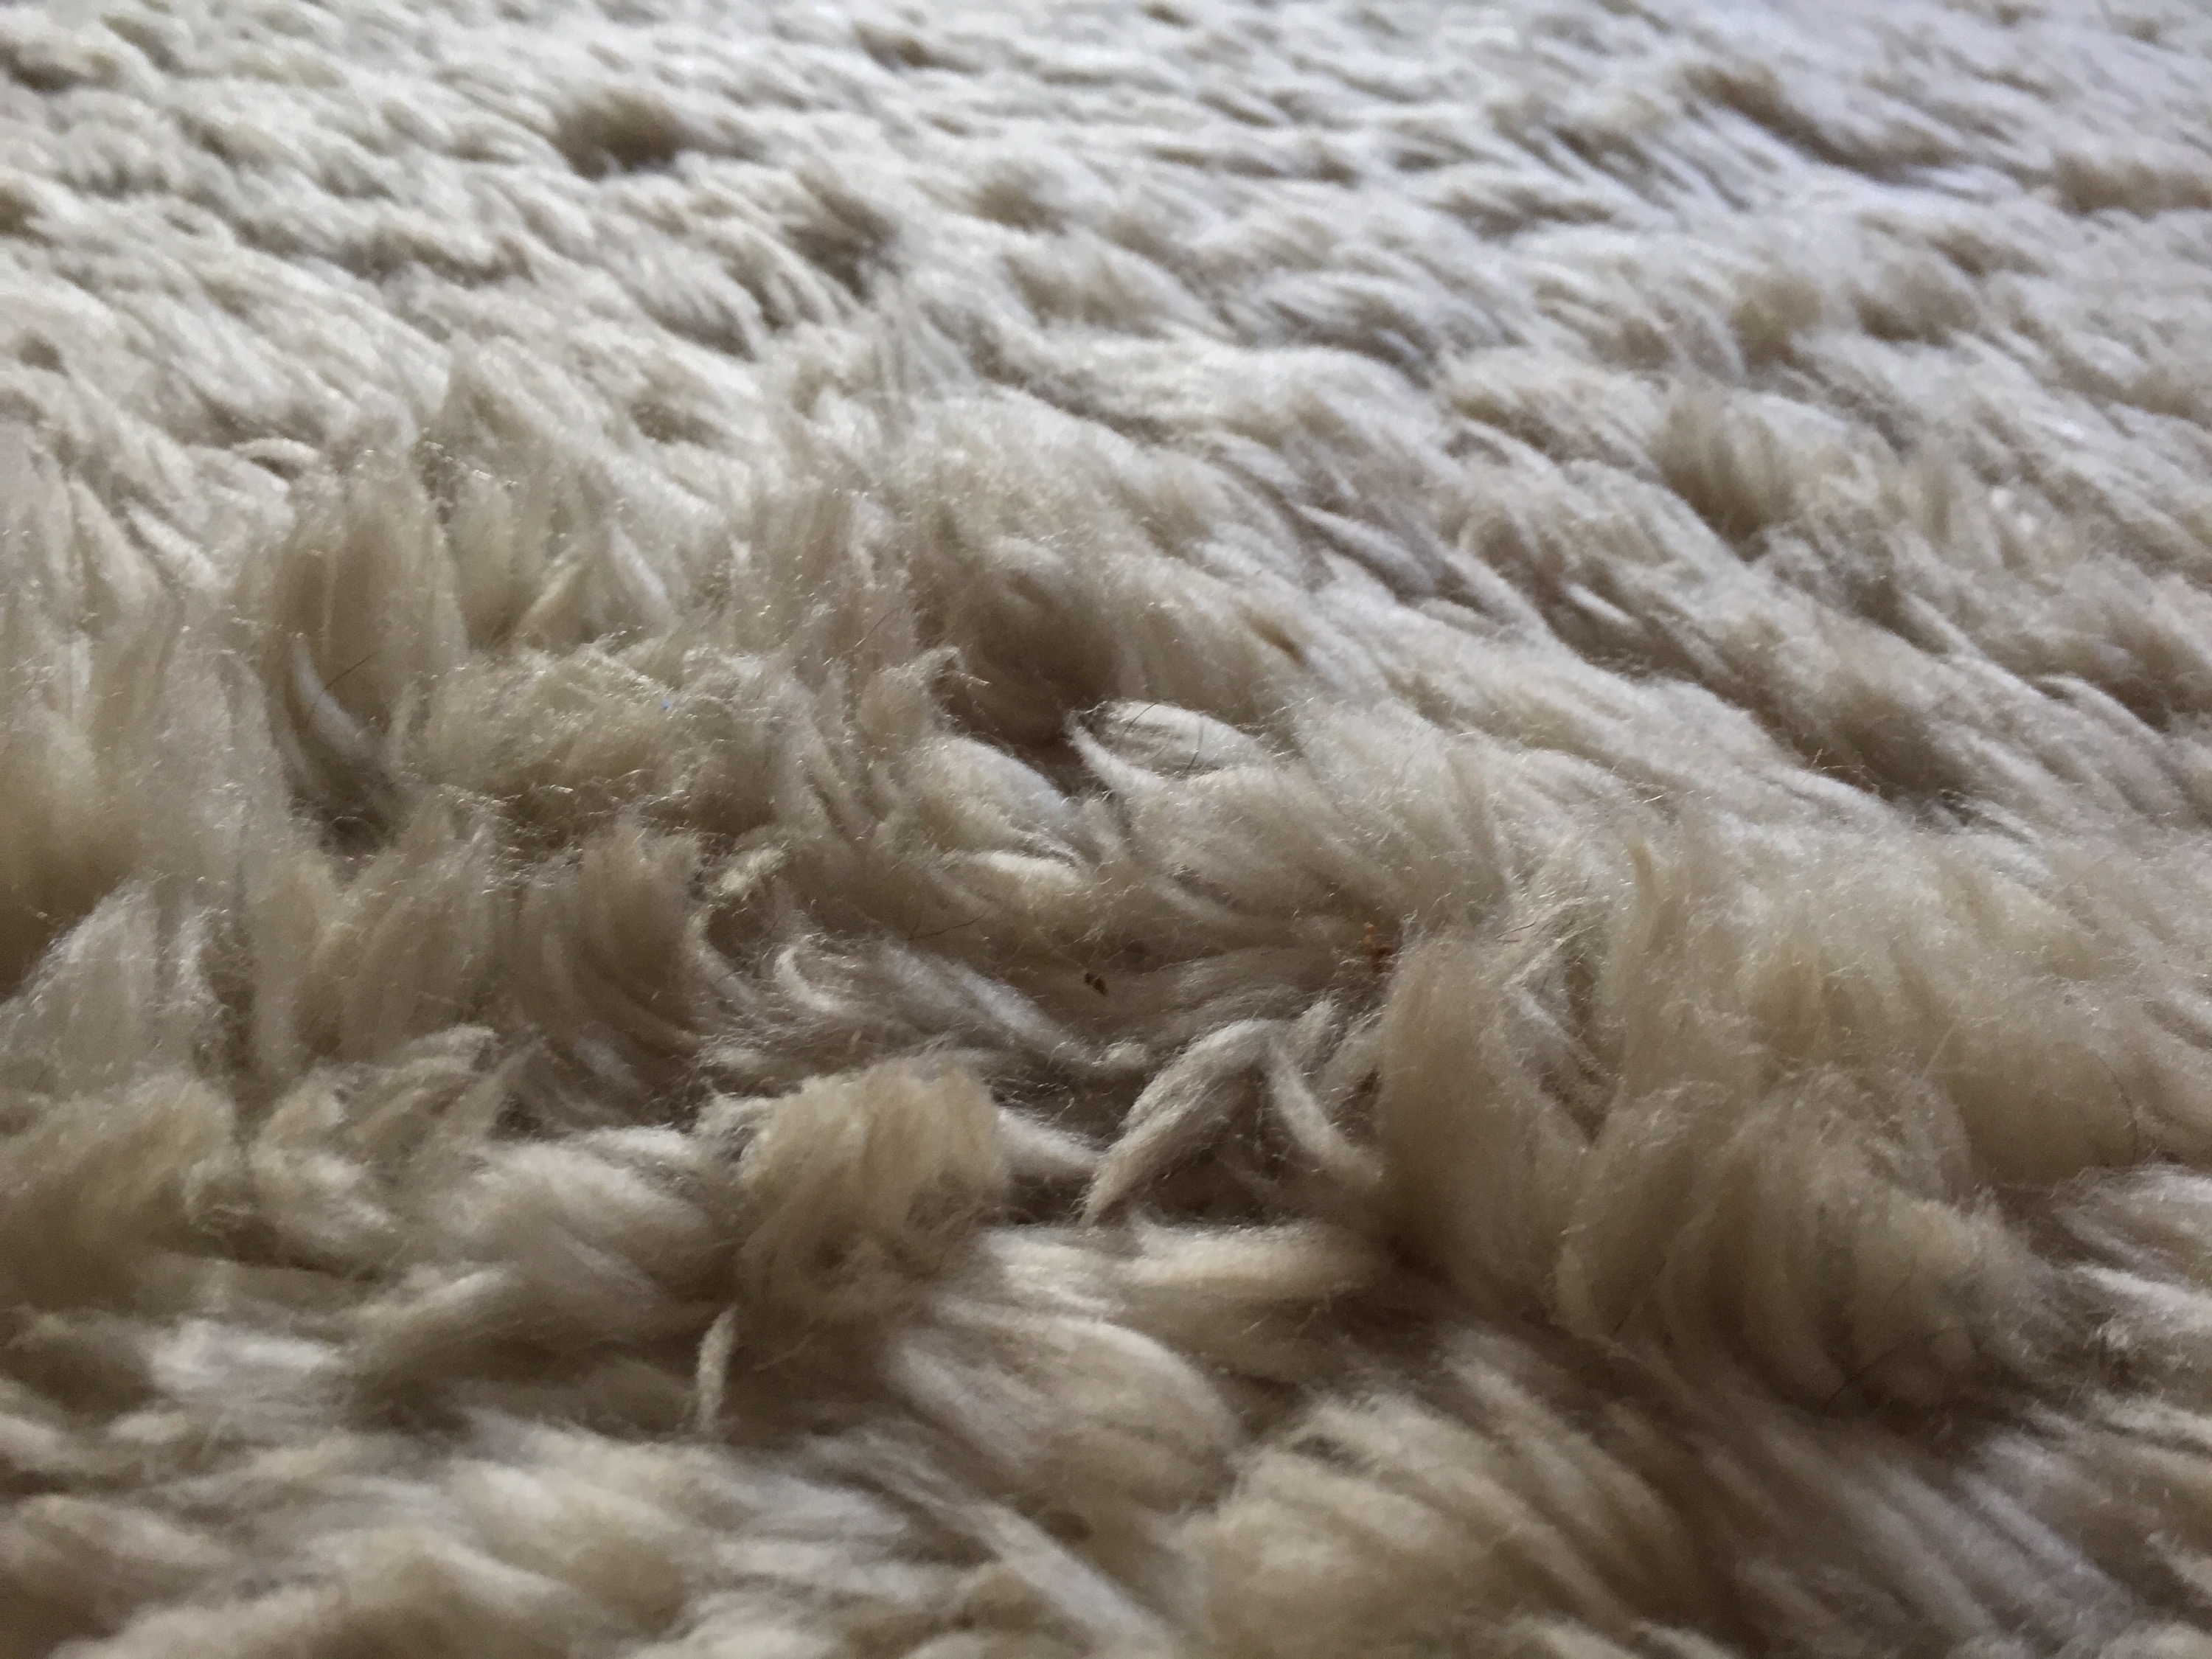
In 1970, when Jolly Mon was built, shag carpeting was the craze and was installed to line the hull in the vee-berth and dinette area. It simply had to go, and before completing the headliner, I installed new carpet. I didn’t realize just how gross it was until I began pulling it out. After using the removed pieces as templates for the new carpet, in to the dumpster the old shag went.
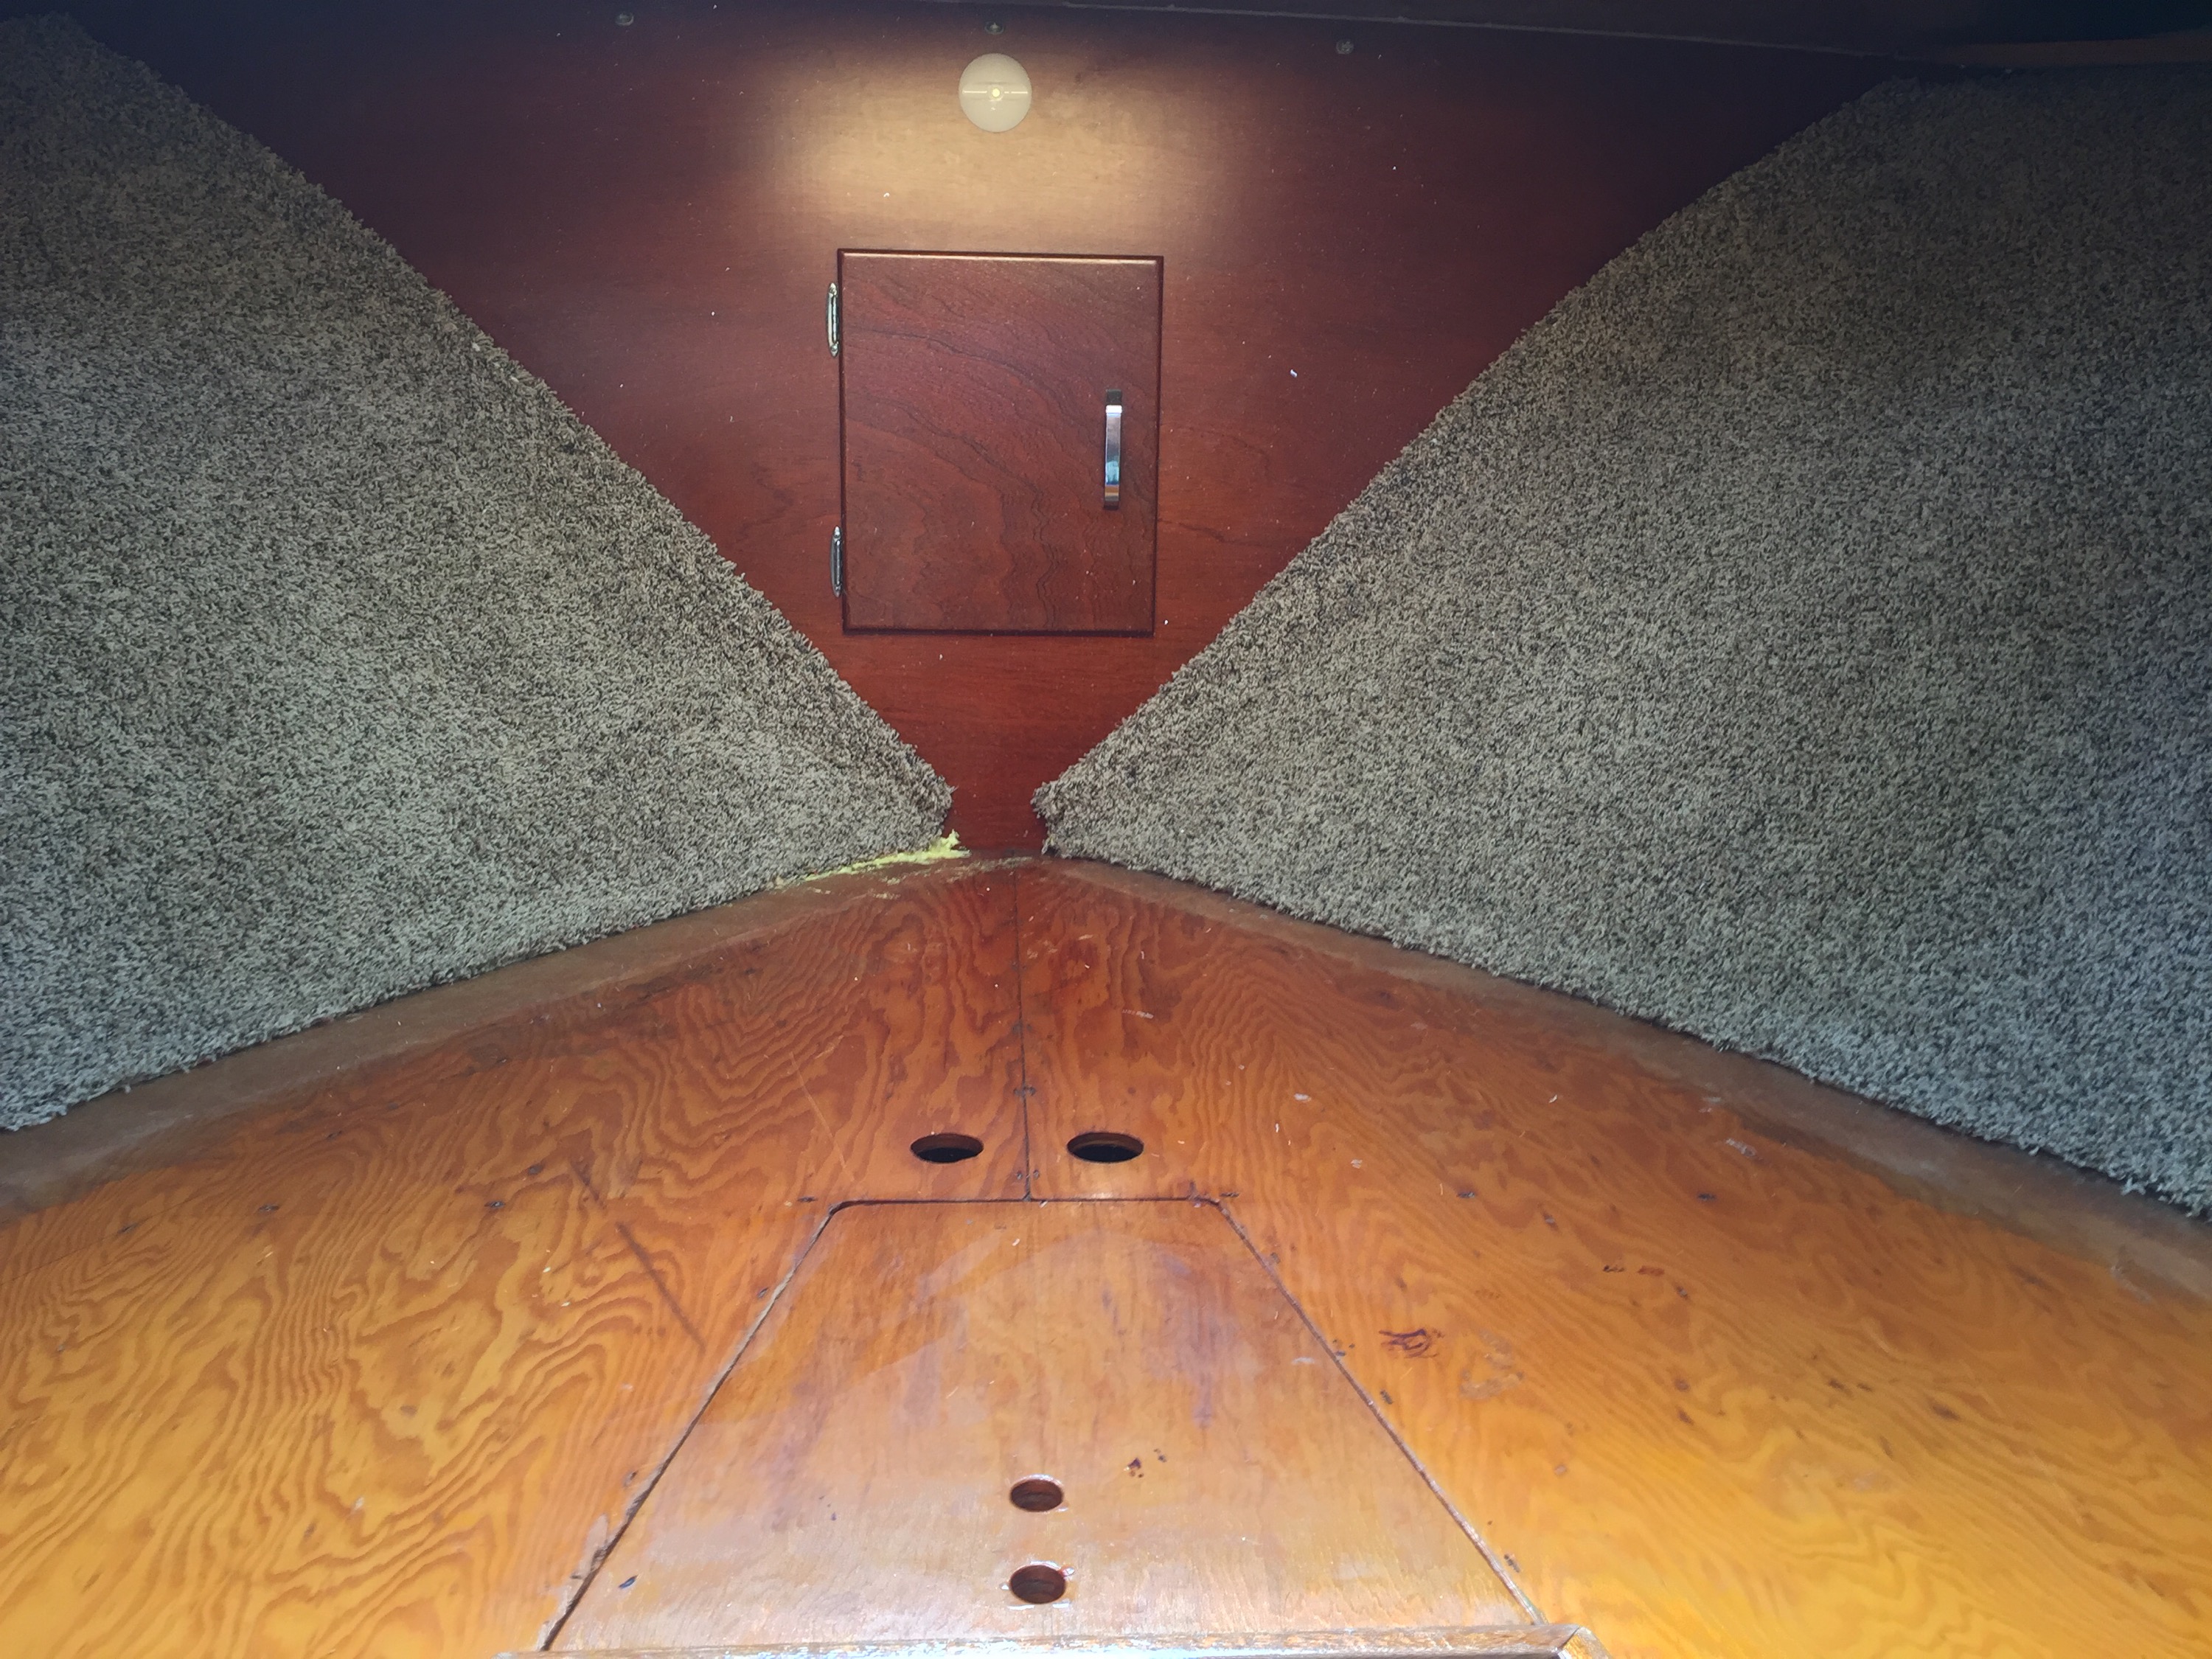
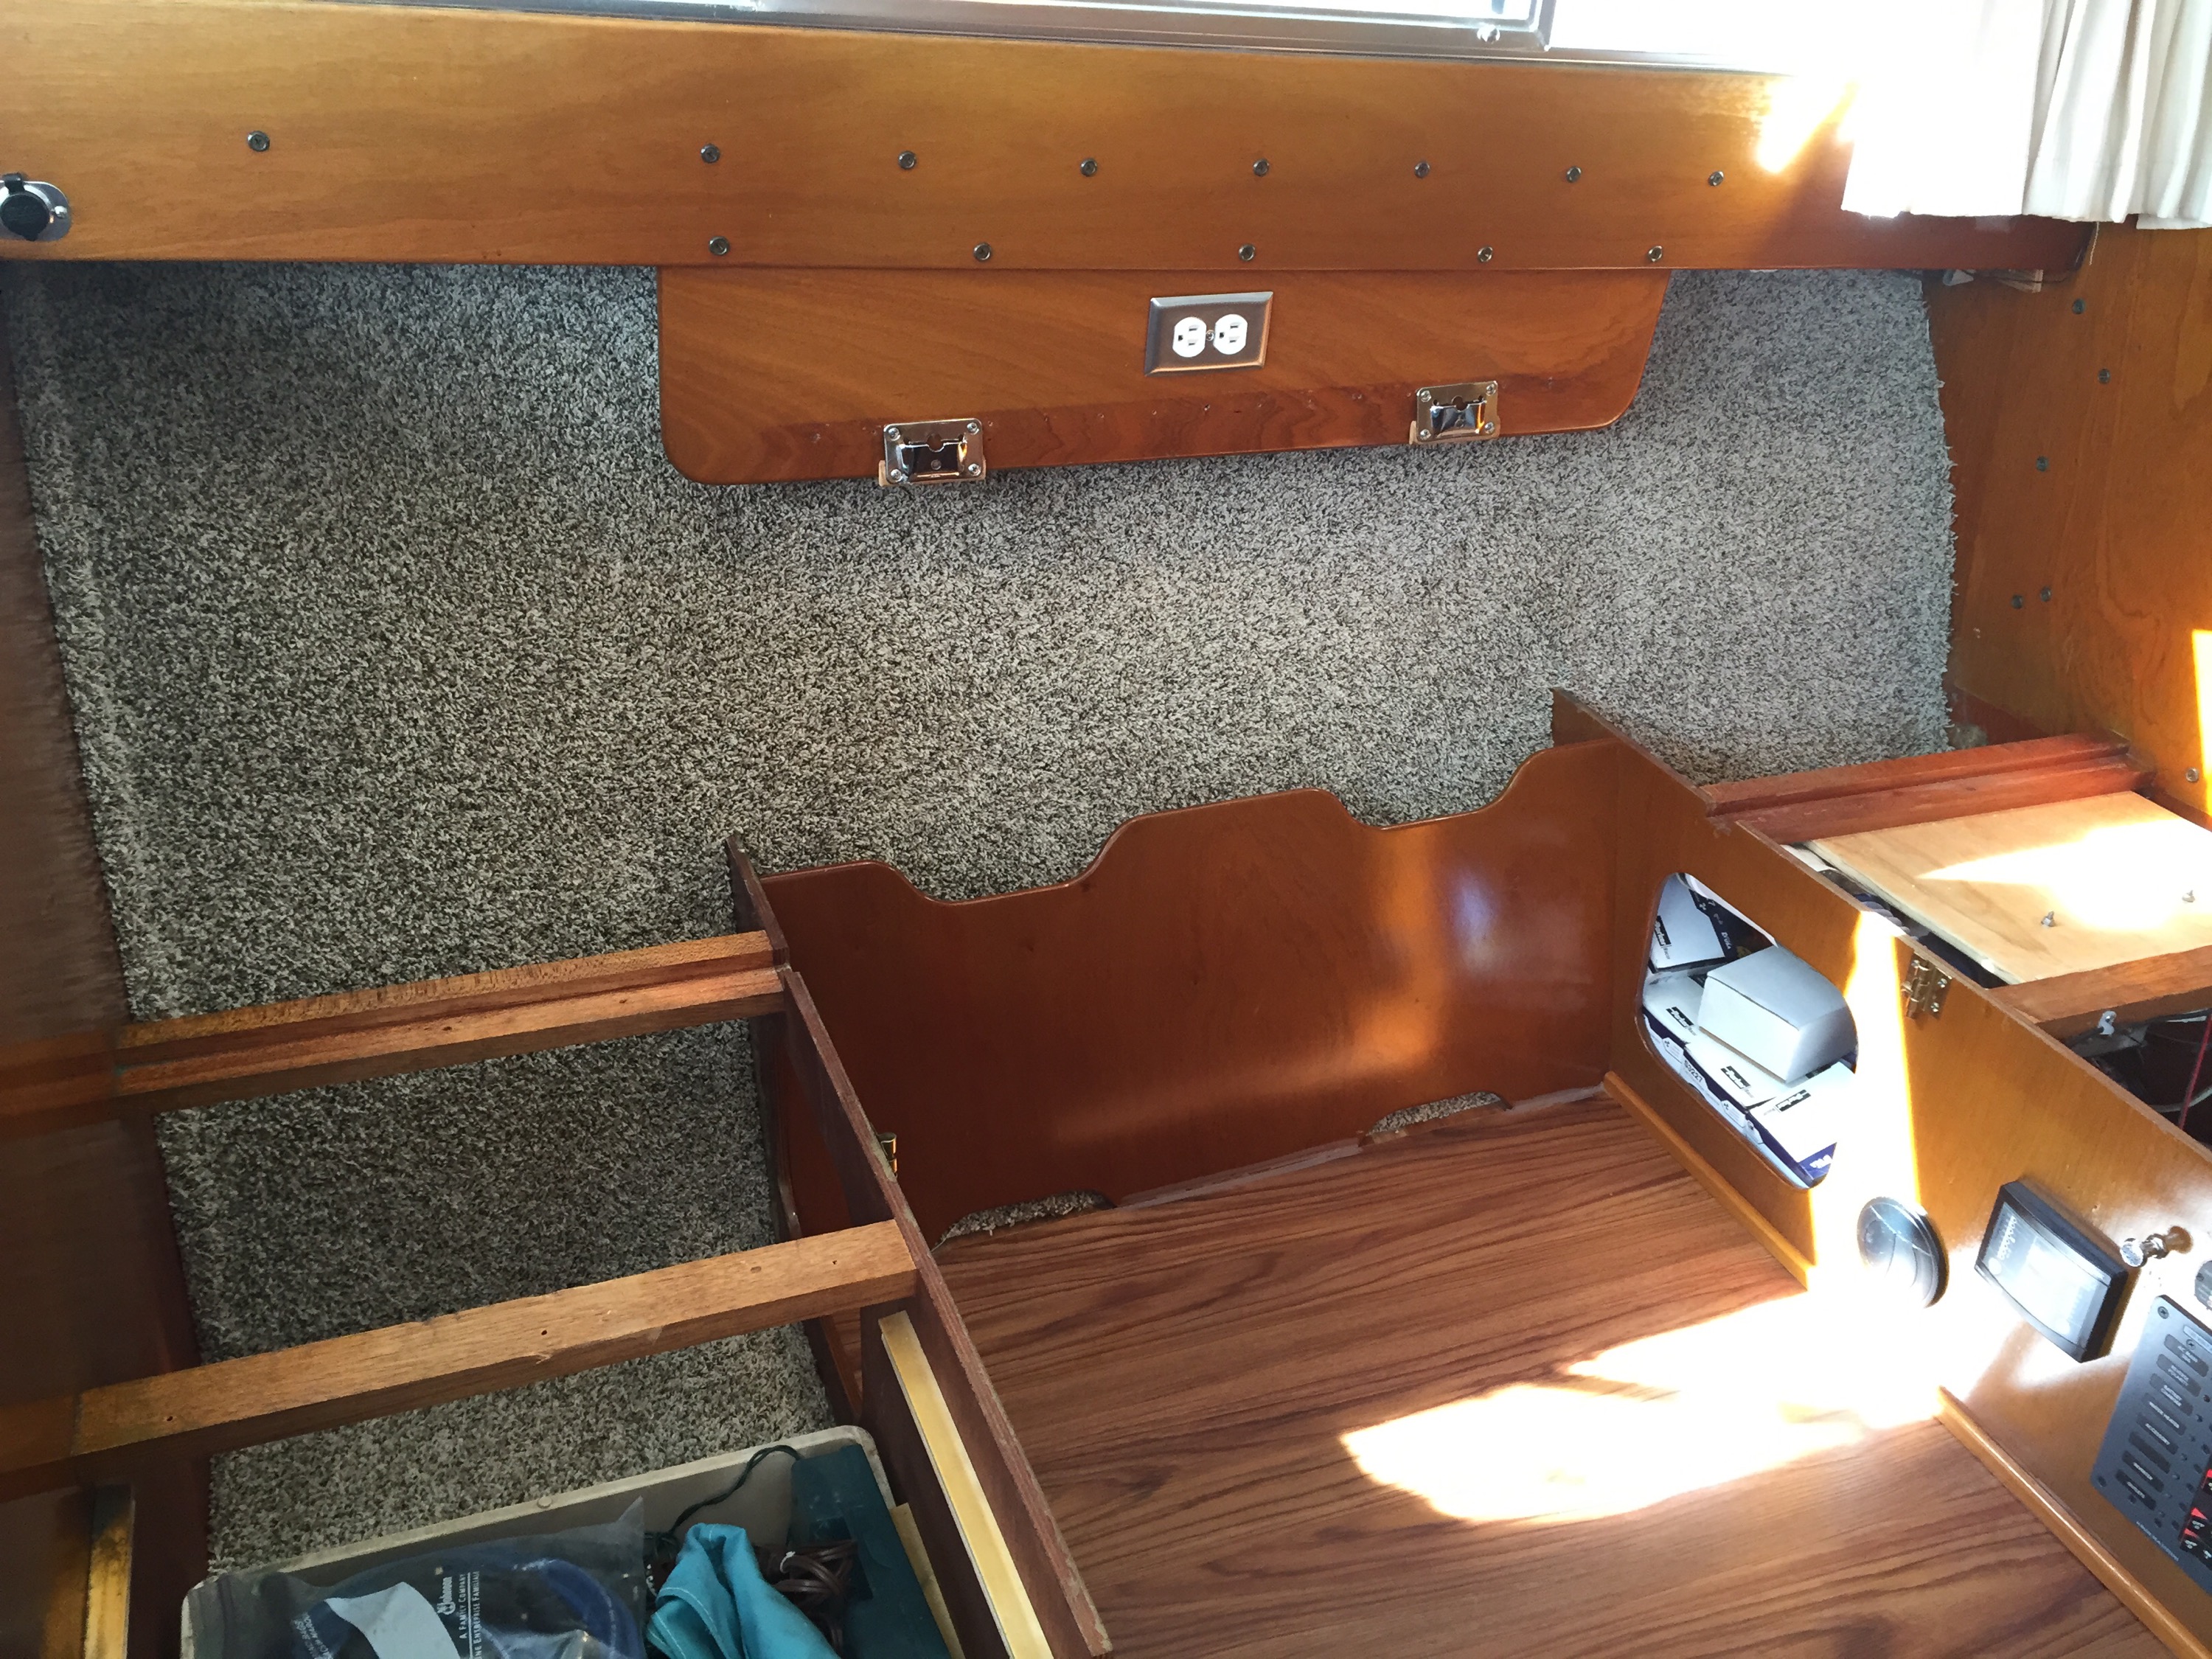
 Installing the new carpet was actually pretty easy. After fitting and trimming the carpet sections, I applied heavy duty carpet adhesive to the inside of the hull with a notched trowel and simply pressed the new carpet in place. Where the carpet terminated at bulkheads, I folded the carpet over on itself and secured with staples, leaving a nice clean edge.
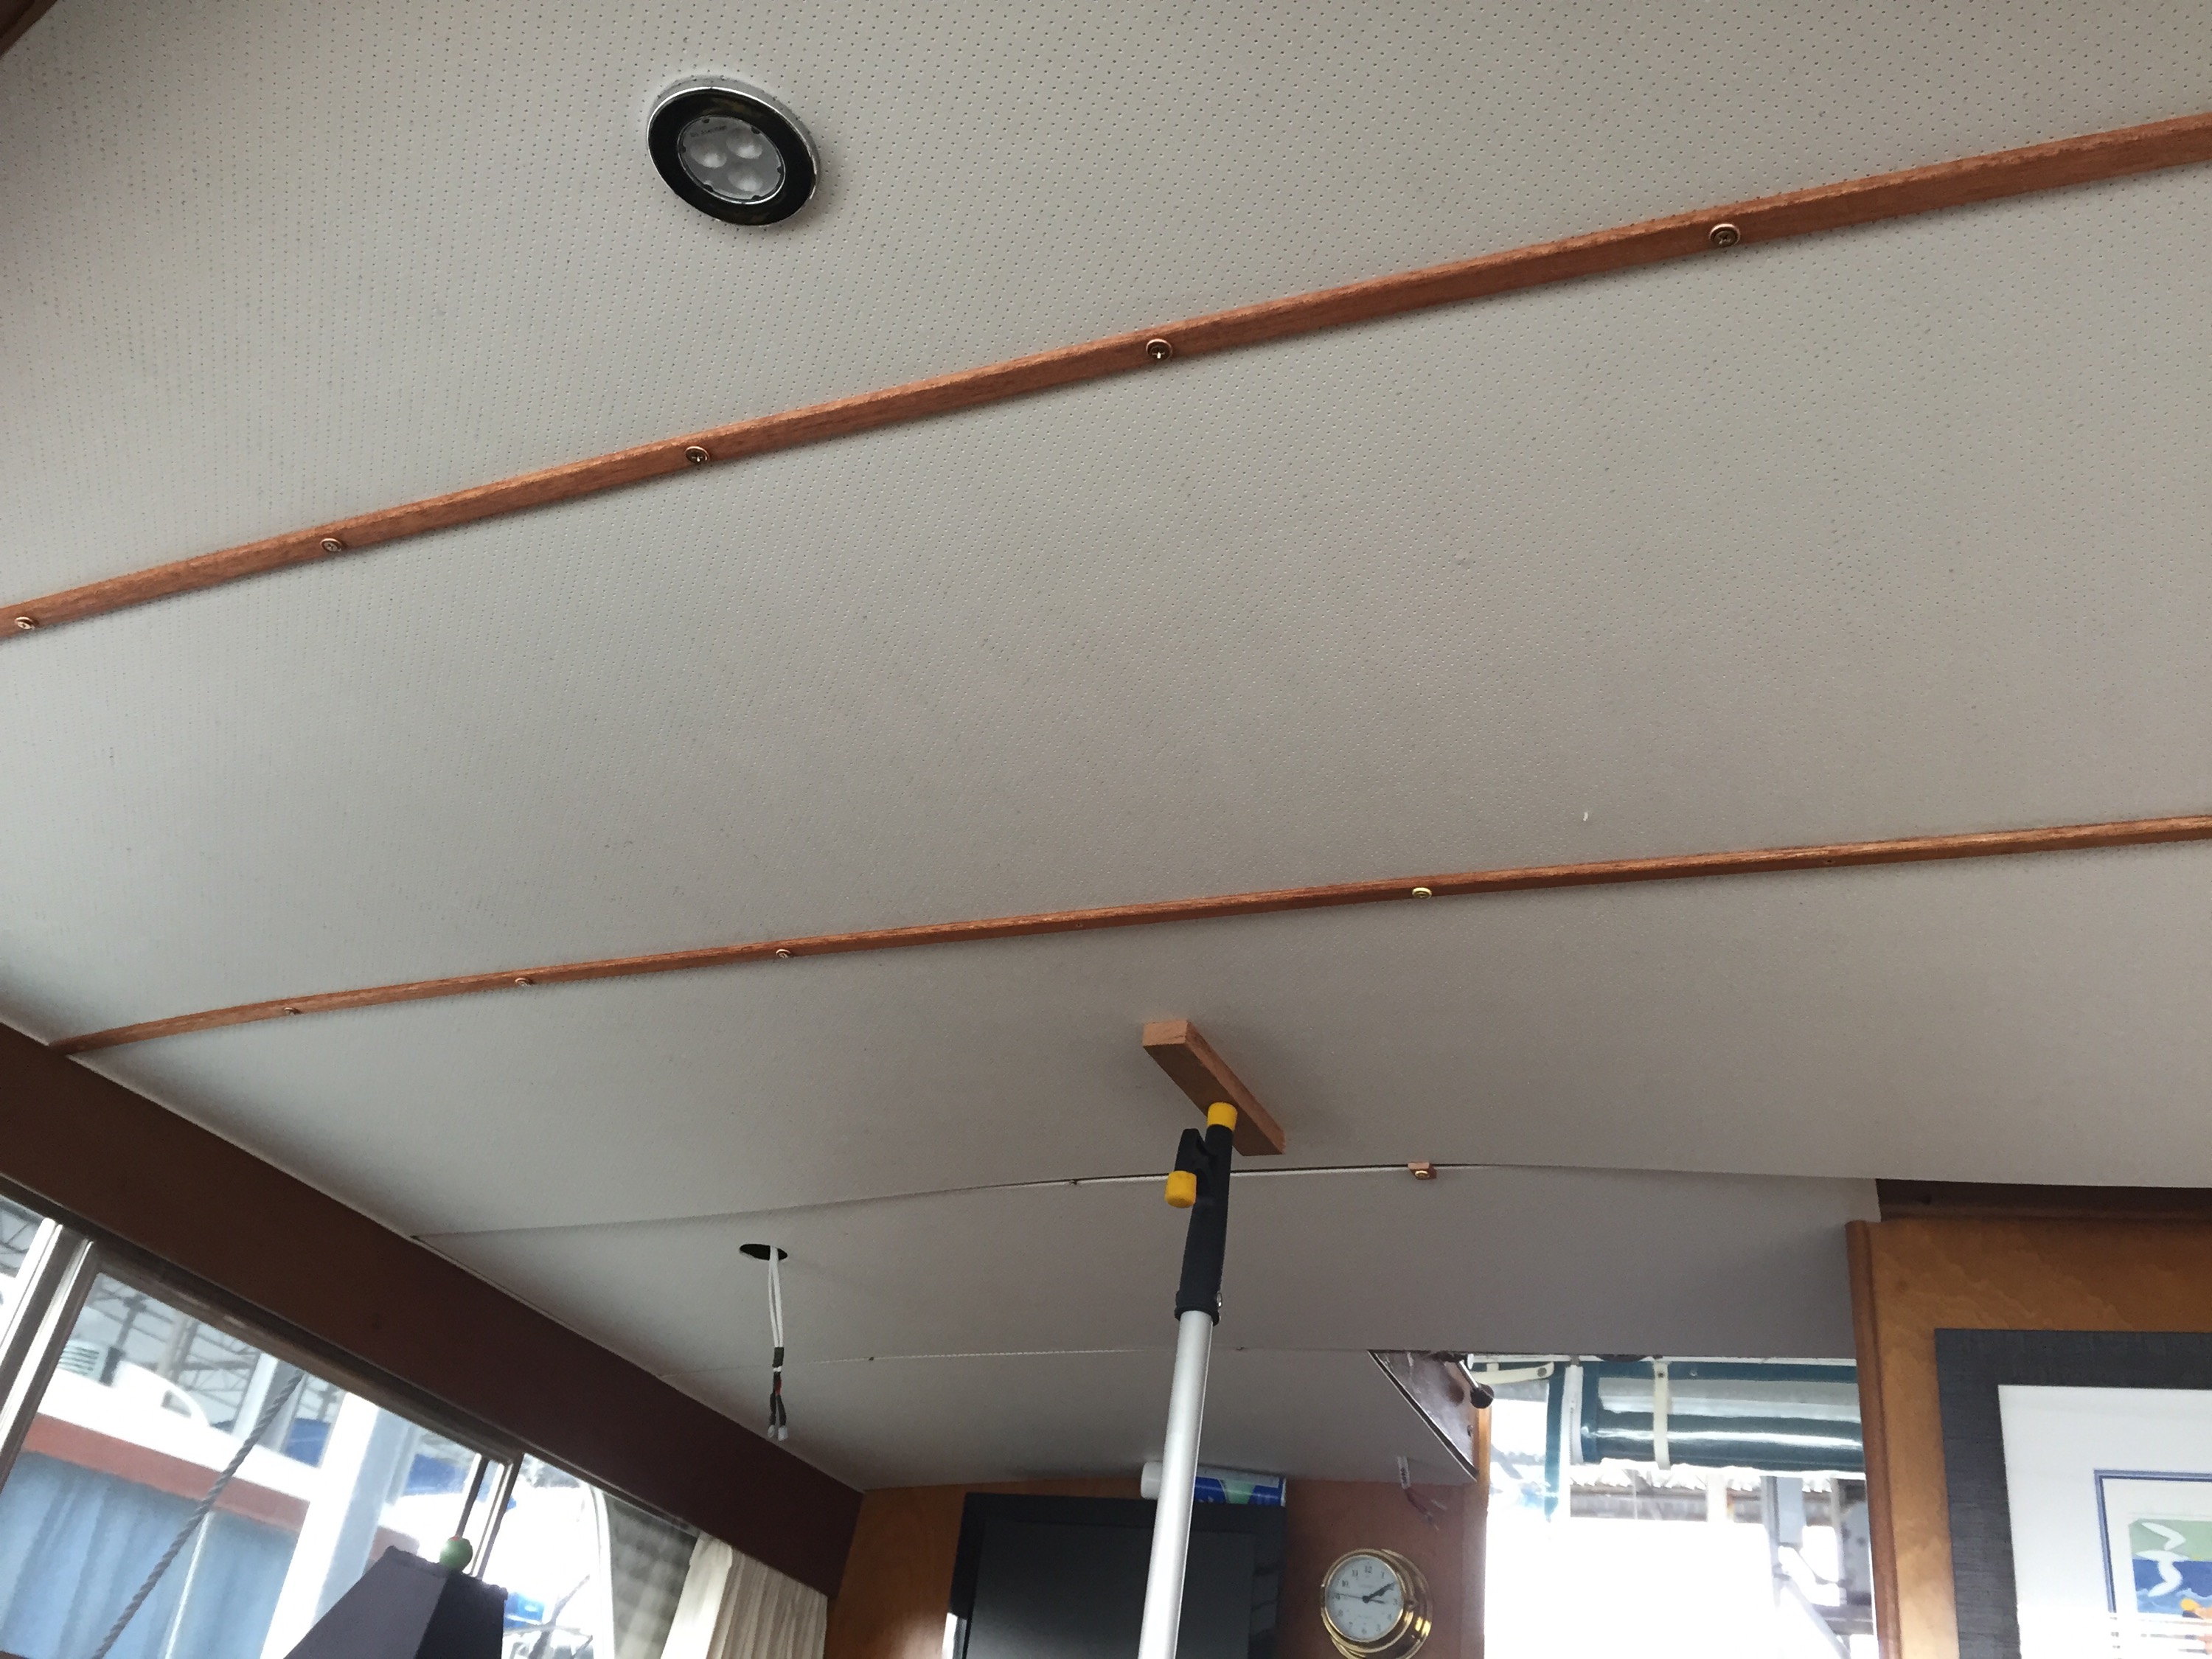
Eventually, it was time to being actually putting things back together, rather than just tear things apart. After re-bedding deck hardware that was accessible with the headliner removed, I began to put the headliner panels in place. I found that two telescoping boat hooks worked very well to hold the panels in place during installation.
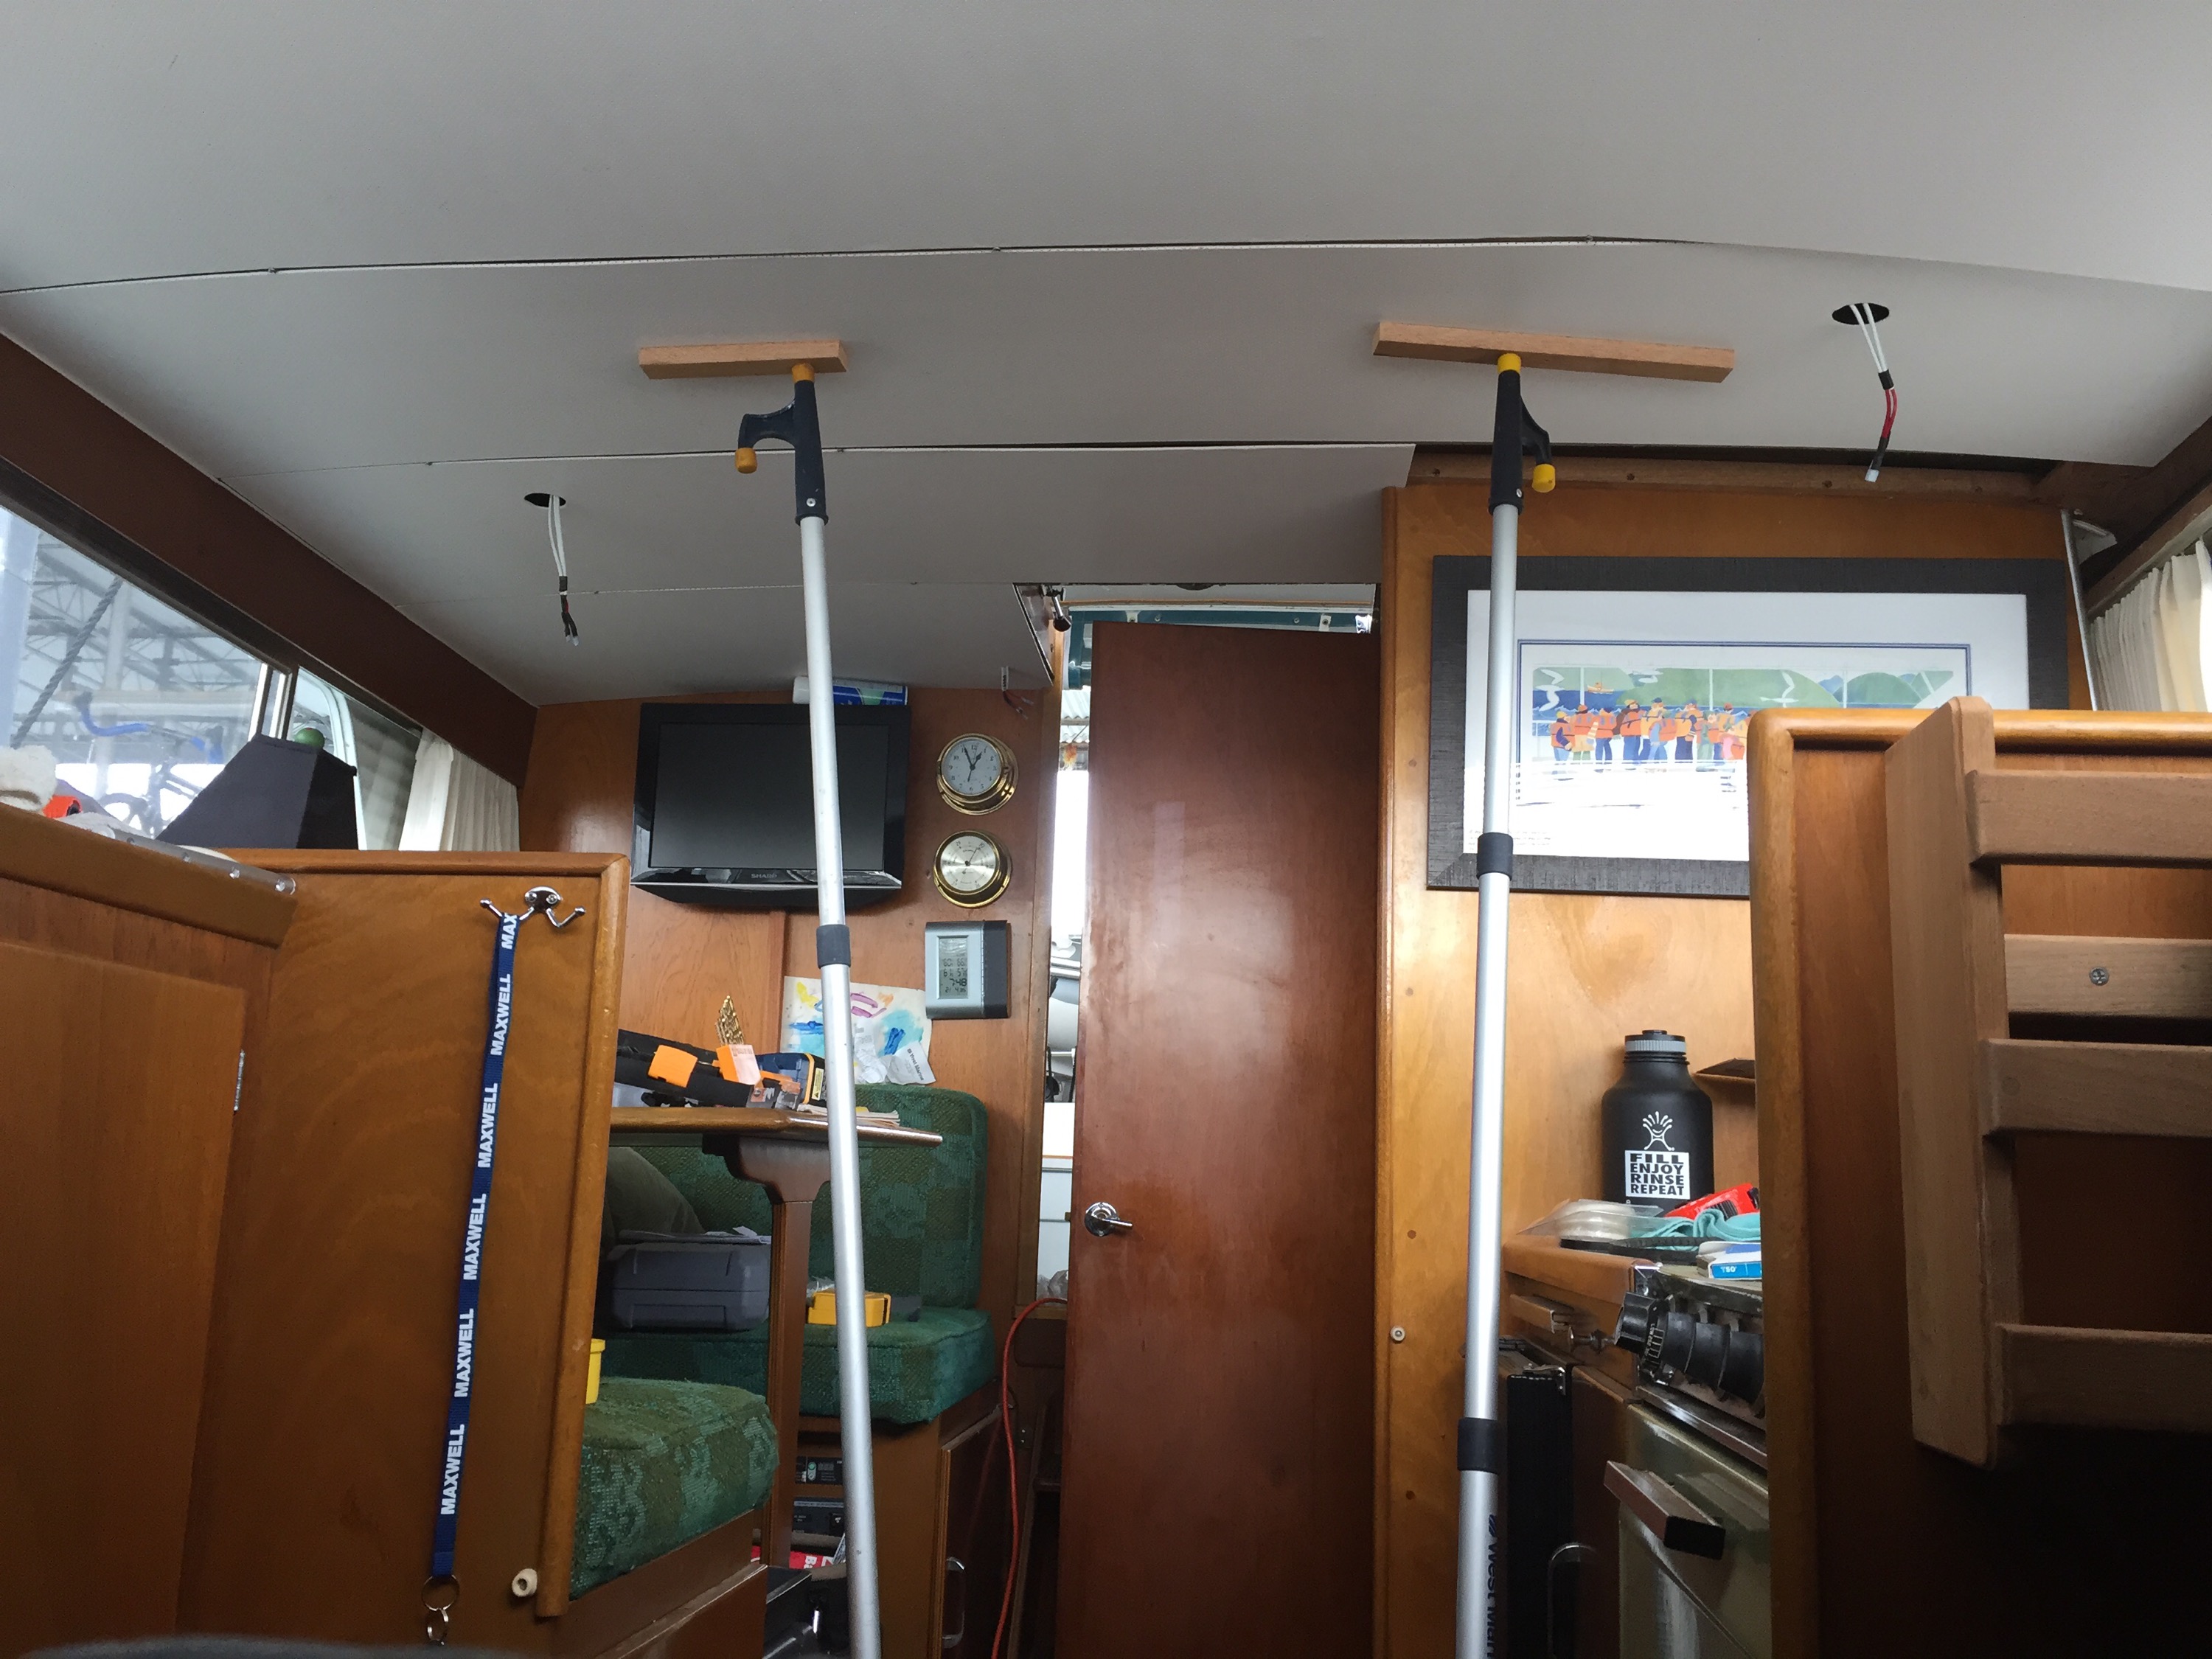
The panels are held in place by mahogany battens and bronze screws and finish washers. I made the battens by ripping 1×4 mahogany with my table saw and sanding them smooth.
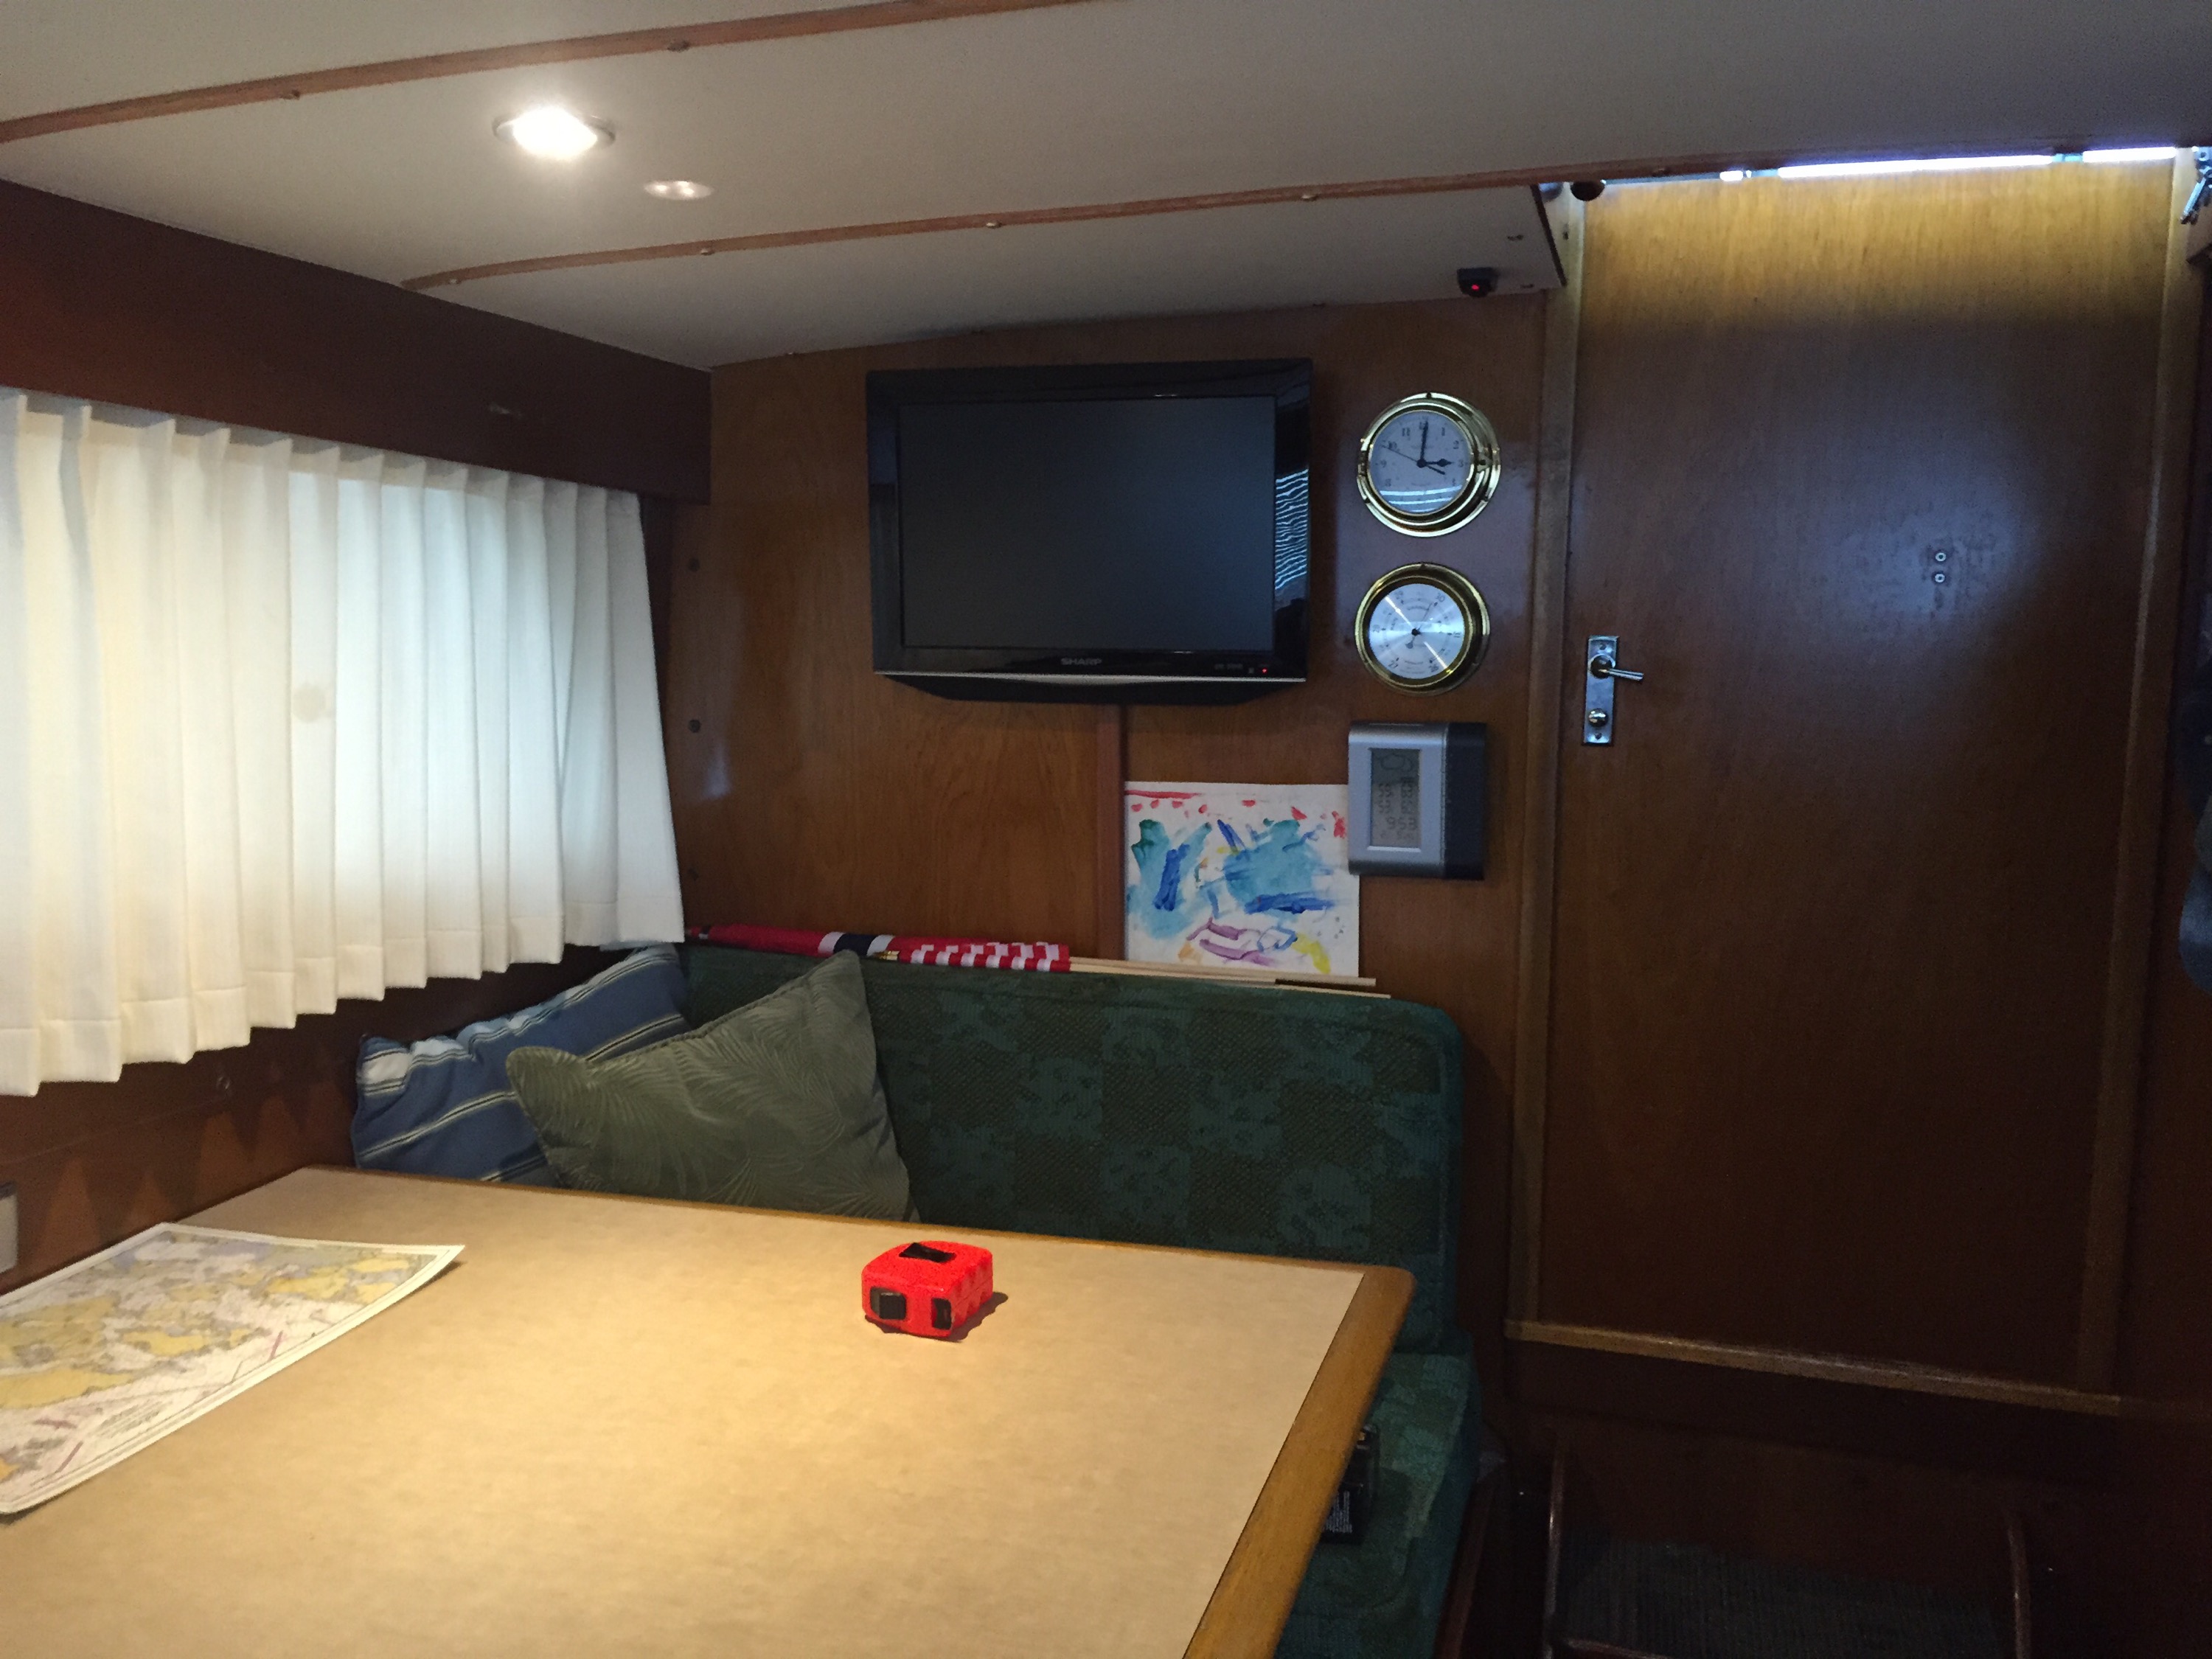 A time-consuming project, but I’m very happy with the finished product. Now that the year’s projects are complete, it’s time to go cruise!

Good looking job.
Beautiful work Steve! I’m getting ready to tear into mine and start some carpet updates also….among SEVERAL other things. Excited and intimidated at the same time! Thanks for giving me some ideas.