
I enjoy anchoring. As I gain more experience and increase my level of comfort with my skills and equipment, I’m enjoying it even more. Over the past few years, I’ve been able to drop the hook in some wonderful anchorages, but I wished I could sleep just a little better knowing I had good ground tackle working for me.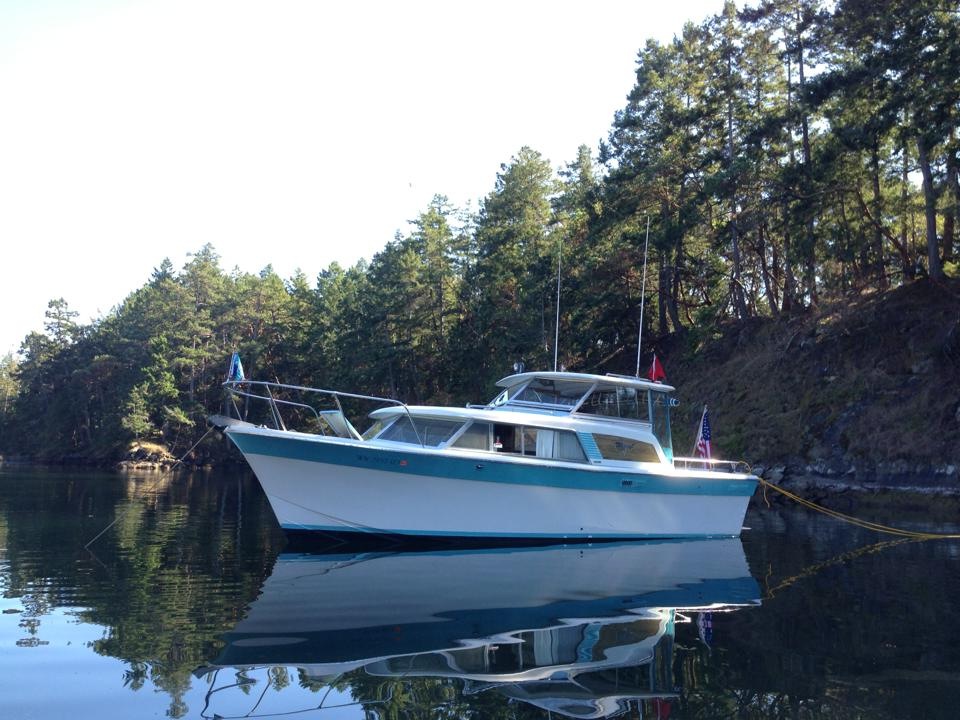
For the past several years I have been using a 22 pound Bruce Anchor and about thirty feet of chain backed up with about 150 feet of rode. It was perhaps adequate for anchoring in shallow water, but I wanted more. More chain, more rode, and the ability to deploy and retrieve it all more easily.
My evolution has been to enter an anchorage and employ a bit of guesstimation in positioning my boat anticipating where a breeze or current might take me while I scramble up to the bow to drop the anchor. Often, I’d drift off my intended target, and I would repeat the process until I was satisfied.
This year I decided to check this project off my wish list, and while this is one of those projects where other work gets done – because you “might as well” while things are torn apart – my windlass install is complete, and I’m pretty happy with the way things turned out. It took a bit of planning and cutting some big holes in my boat.
The first step was to choose a windlass. After researching several different brands and models, I chose the Maxwell RC8-6. I liked the low-profile of the vertical windlass, and personally I was more impressed with Maxwell’s features. I pretty much had to put a trusted vendor in a head lock at the Seattle boat show, but I got out of him, “I basically don’t see Maxwell windlasses come back to us with problems. I cannot say the same about other manufacturers.” I’m hoping that testimonial rings true for me.
The RC8-6 is actually “oversized” for my application, but I wanted the larger motor, and preferred the manual clutch and retrieval setup the larger model offered. Rather than a glorified allen wrench, this windlass uses an actual winch handle.
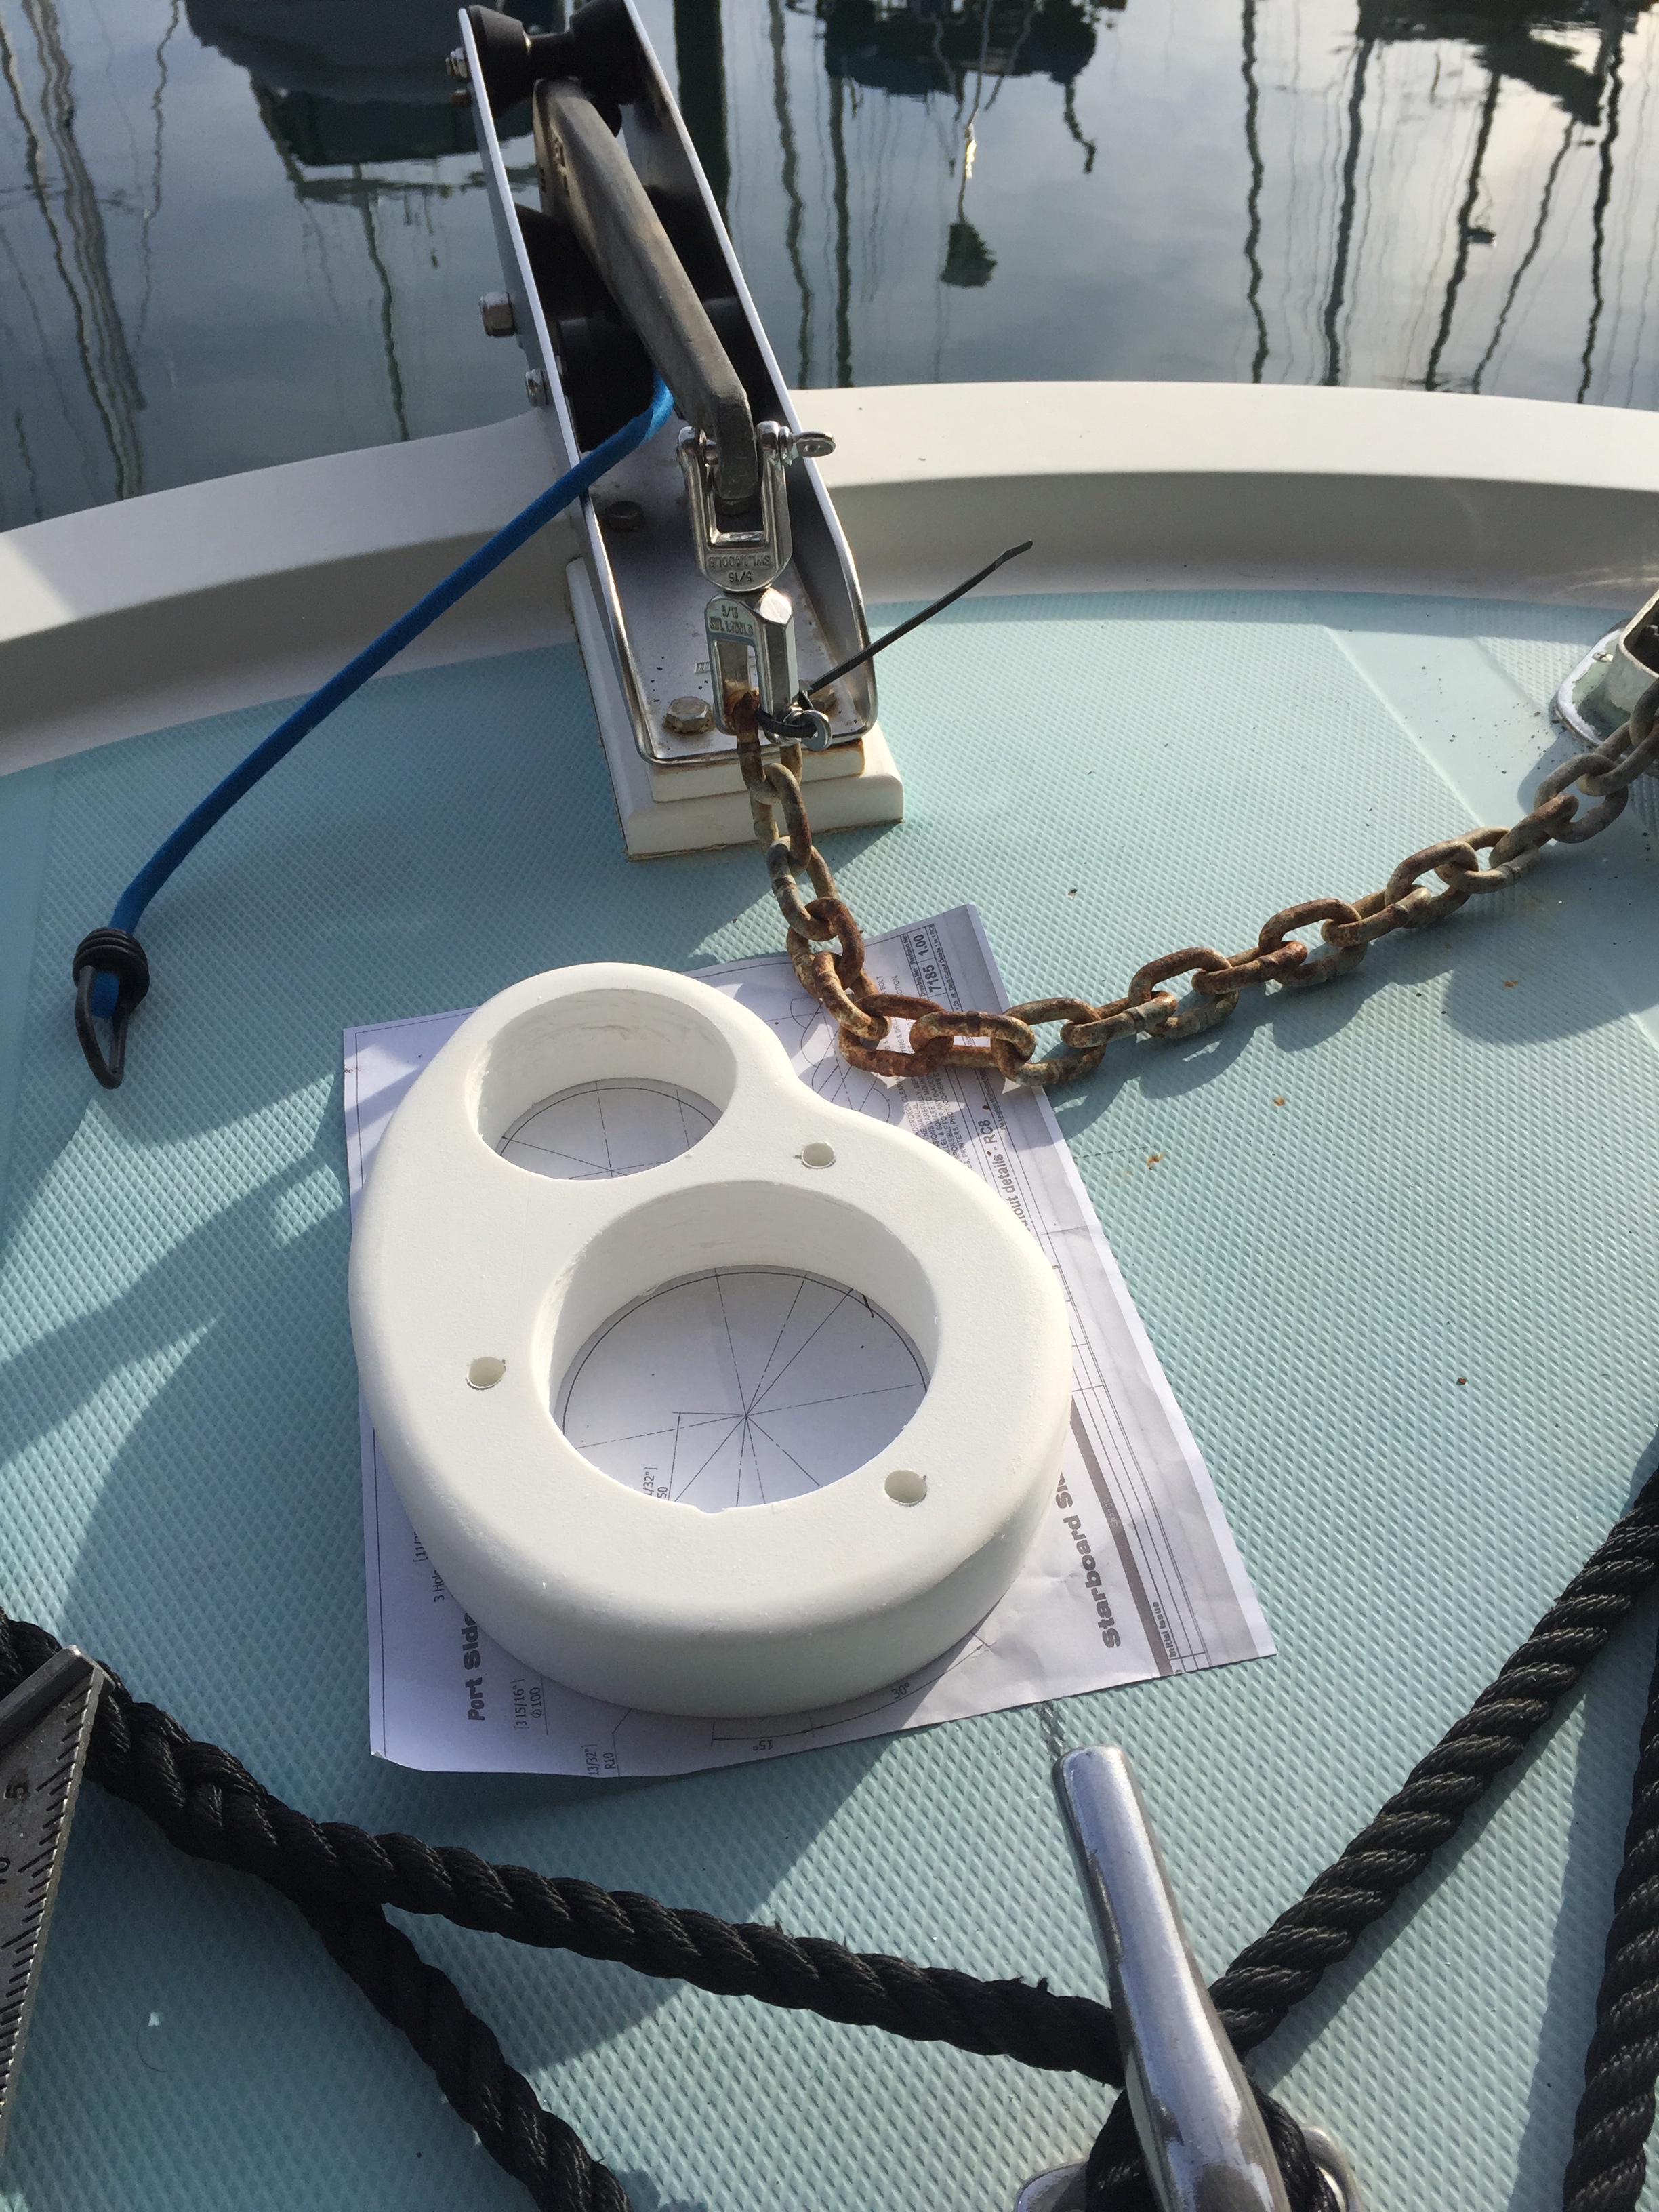
Before I just began punching holes in my foredeck willy nilly, I spent considerable time planning, measuring, and mocking up the installation. I made photocopies of the installation template that I used to determine the optimal placement on deck. For the windlass to work properly, the gypsy needed to be as close as possible to in line with the anchor roller – the instructions allowed for six degrees of variation. In order to accomplish this, after taking multiple measurements, I determined I would need to raise the windlass 1-3/4 inches.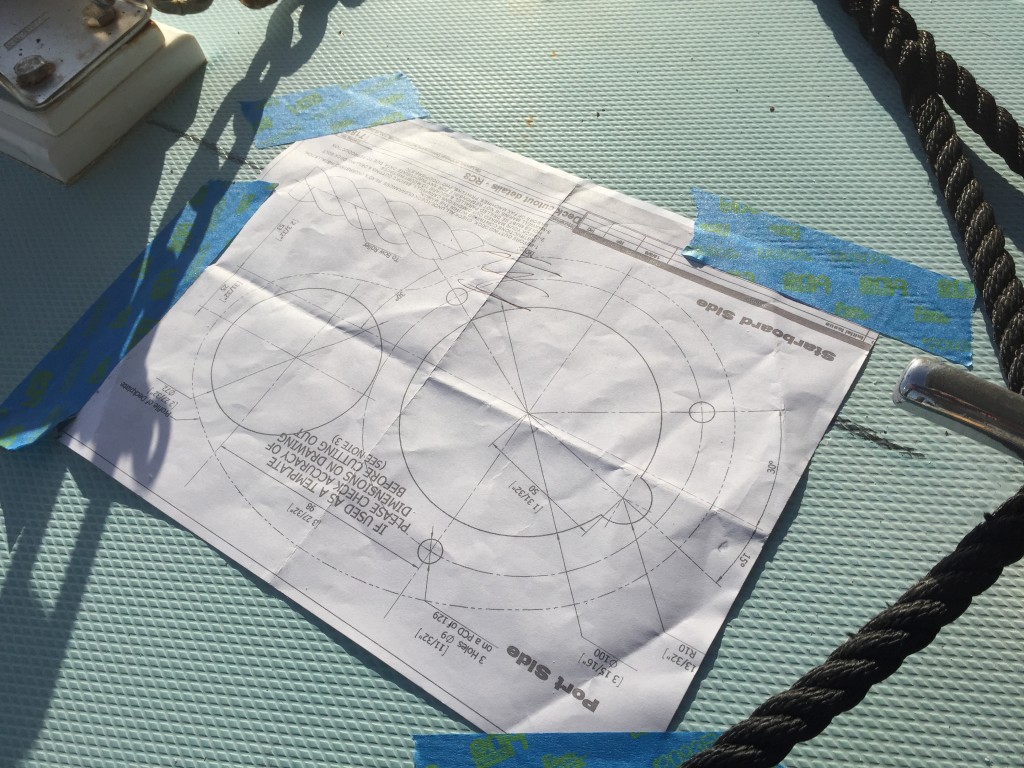
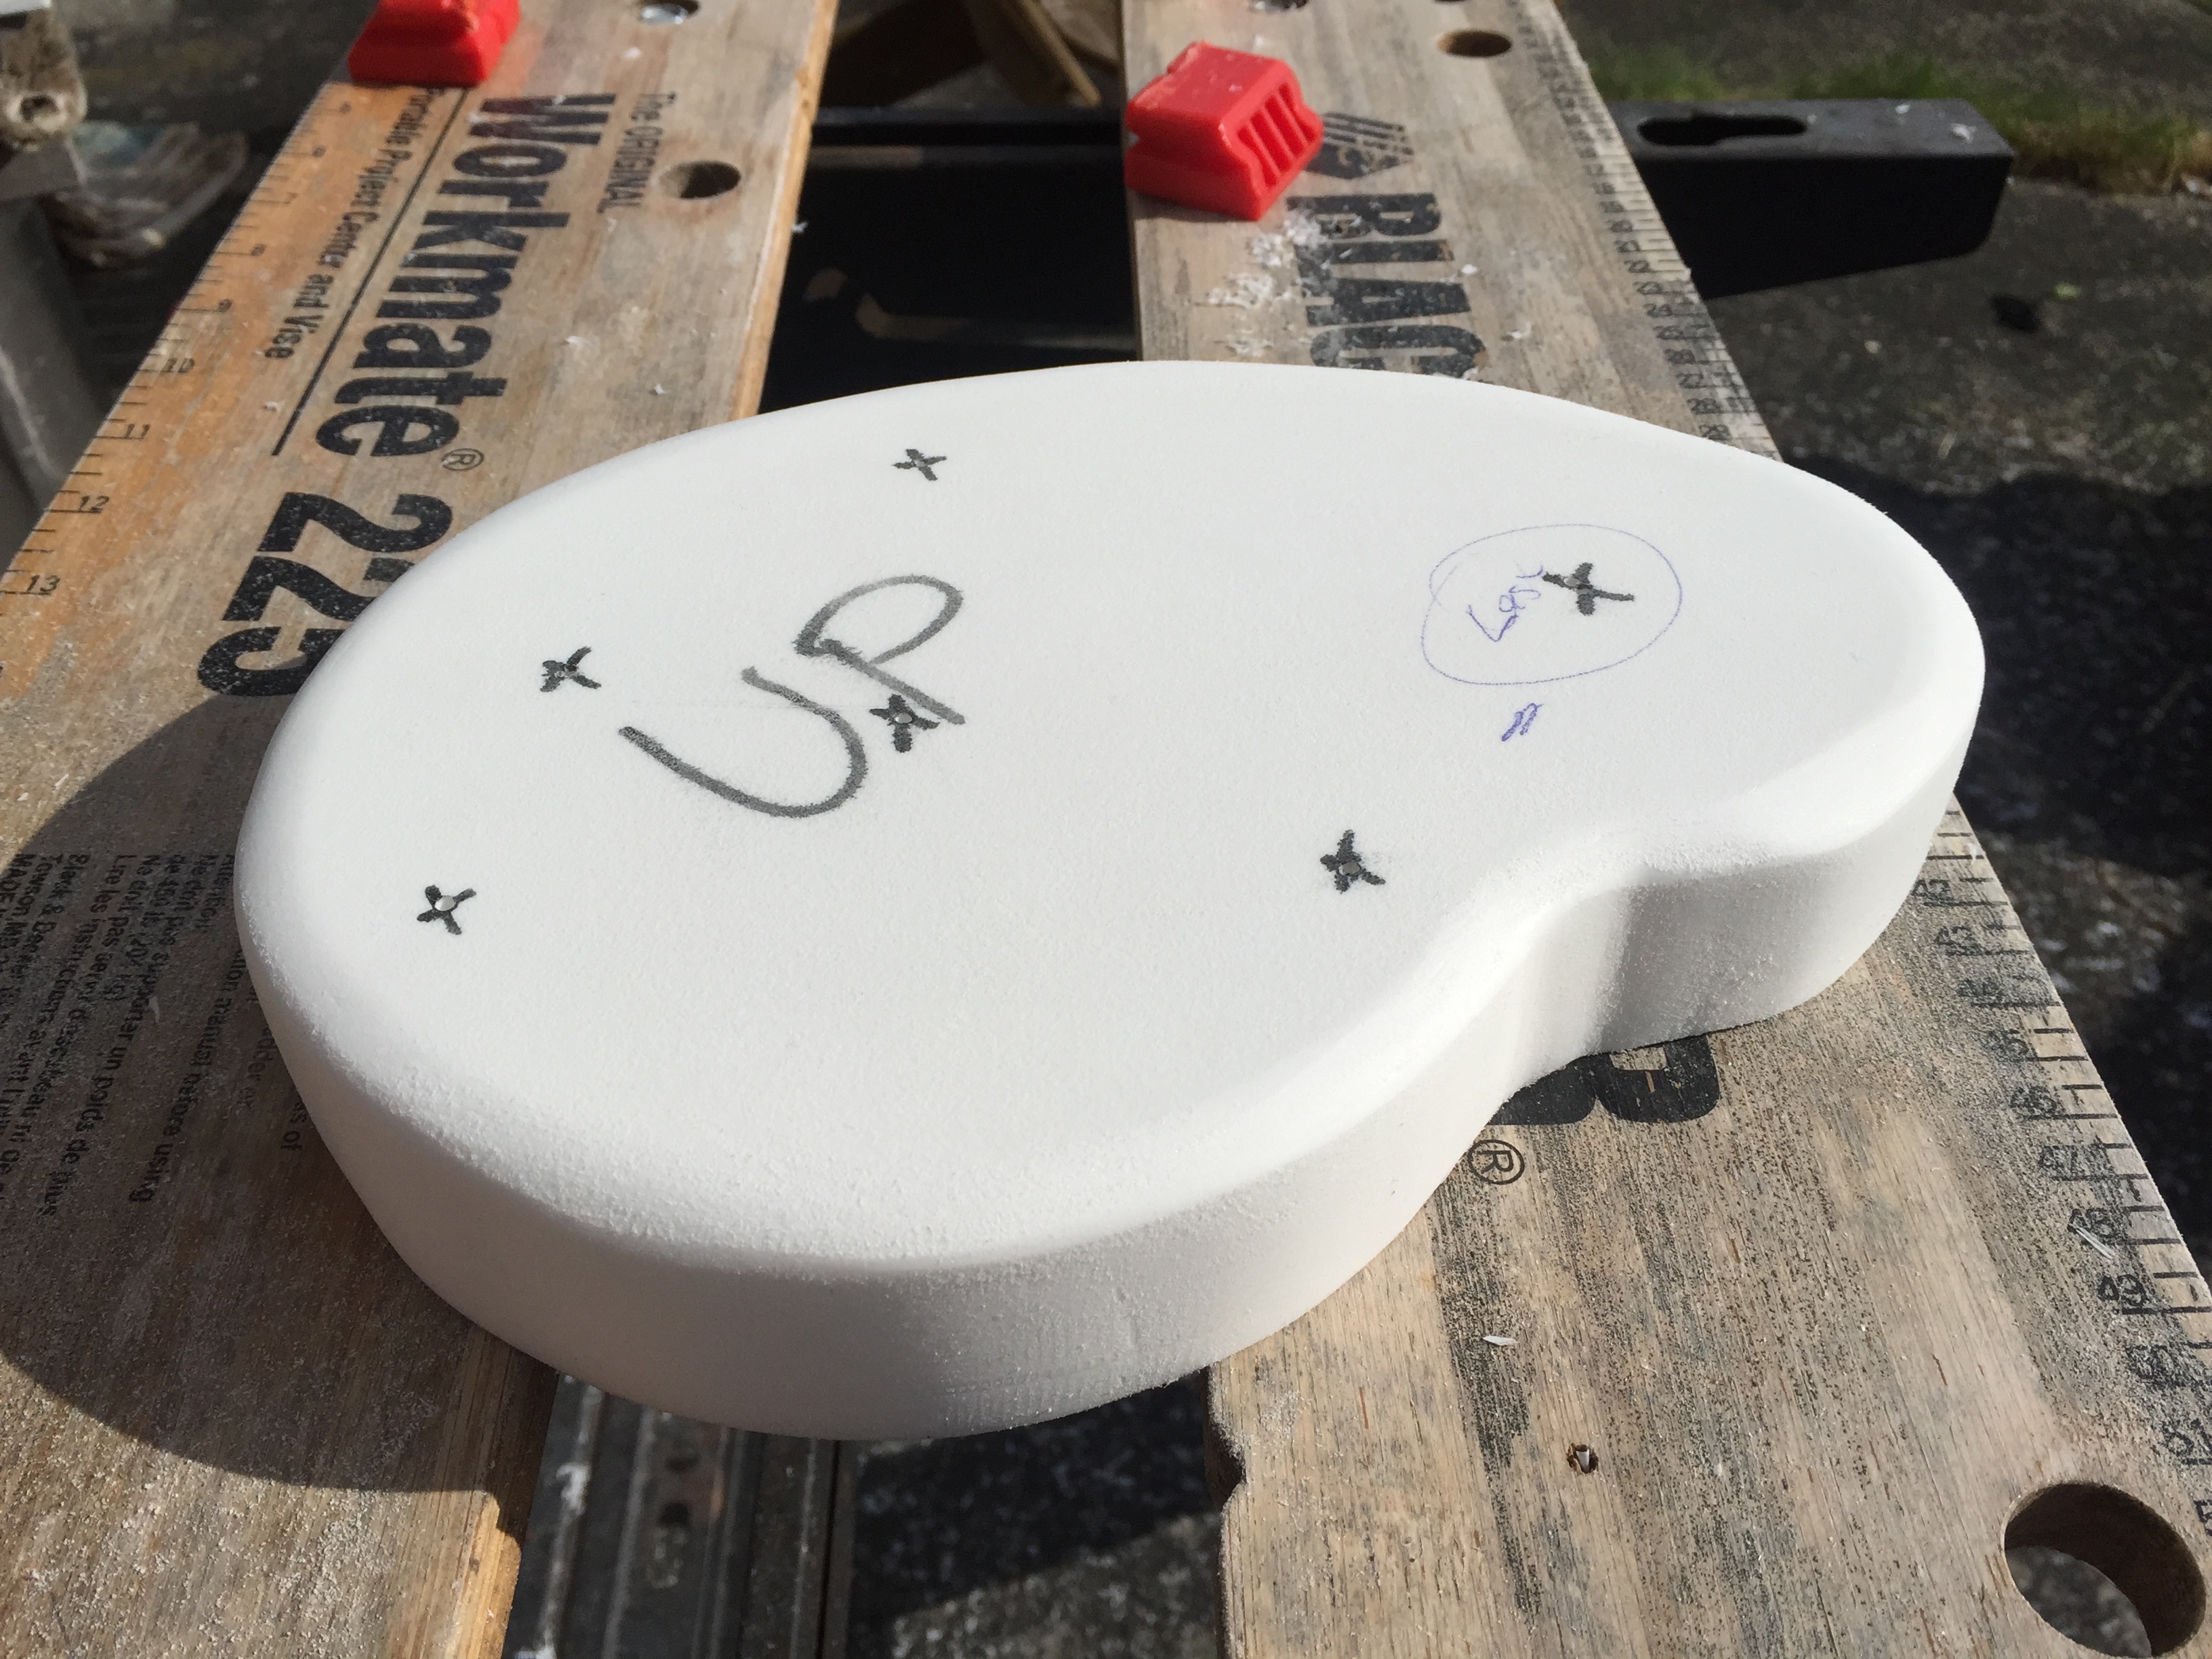
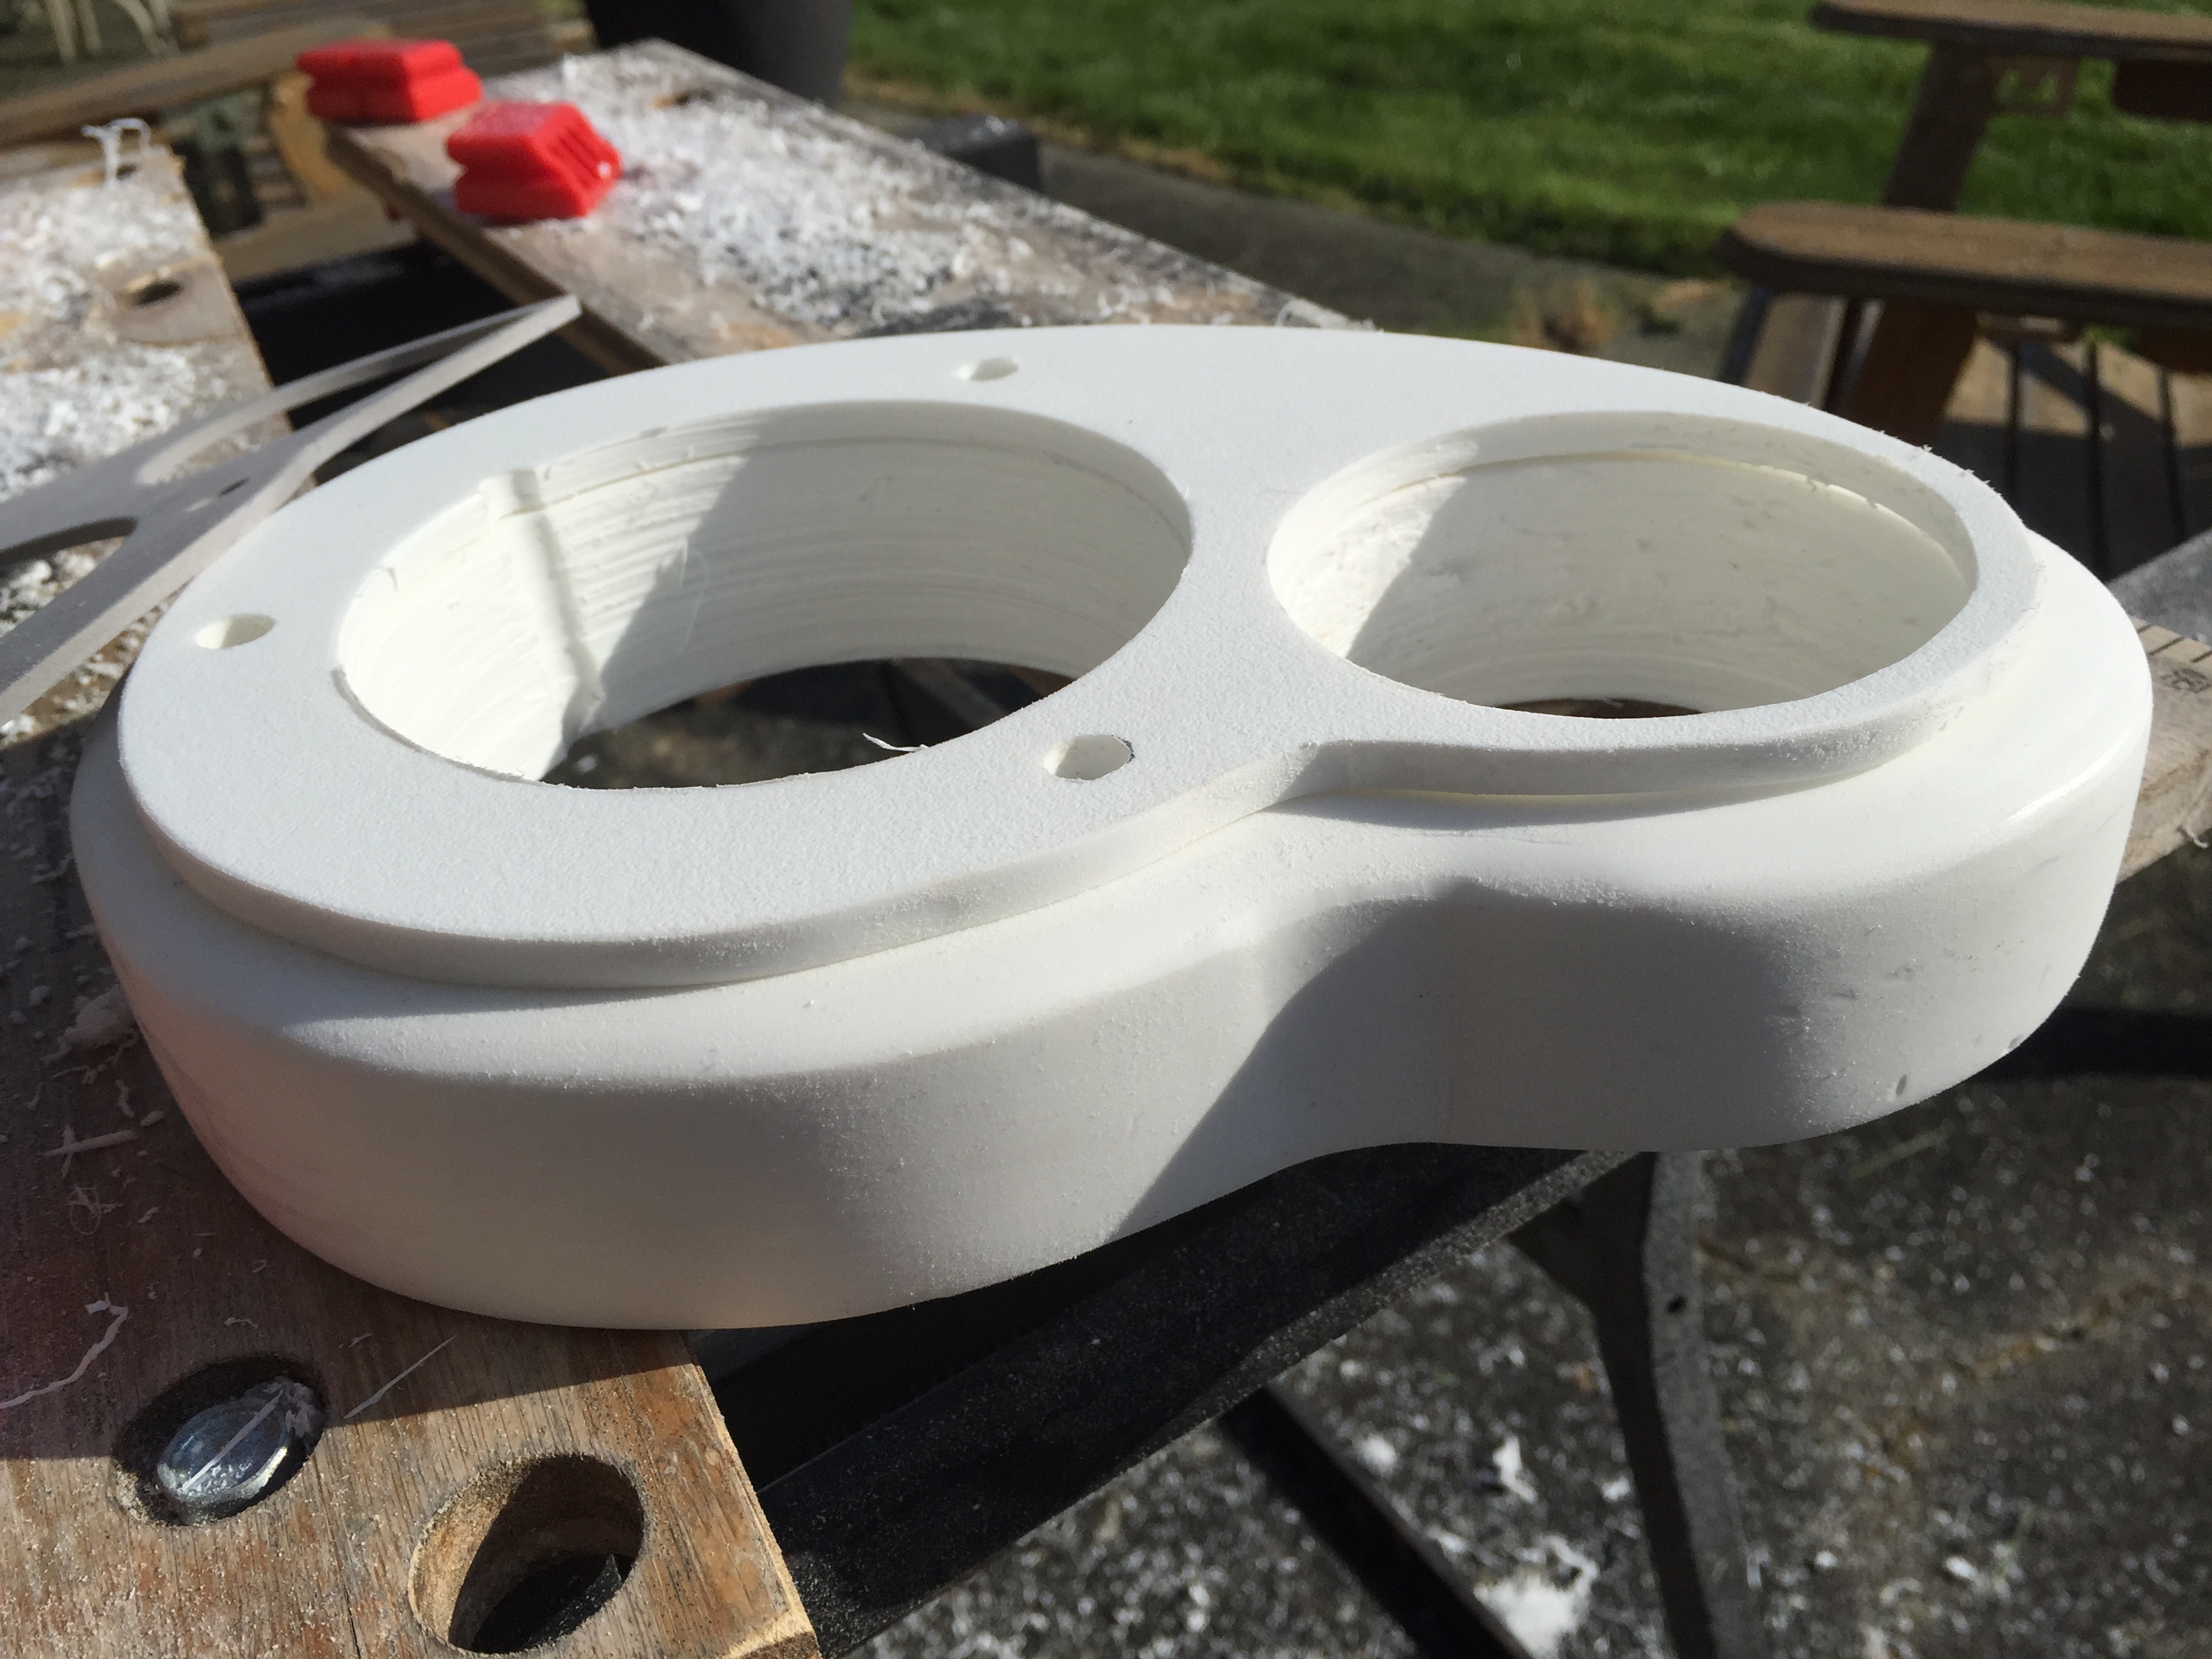
To reach the required height, I built a base from Star Board, using two pieces; one 1-1/2 inch thick, and one 1/4 inch thick. I used my scroll saw and cut the thinner material the exact same size at the gasket, and the thicker piece had an approximately 1/2 inch reveal. To match the shape, I photocopied the gasket to create a template, enlarging the copy to make the larger template. After cutting the material, I machined a radius edge with my router and sanded all the cuts smooth. The holes for the motor and chain were cut with a hole saw. This is the first time I have worked with Star Board this thick, and I learned if it is worked too quickly, it will melt. However, it cleans up nicely with sanding, beginning with course grit and working up to finer sand paper.
 Back on the boat, I confirmed placement and lay out. It was time to start drilling and cutting holes…
 Once I worked up the courage, I used the template and used a small drill bit to mark all of the required holes. I drilled the three mounting holes, penetrating only the top layer of fiberglass. Because the holes would be covered by the windlass installation, I drilled the holes oversize, then removed as much of the deck coring as possible before filling the holes with epoxy. After the epoxy set, I re-drilled the holes, this time the entire thickness of the deck. Doing so, the mounting holes run through solid epoxy, rather than coring. After cutting the two larger holes with a hole saw, I sealed the edge of the holes with epoxy. I’m notoriously messy when it comes to applying caulking and sealant, so I masked off the perimeter of the windlass base, allowing room for a bead of caulk.
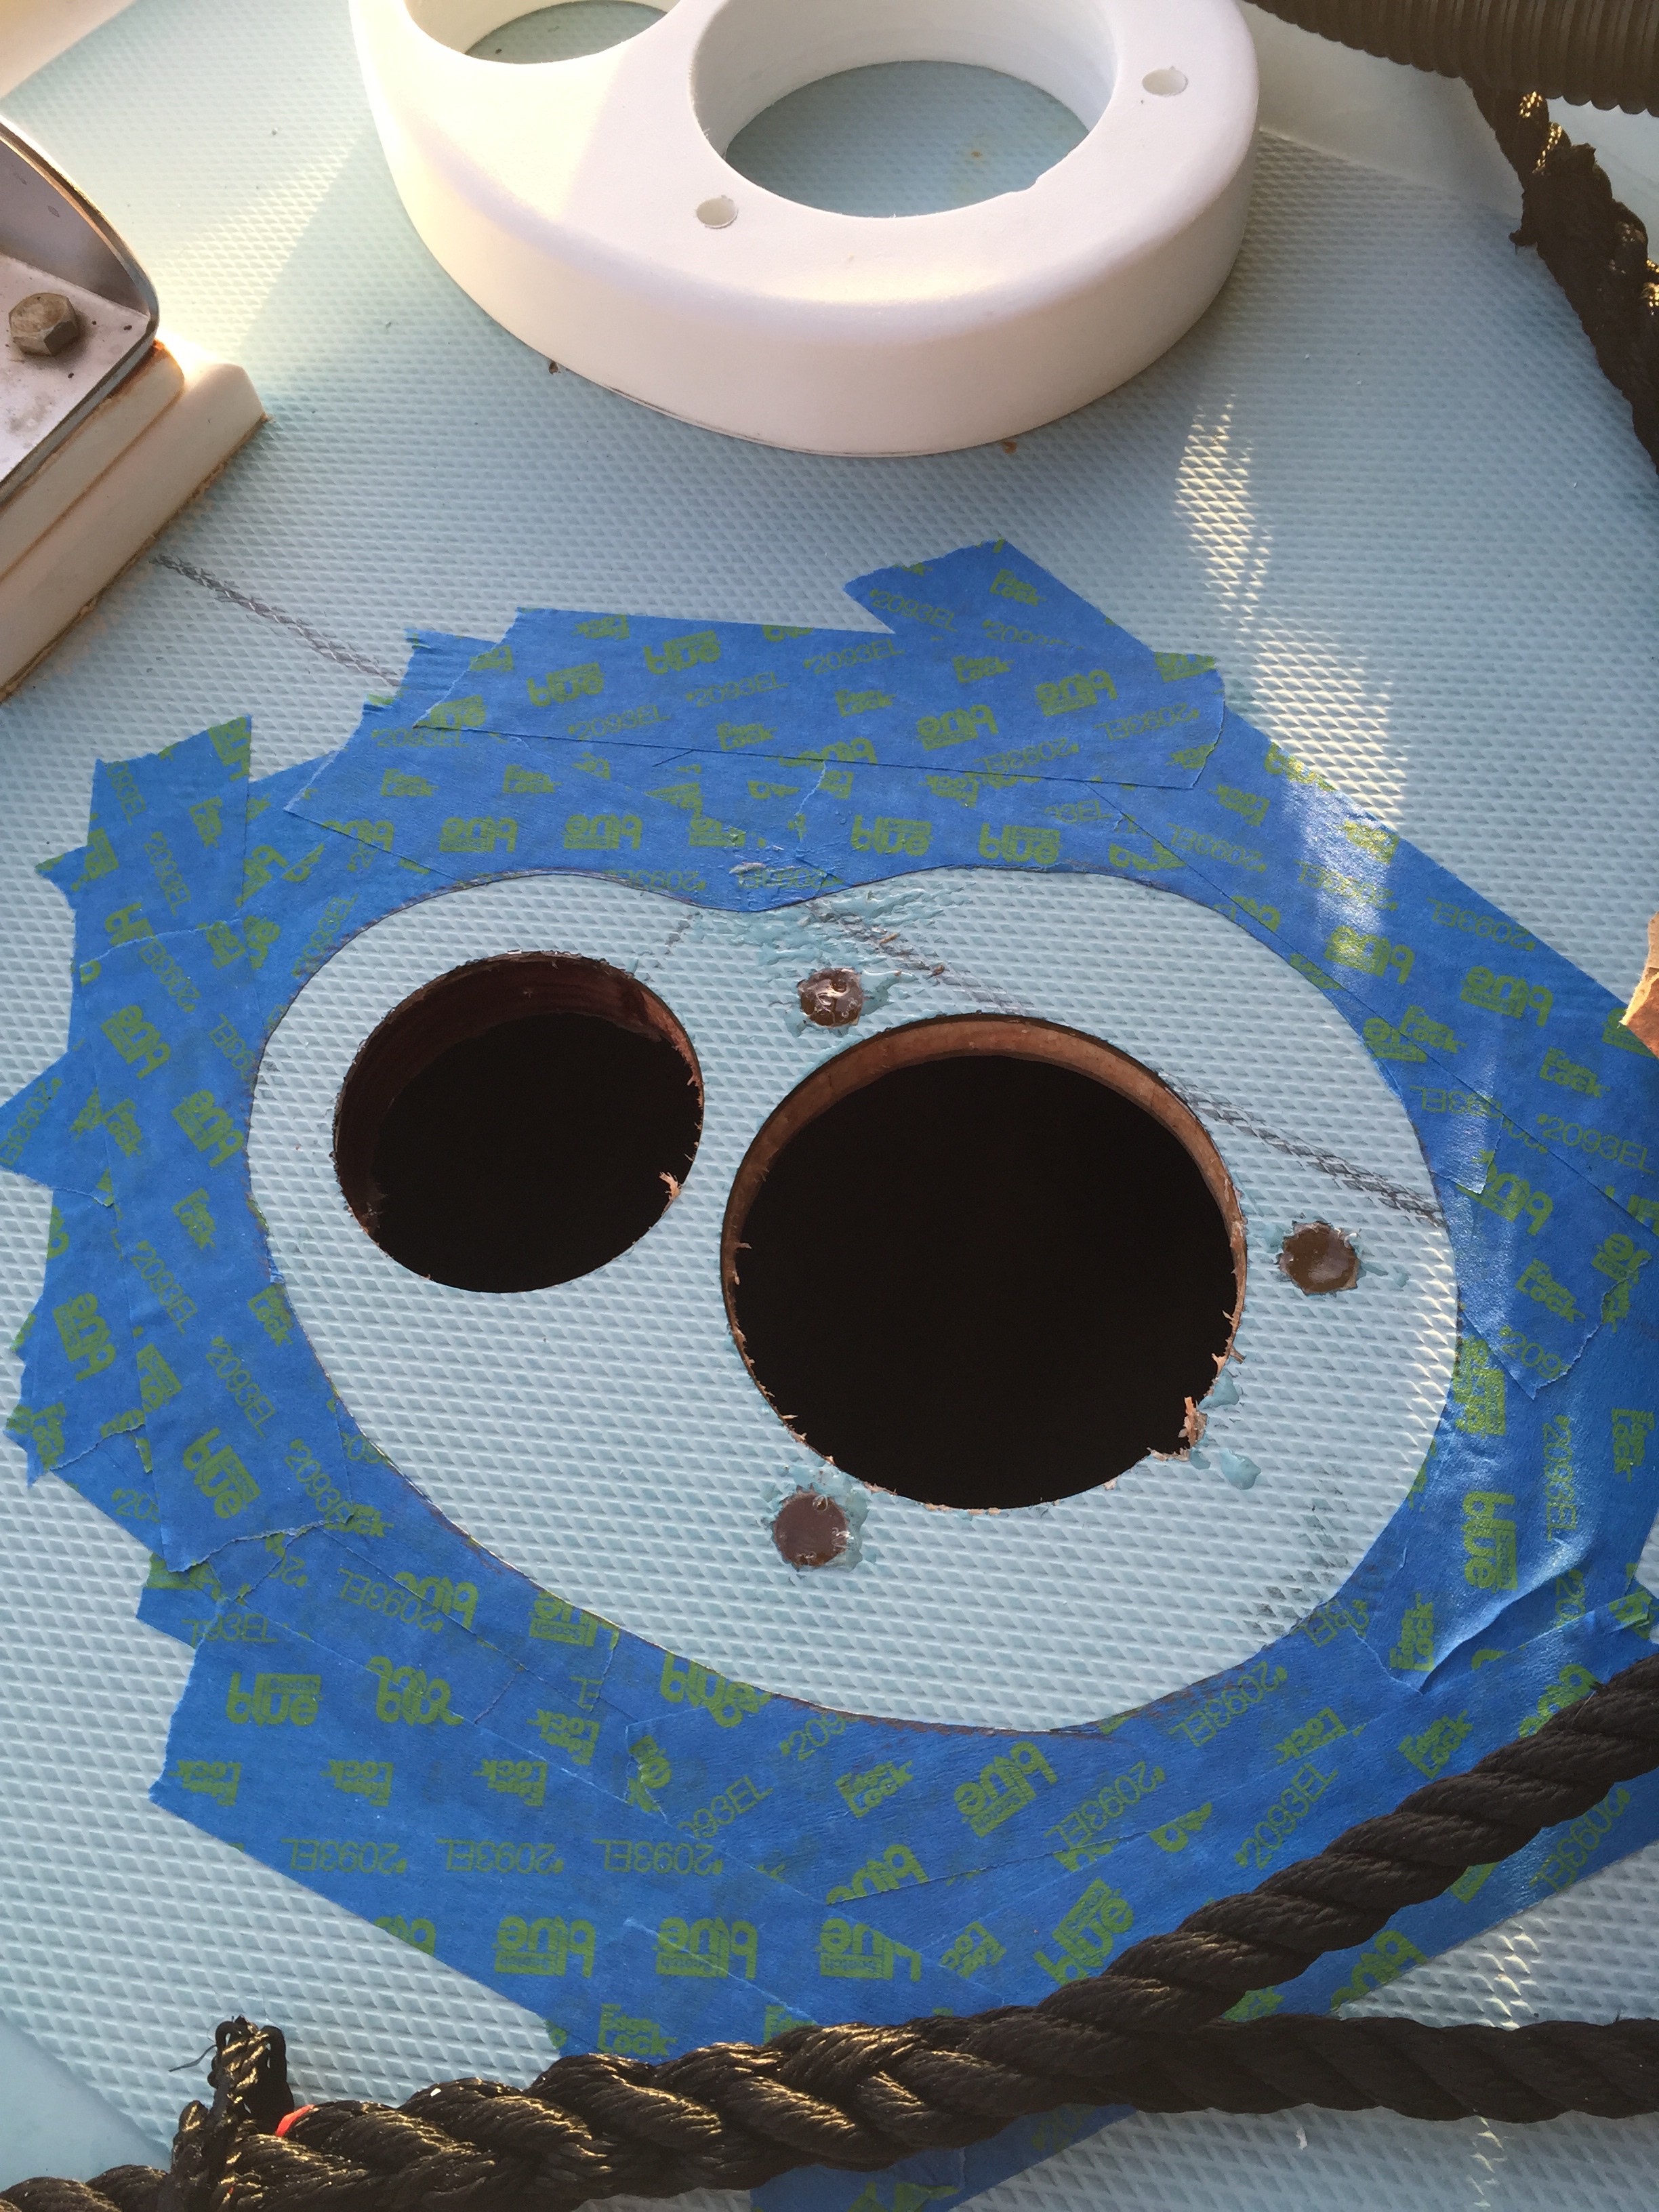 Once all the holes were cut, I was ready to set the windlass in place. I applied some 5200 between the deck and the Star Board base, as well as between the layers of Star Board. The seal between the windlass and the base is achieved with the included gasket. On the underside of the deck, I created a backing plate with another piece of 3/8 inch Star Board. Taking time and laying everything out paid off, as everything lined up perfectly.
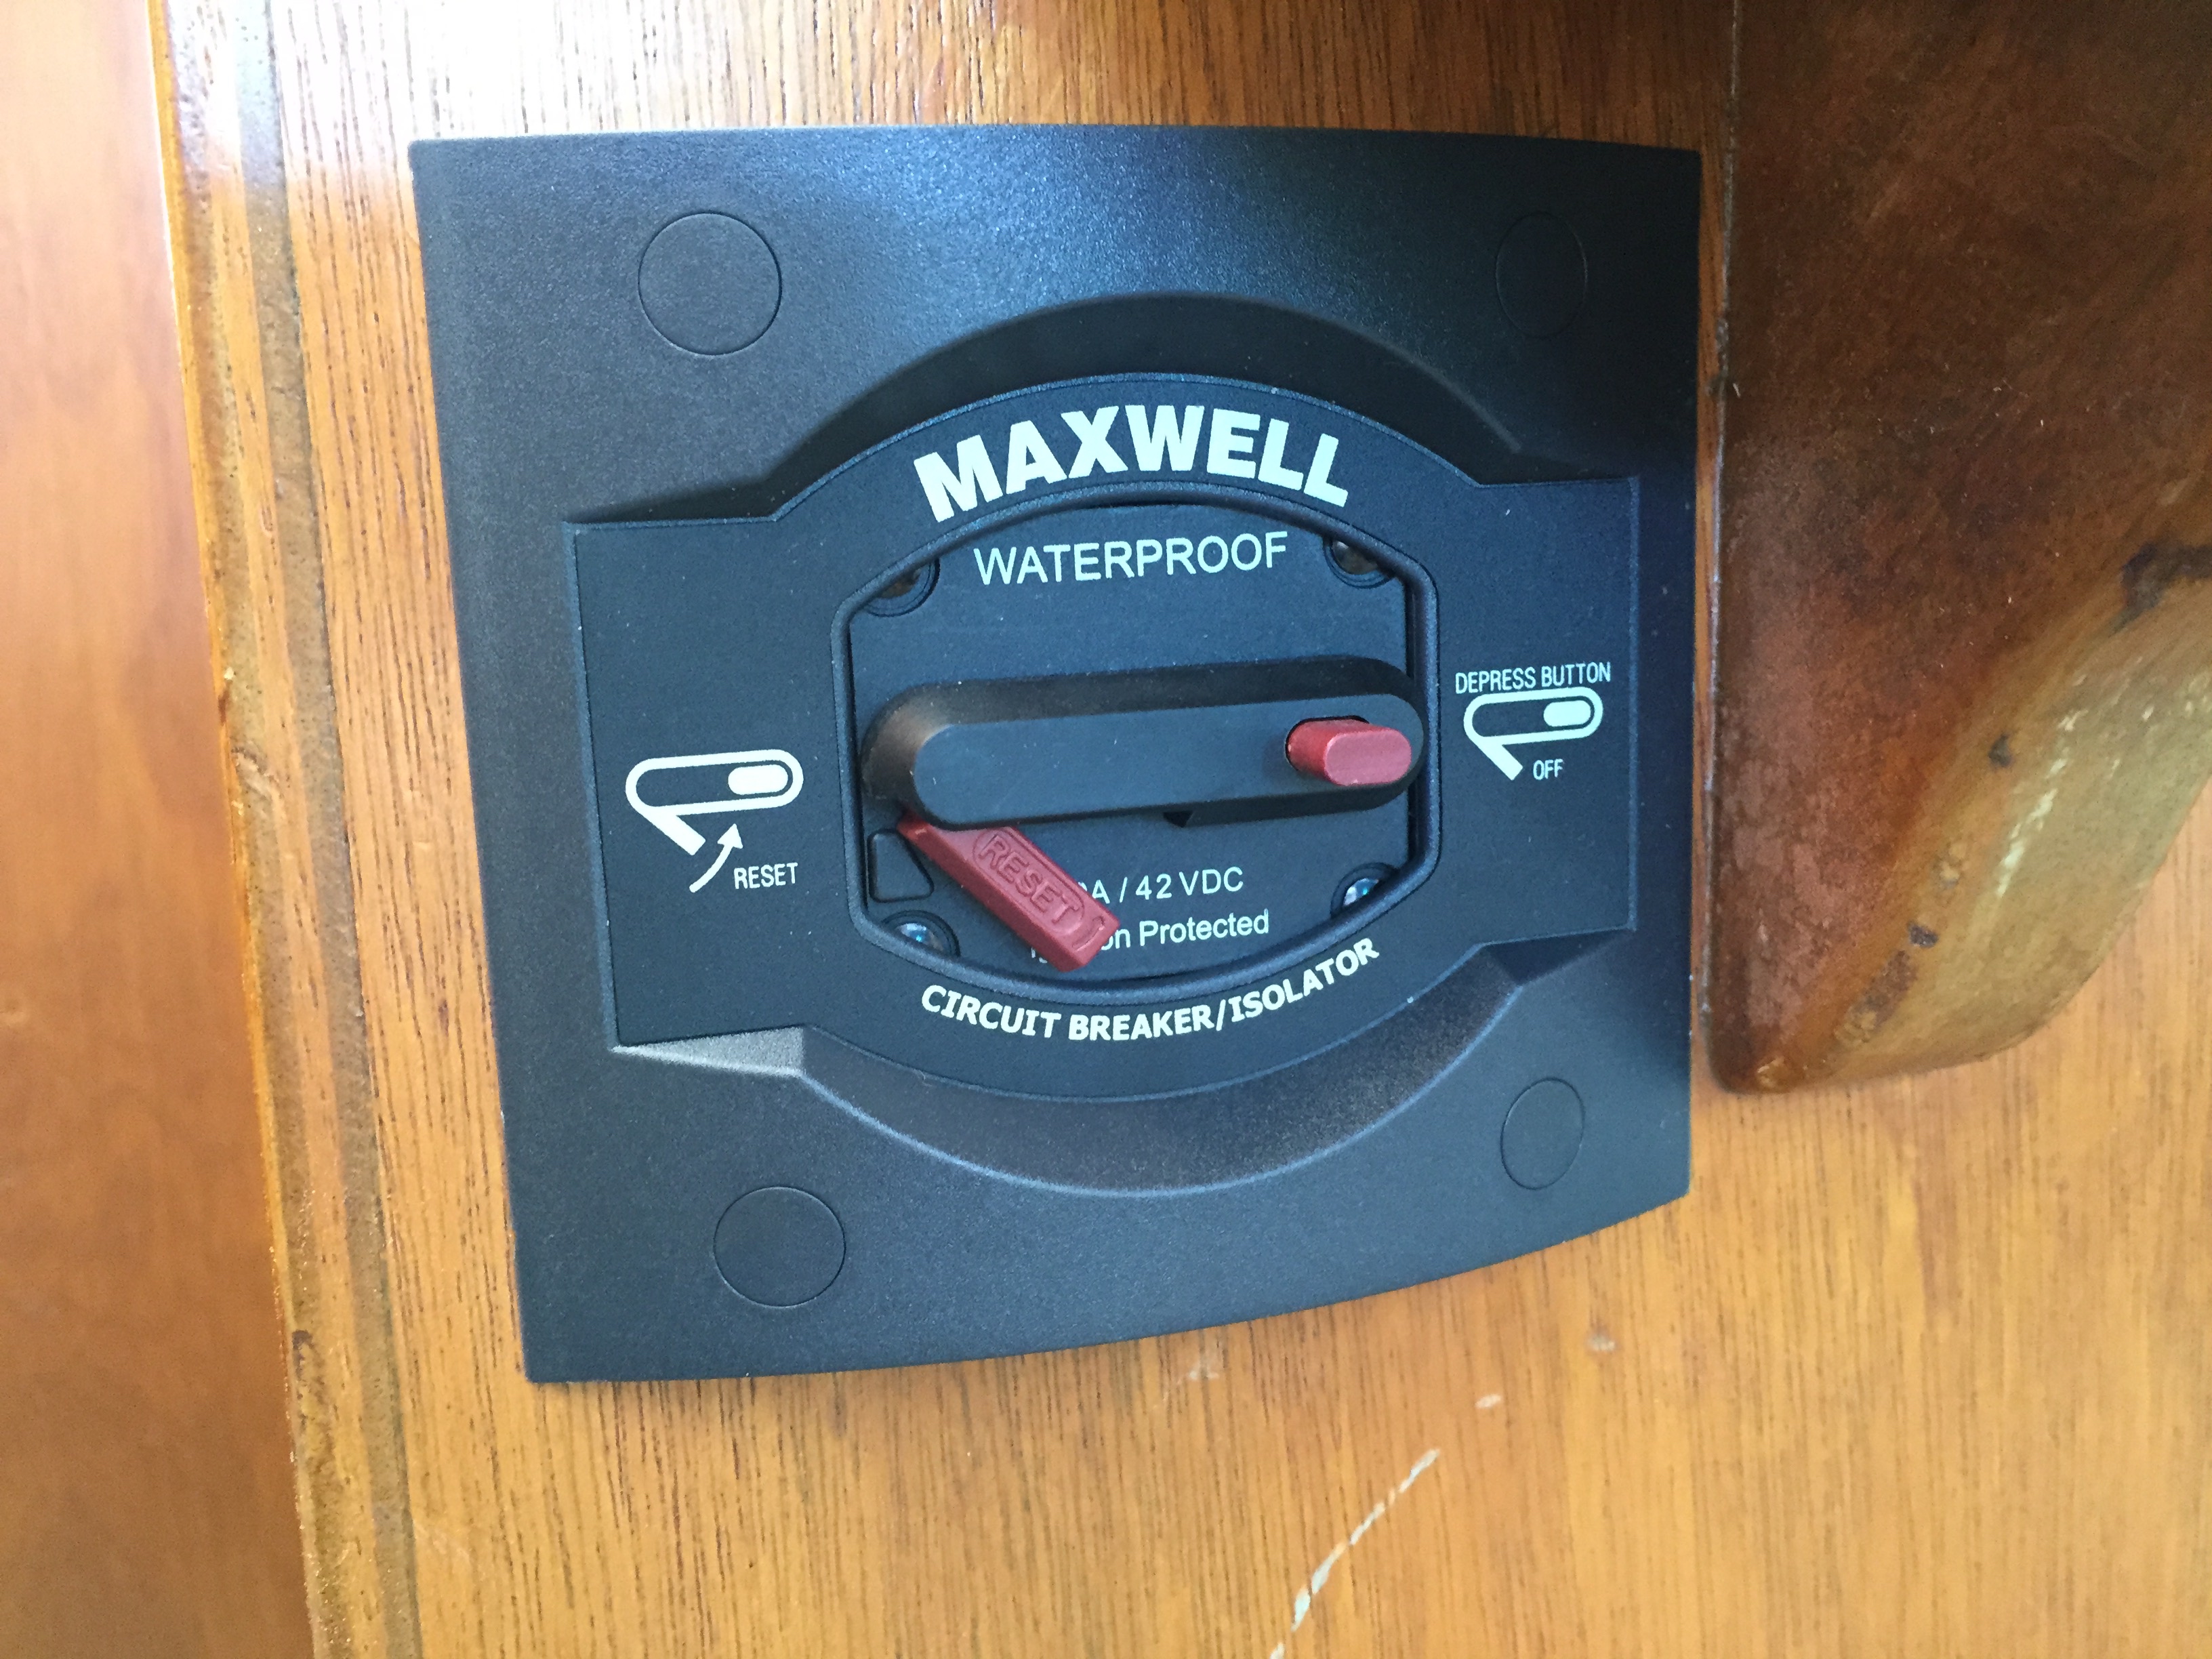
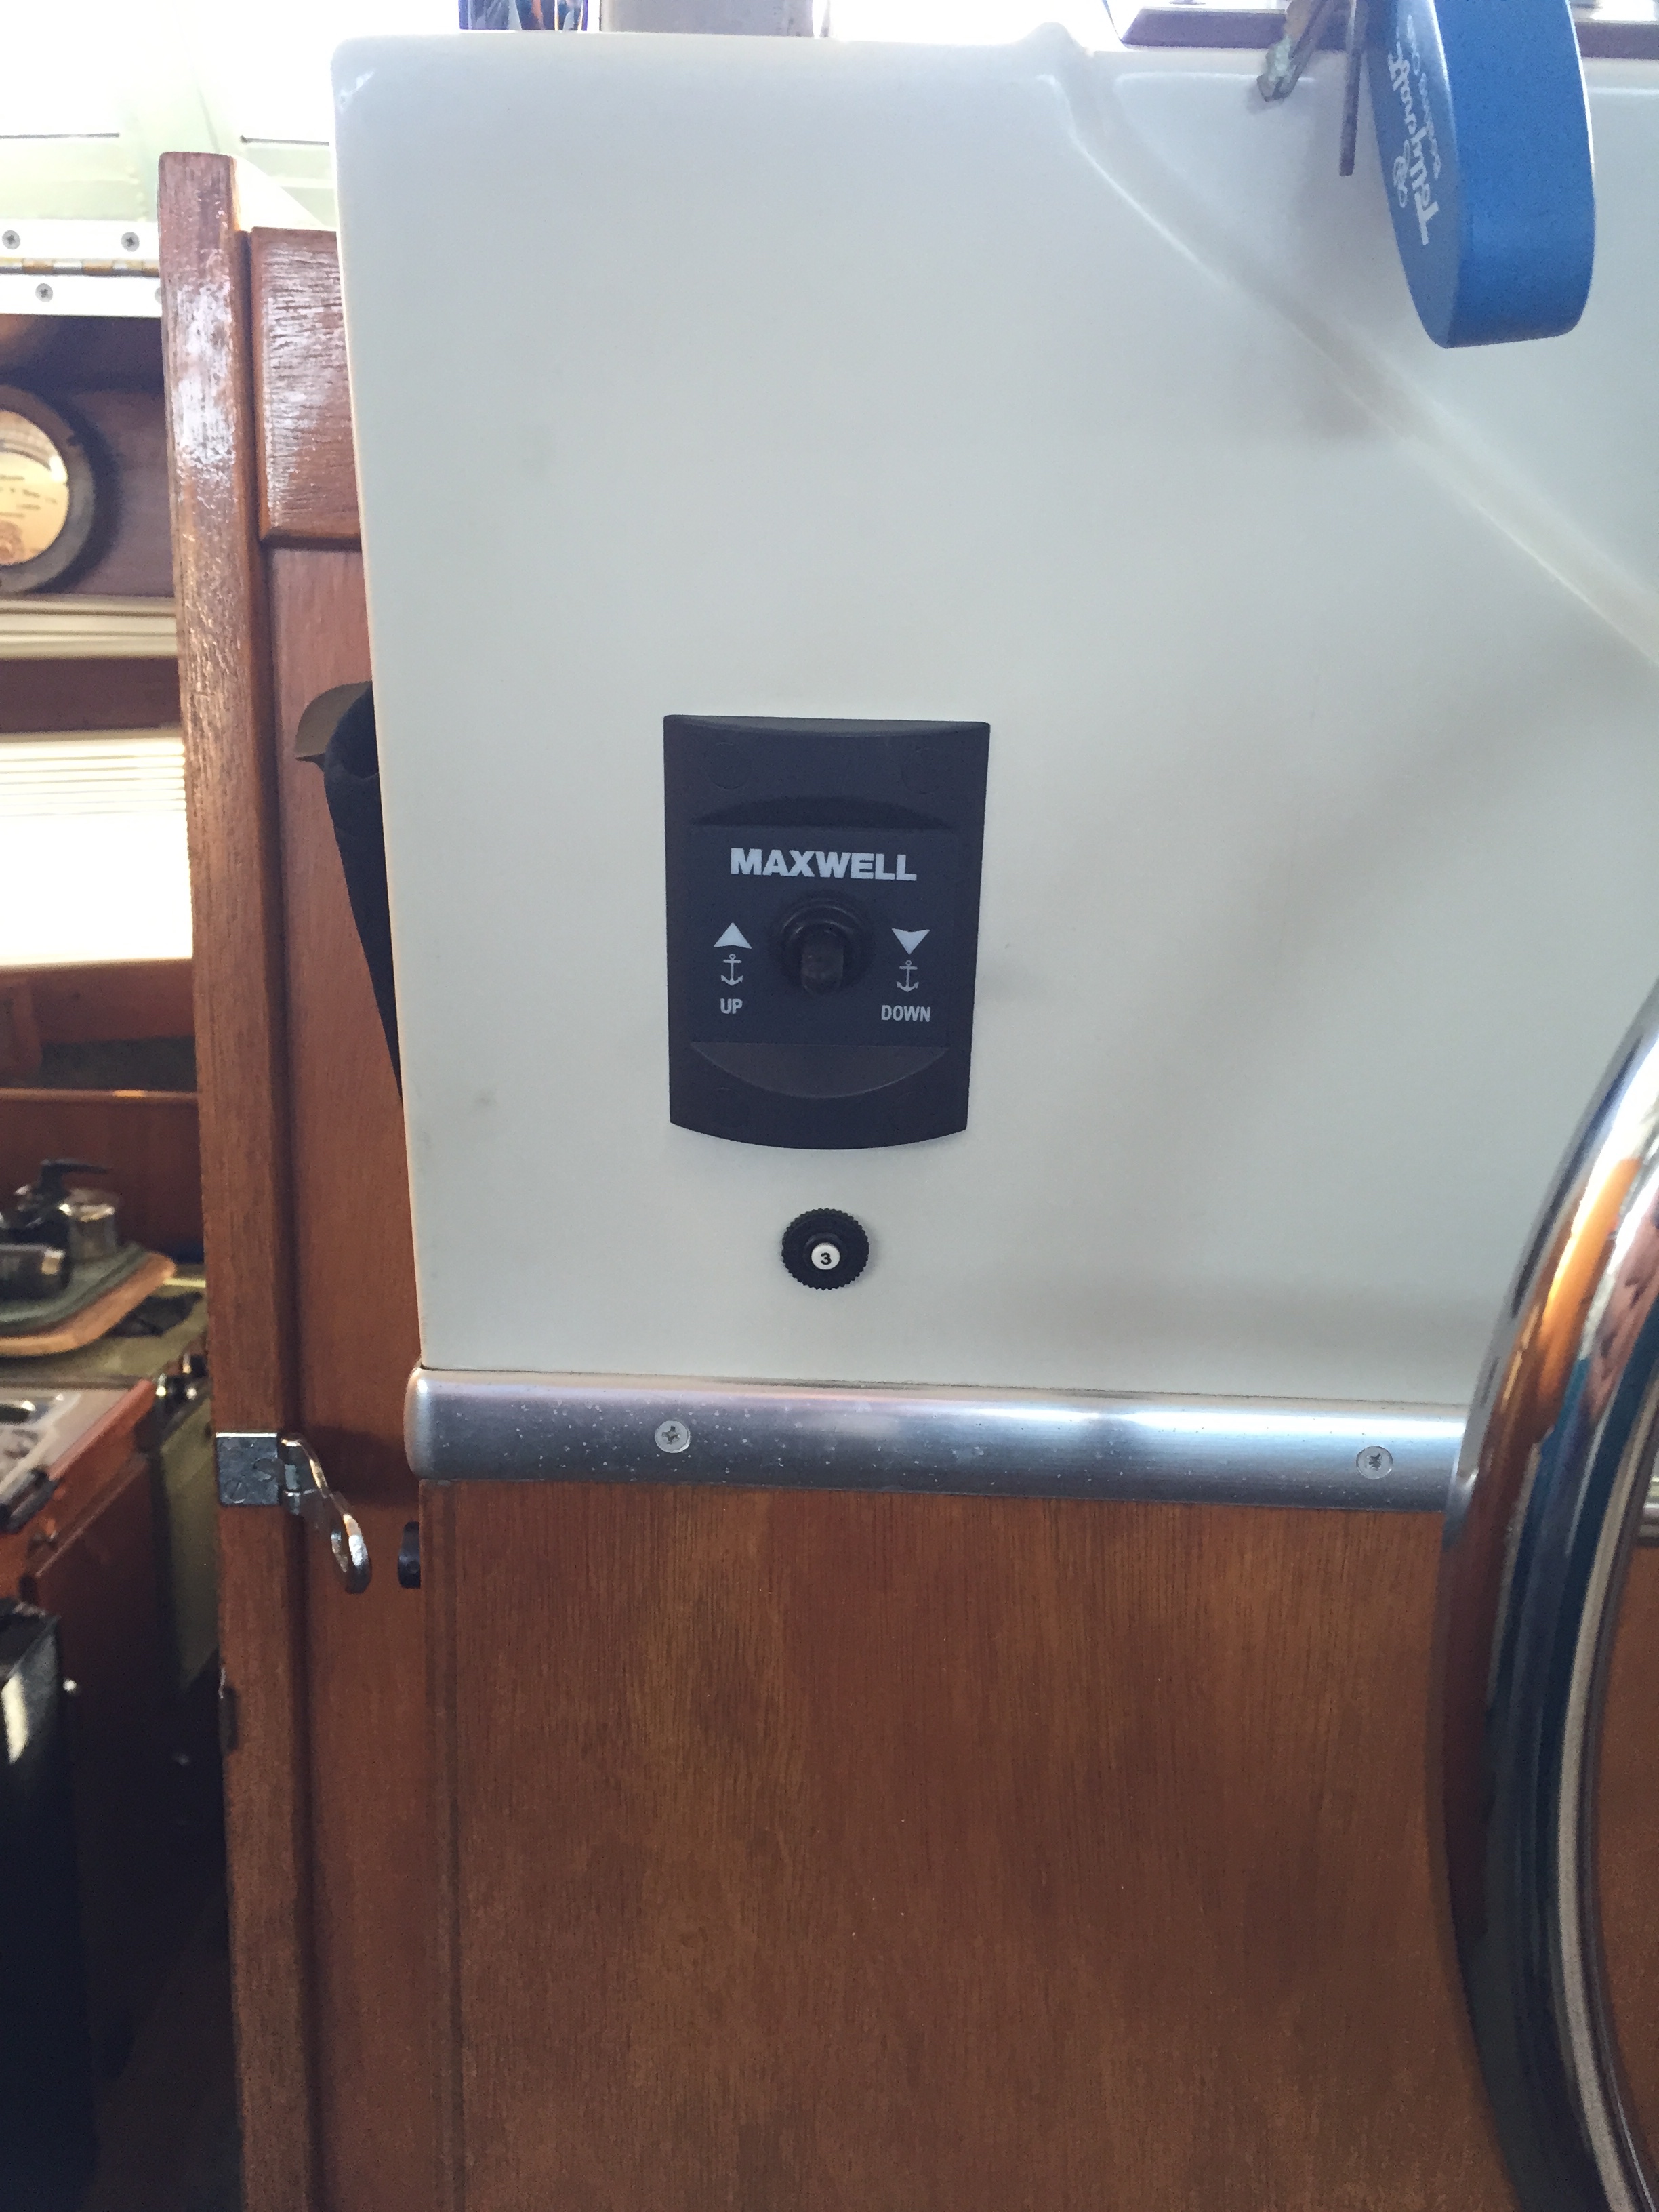
Then it was time to turn to the electrical side of the installation. First I installed the breaker and control switch.
 Next I pulled 4 gauge wire to power the windless and control wires to the reversing solenoid which I installed forward. Rather than install foot switches on the foredeck, I elected to install a wireless remote, which was a piece of cake to install.
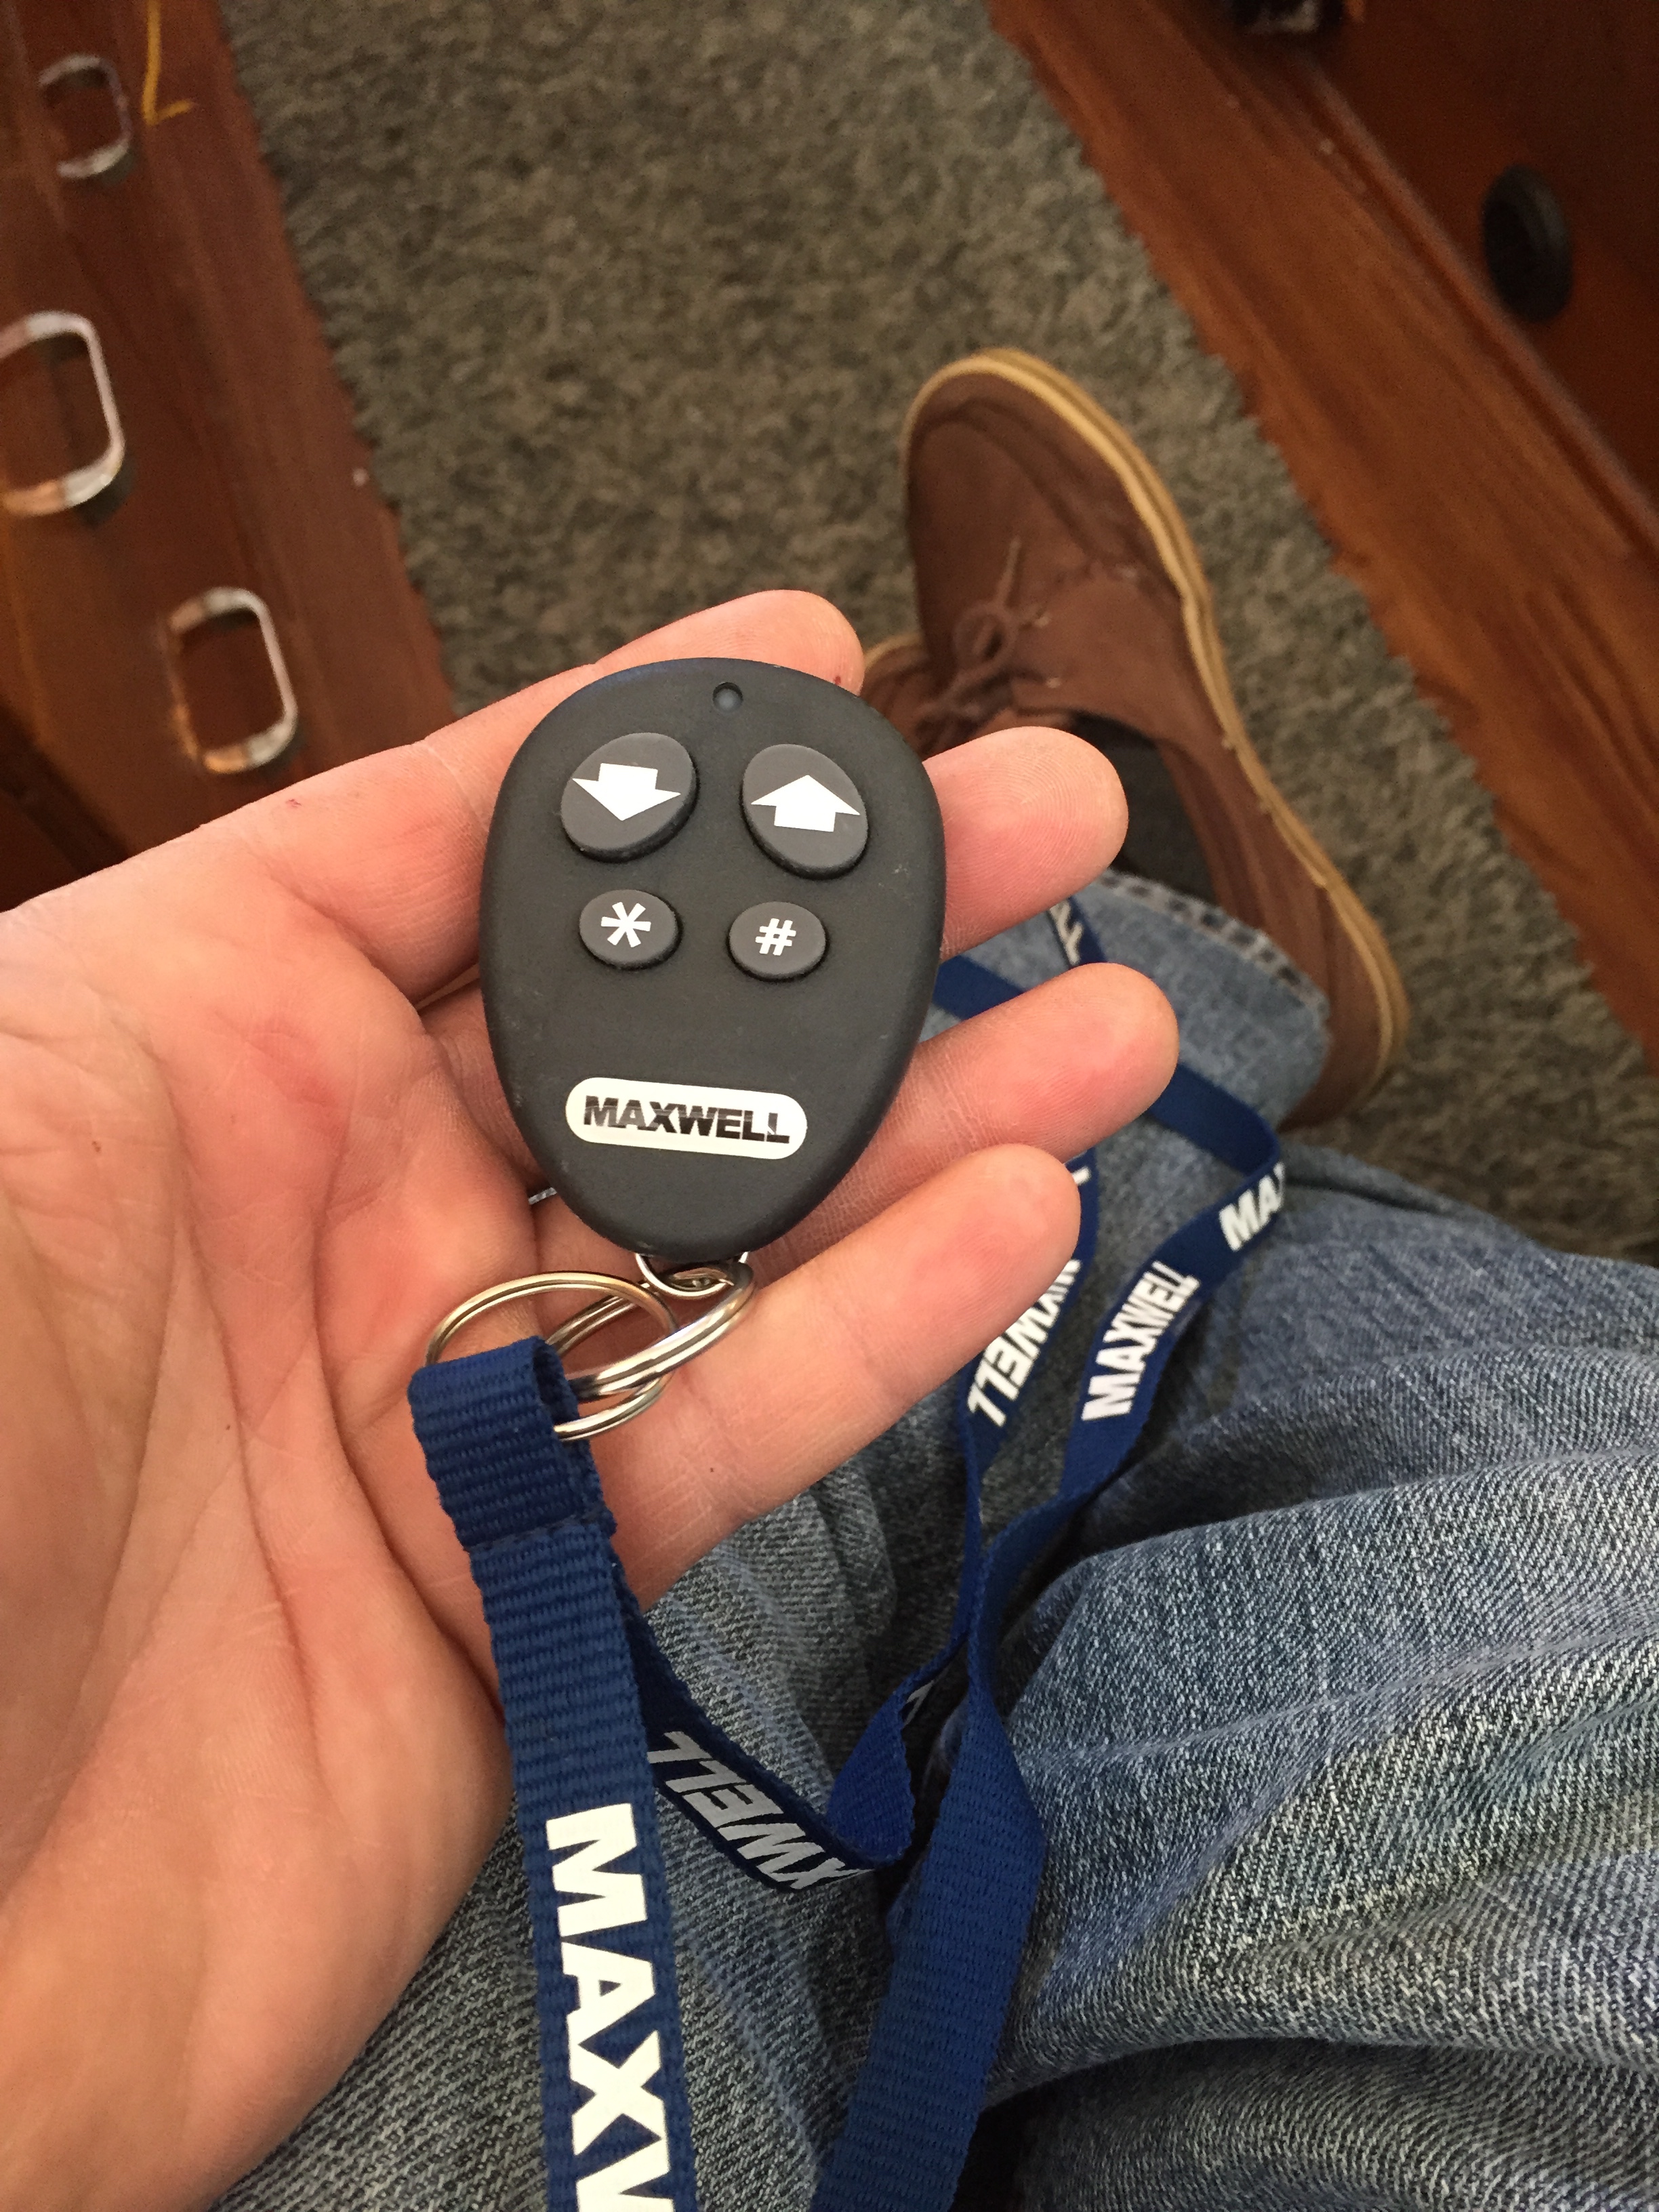
 After making all the electrical connections and checking and cleaning up the rest of the installation, this portion of the project was complete.
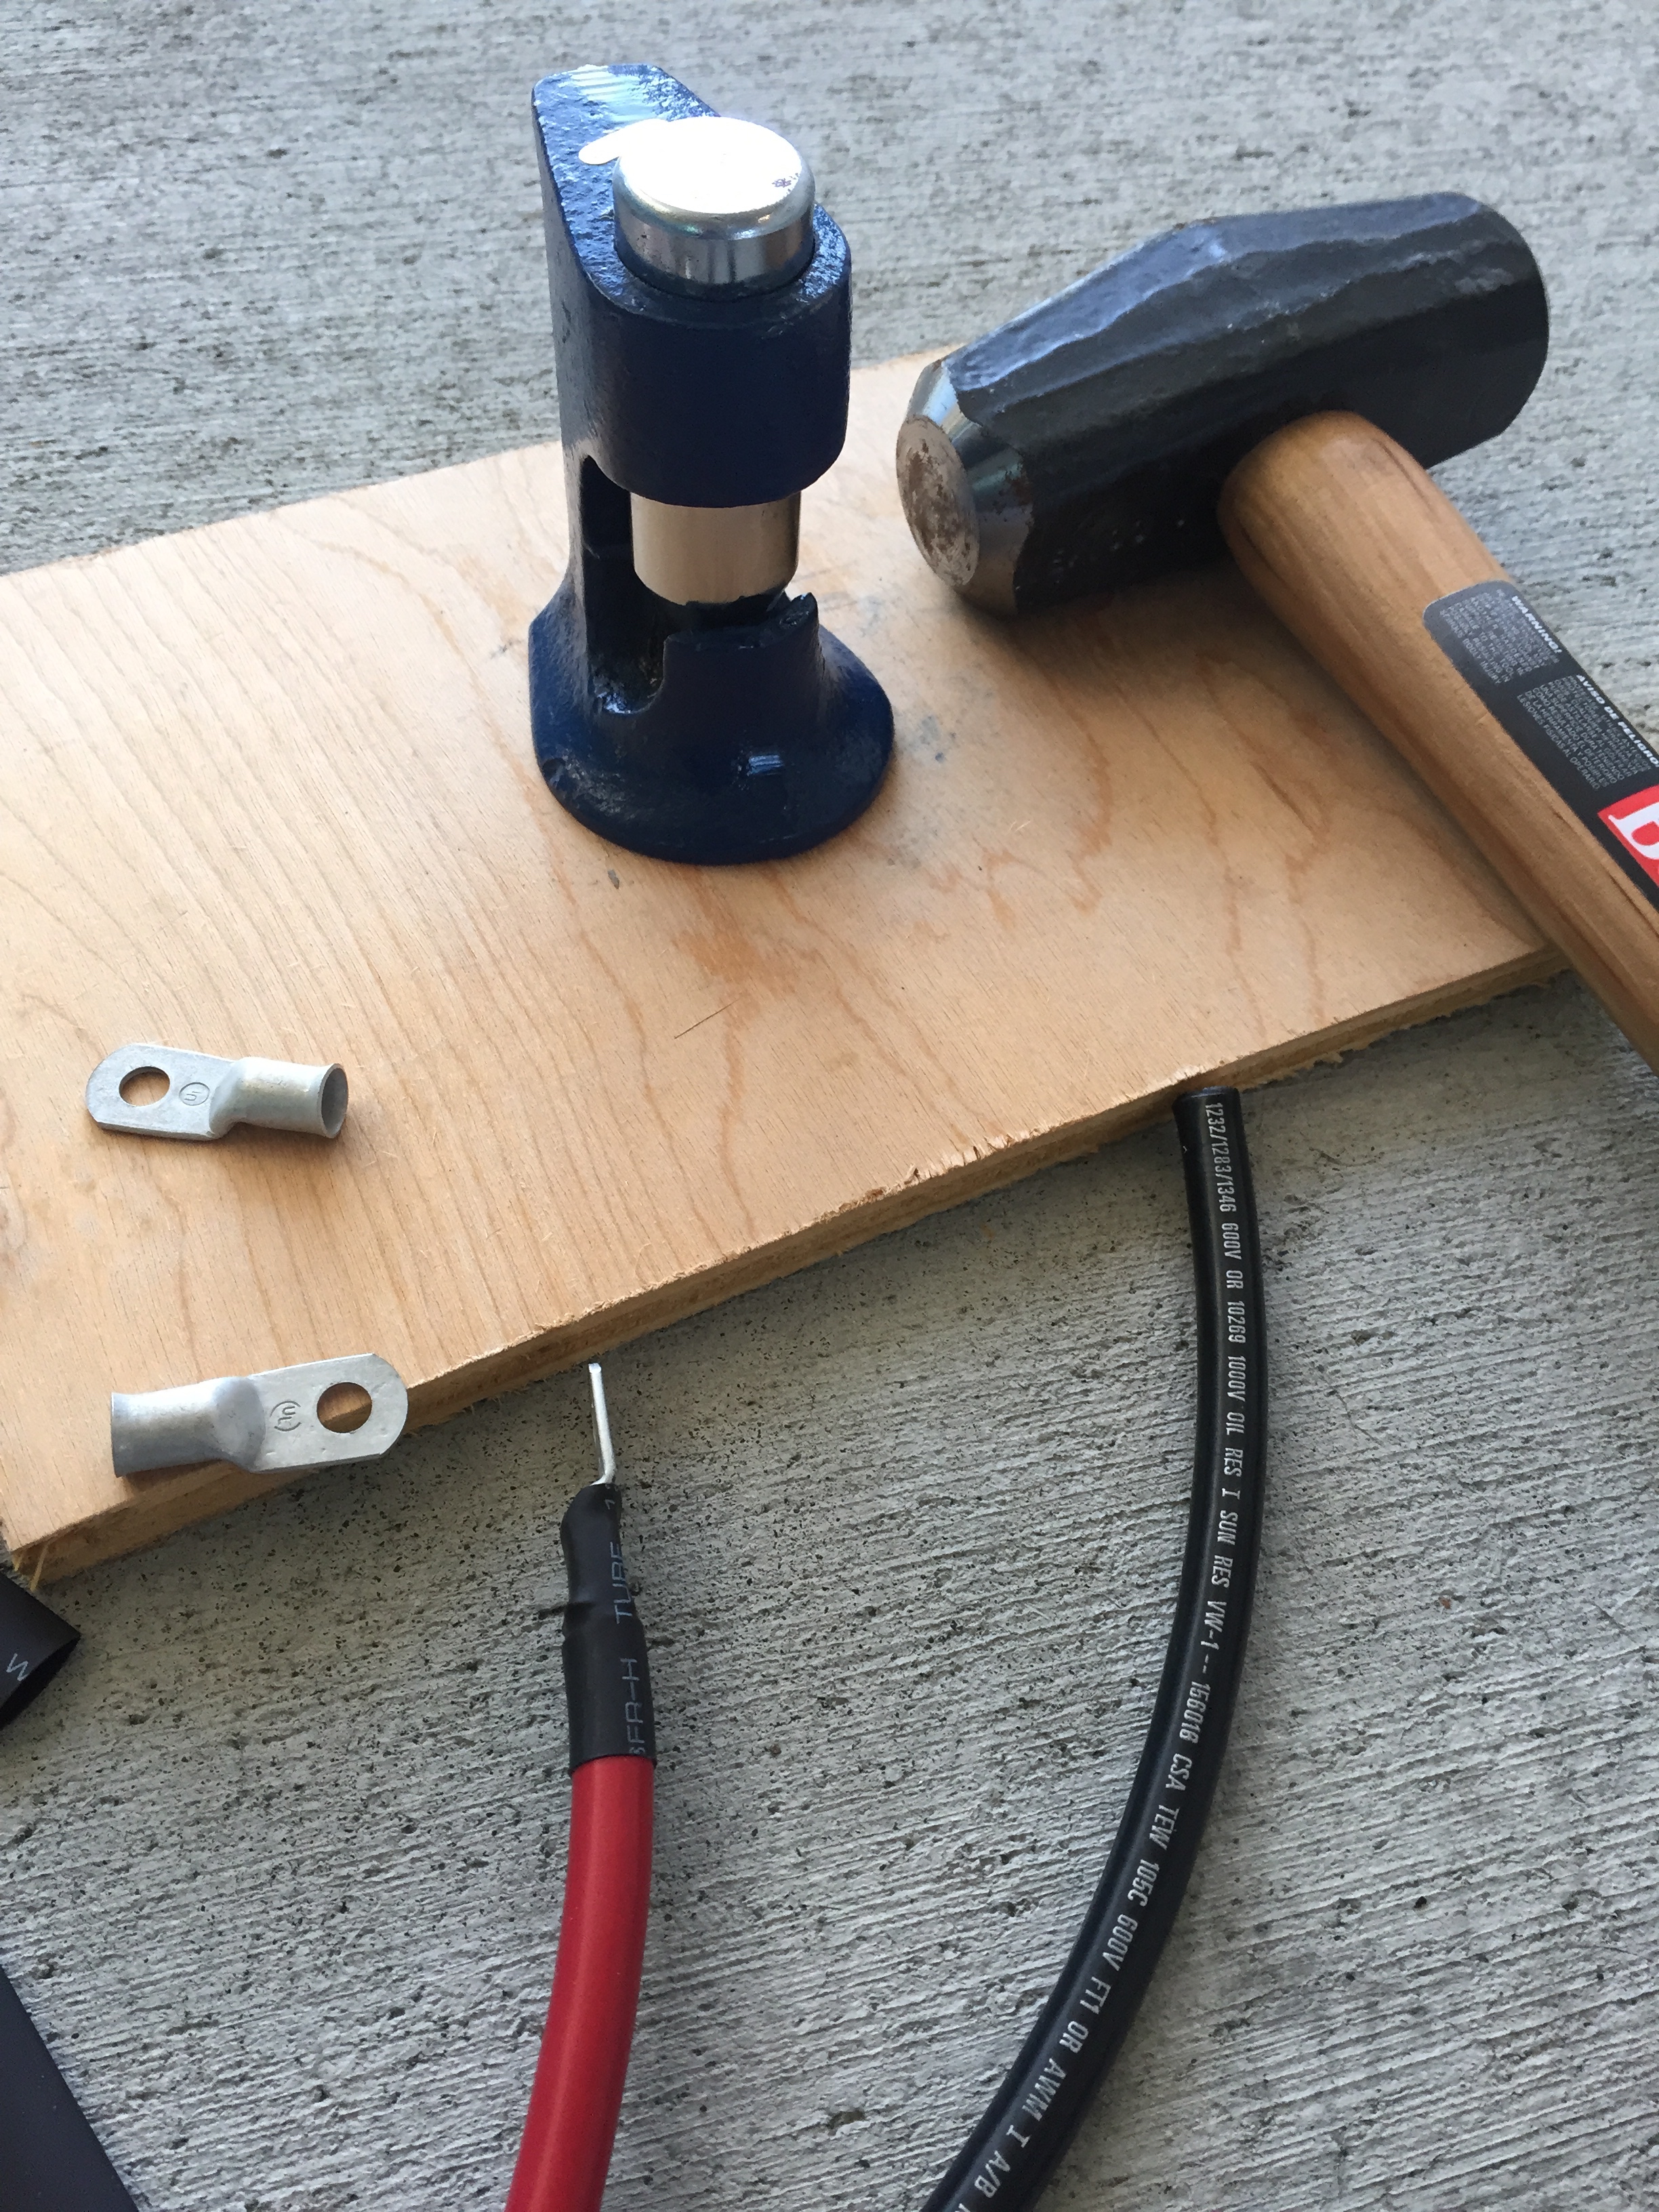
Next I had to prepare my chain and rode. I made a rope to chain tapered splice after studying several YouTube videos. It wasn’t difficult at all, and the finished product turned out nice. After marking my chain and rode I was ready to load it on board.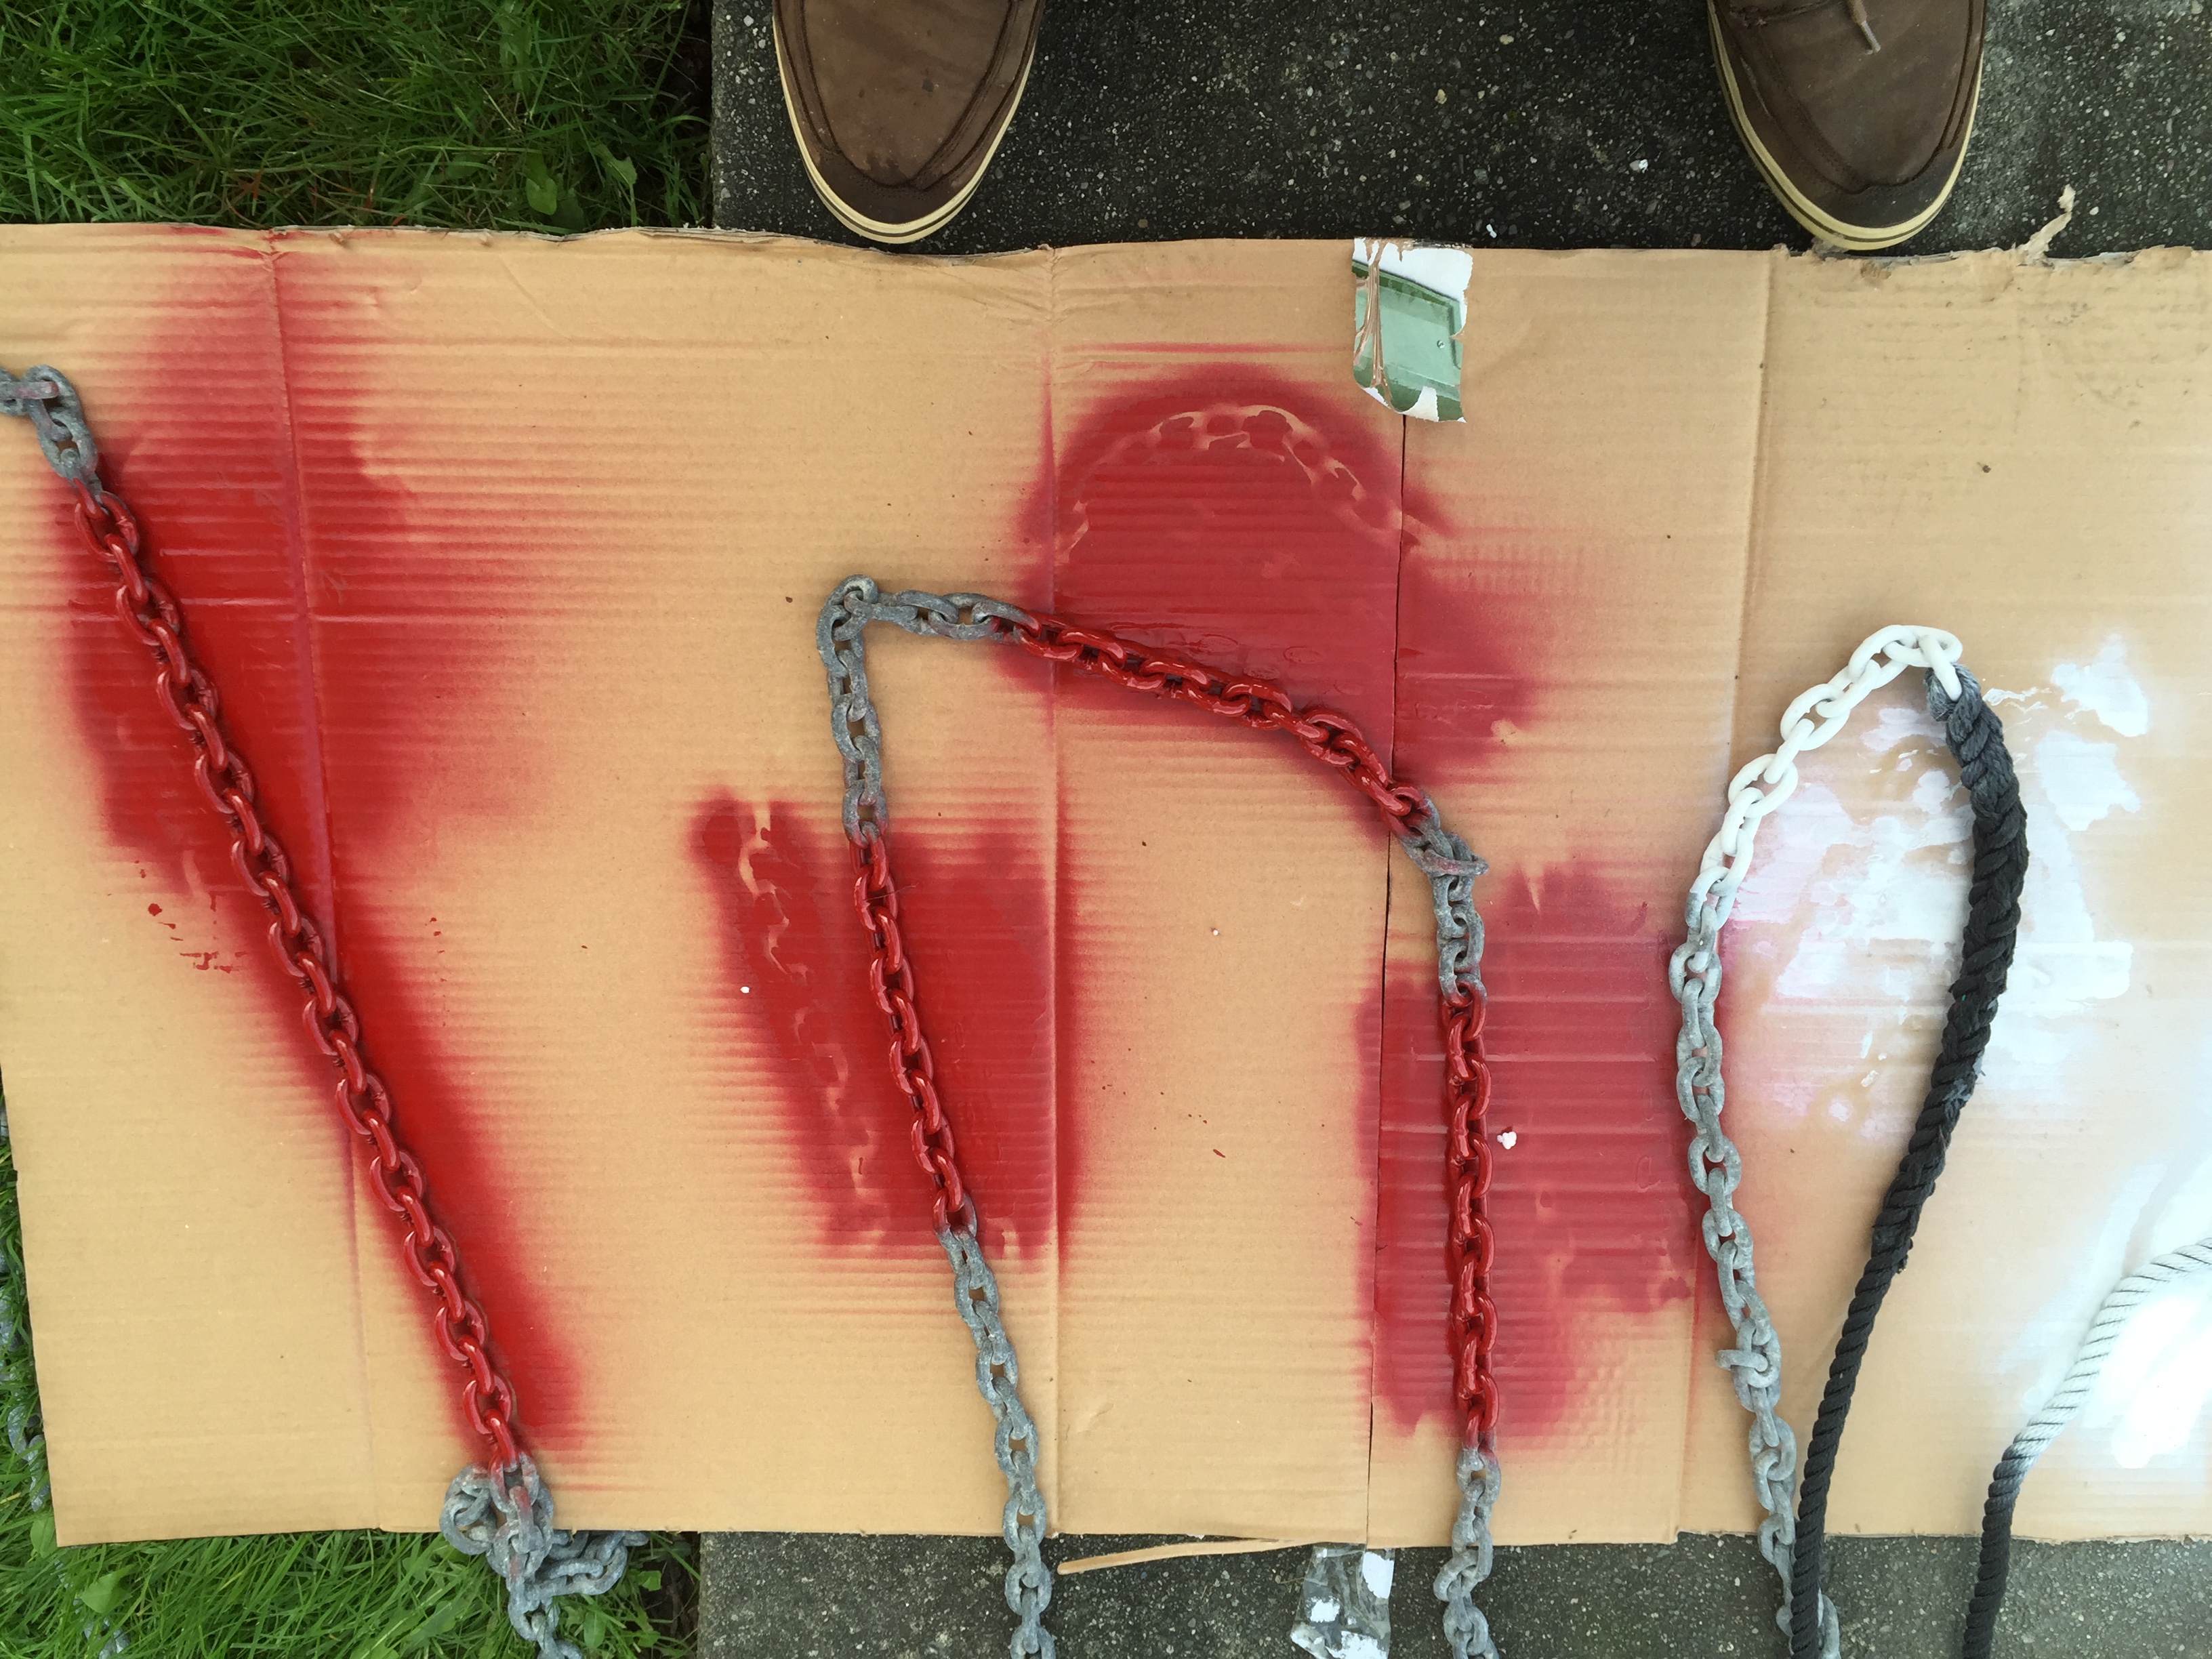
To mark my rode, I am trying Krylon Fusion spray paint. I’m not sure how it will hold up, but heard of people using it with okay results, so I figured it worth a try. I now carry 125 feet of chain and 200 feet of rode.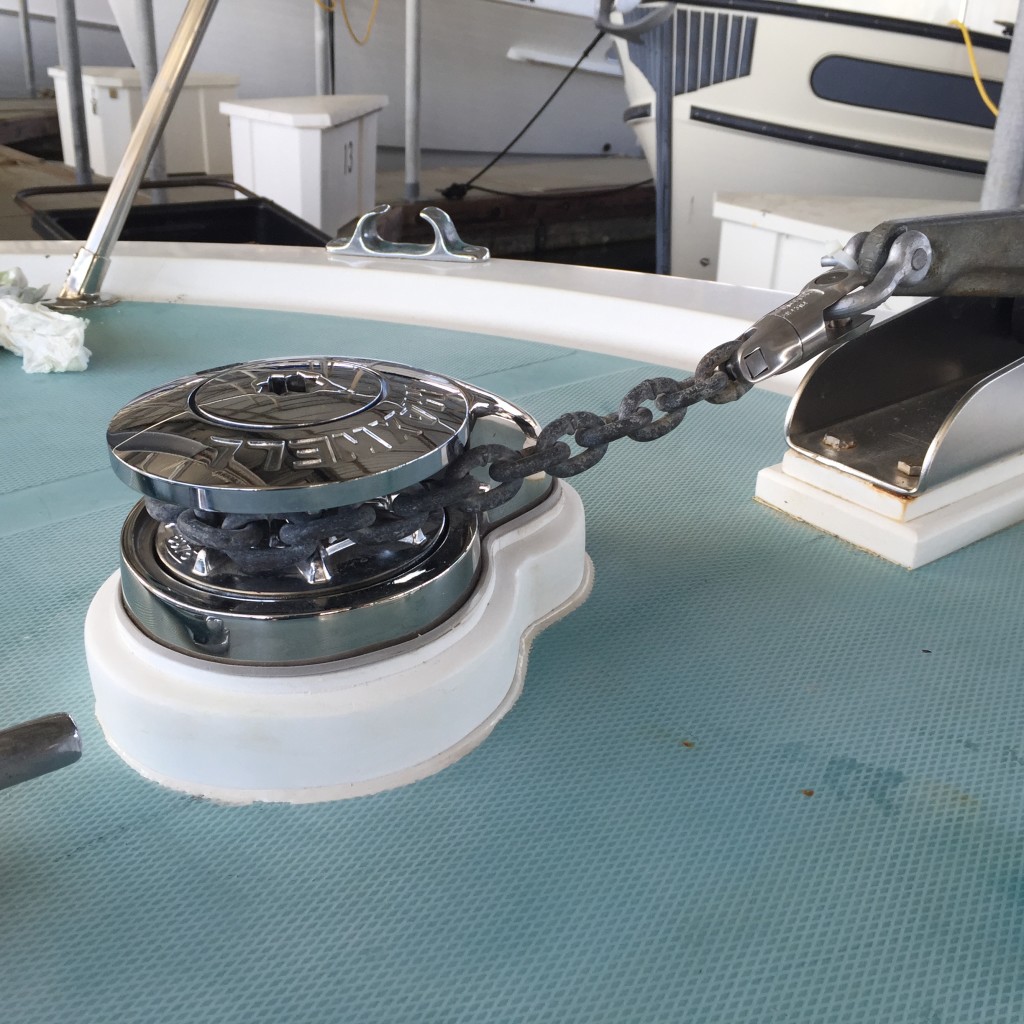
After running the rode and chain through the windlass and installing a new anchor swivel, I could finally check this project off my list. I’m looking forward to trying it out, but have a few more items that I “might as well” take care of while I’m at it.
Stay tuned for those projects.

Great article Steve. Nicely done!
MURPH
Nice work steve! I must say I live a little vicariously through you seeing your pictures as you travel.wishing you restful nights and calm seas my friend.
Looks great. How much hull core material did you remove around the screw holes and backfill with epoxy? .5in? 1in?, 2in? Did you to that on the larger holes also?
For the smaller holes, I probably removed about 1/2″ of the coring. I didn’t do the same with the larger holes, but they received a healthy coat of epoxy. I paid particular attention to the mounting holes, because of the compression on the deck from the windlass being through-bolted to the deck. Thanks for your comment!
Looks great Steve ! I’m sure your back will appreciate the new windless.
sweet install! that is plenty of chain for your vessel. I’ll raft with you any time!
Great install
Make sure you use a snubber to take the strain off your winch when using all chain..
Thanks! Yes, that is one thing that I still need to do…
Hi Steve,- What is your reasoning for so much chain? What is size of chain? What is size of rope? Where did you move your nav lights to? Pics of your nav lights and anchor roller? How do you like windlass so far? I’m plannin similar install on my 24ft Tolly EC. John H. LaConner.
Hi John,
I’ve been very happy with my windlass install so far, and place it toward the top of the list of upgrades I have made to the boat and wish I had done it sooner. The main reason for having so much chain is I like to sleep at night, and the amount of chain I have allows me to anchor with all chain in a majority of the places I anchor. I’ve been able to comfortably anchor on shorter scope in tighter anchorages, and all chain anchoring greatly reduces the swing area required. I have 200′ of 1/2″ 3 strand rope spliced to the chain. Contrary to what manufacturers might advertise, windlasses don’t handle the rope-chain splice very well, so another advantage of all-chain anchoring…
My boat’s nav lights are located on the side of the hull below the rub rail, so there was no need to relocate them.
My anchor roller is a Windline BRM-4, which I installed on the boat a few years prior to having a windlass. I really like the way it works with my 22 pound Bruce Anchor. I wouldn’t let anyone talk you in to smaller than a 22 pound anchor for your boat.
If you enjoy anchoring, you’ll love having a windlass and good ground tackle. Mine has worked out very well. I really like having a control switch at the helm and the wireless remote. On boats our size, there just isn’t much room on the deck for foot switches, and that just involves cutting even more holes. For anchor wash down, I installed a wash down pump with quick connect outlet in the cockpit. To get water to the bow, I made up a section of cheap garden hose that is just long enough to do the job that I run up the side deck. Works great!
Let me know if you have any more questions!
Steve